

Anthony enjoys deep diving into strategies and explaining them to people whilst they blankly stare back, and is also a big fan of cosplay and creating assets for Cons and events in his spare time.
- Evil Dead Achievements Guide - May 30, 2023
- Just Cause 3 Speedrun Guide – How to Liberate Medici at Breakneck Speed. - May 18, 2023
- Dishonored Speedrun Guide – Corvo’s On The Clock - May 13, 2023
At first glance, Getting Over It looks like just another ‘meme’ game with novelty that dwindles after a few minutes. It’s not until you flex your fingers and give this game a go yourself that you realize there’s so much more to it than that.
There’s a level of sadism in titles like this that will gladly see one mistake cost you a ton of progress but the more you play, you’ll realize that this game is brutal but fair. Getting Over It boasts a high skill floor, but an almost endless skill ceiling, both of those things make this game a prime candidate for Speedrunning! The game also has a voice-over from the creator discussing video game design philosophies. It works so much better than it should!
In this Getting Over It Speedrun Guide, I’ll explain everything you need to know to start running the game. I’ll go through tools for practice, techniques and strategies for specific sections. Whether you’re a new runner or simply curious about how people beat this game so fast, you’ll find plenty of helpful info in this guide and with that, let’s begin!
Bottom Line Up Front

Getting Over It is a brutal and challenging game to Speedrun with its wildly unique controls and pitfalls that can erase a ton of progress instantly. If you’re willing to invest time into mastering the movement, you’ll notice rapid improvements in your time and gameplay.
Getting Over It is a short game once you have a few runs under your belt, and as far as speed runs go, it’s a visually impressive one to boot!
Before You Begin
I know you’re desperate to wield your hammer and start throwing down times, but there are a couple of things you should have in place before you start!
Clear Your Workspace
If a game ever needed a clean workspace, this is it! You only use your Mouse or Trackpad to move about in Getting Over It, so make sure you have all the space you need. If you’re using a wired mouse, ensure the cable is free to move, as any resistance from that can cost you a good time.
Calibrate Your Sensitivity
I won’t be going into DPI settings here, but you need to be comfortable with how the Mouse pointer moves on screen. I like having my in-game sensitivity quite high as my mouse space is limited, but your mileage may vary. Controlled, sweeping, circular movements are crucial to beating a lot of obstacles in Getting Over It, so make sure your settings are suitable for this.
The beginning of the game has some simple obstacles to traverse, but they are a fantastic place to test your settings. It’s worth spending some time here warming up! You want to feel like you have as much control over your cursor as possible.
Timing Your Run
The most popular tool for recording Speedruns is a program called Livesplit. It’s easy to use, and it’s free! If you’re interested in setting up ‘Splits’ for different parts of your Speedrun, you can find excellent presets for them in the ‘Useful Resources’ section of this guide.
Livesplit isn’t strictly required for timing a run, but it does let you keep track of your progress. Official timing of a Getting Over It Speedrun starts when the loading screen after selecting ‘New Game’ disappears, and timing ends when the final loading screen displays in Space.
Use Community Tools For Practice
You can always trust Speedrunners to come up with some of the most helpful tools, and the Getting Over It community is no exception. You can download a Mod Tool from the official Speedrun.com page that lets you teleport around the map and retry obstacles in the run. Of course, you can’t use the tool in a submitted run, but it’s a phenomenal practice aid.
You can find a link to the Anjo2’s Modtool in this guide’s ‘Useful Resources’ section. This program allows you to use ‘save states’ so you can throw yourself at troublesome obstacles to your heart’s content until you get a feel for them. It really is a fantastic resource and one I recommend getting familiar with.
Core Mechanics
A ton of complex, precise movements are required in a Getting Over It Speedrun, and if you’ve beaten the game already, you’ve almost certainly made use of many moves I’m about to explain. Even if you know how to do these movements, it’s still worth learning the terminology. A few tricks don’t really have ‘official’ names. I’ll use the most common terminology when I can, but other Speedrunners may use different terms
Clean Inputs > Speed
In Speedrunning, of course, you want to go fast! However, In Getting Over It, rapidly throwing out movements doesn’t normally do what you think it will. Usually, a quick input will do the same as a slower one, but the slower one will be more accurate. This is especially true with techniques like Pogo Jumping (explained a little later).
Swinging
The most straightforward technique in this game is ‘Swinging’, simply swinging your hammer around in a circular motion, clockwise or anticlockwise. One thing you may not have realized is how the speed of your swing affects the hammer. The slower you swing, the further your character’s arms straighten out, giving you more reach.
Pogo Jumping
This simple technique makes up a big part of moving around in Getting Over It. Pogo-ing or Pogo Jumping is done by lifting your hammer up and pressing it into the ground beneath you, which makes you bounce. The bounce angle is determined by the surface you’re on and the angle you push your hammer into the ground. Pogo Jumping is a rudimentary skill that you definitely want to go out of your way to practice. As mentioned earlier, making the motion for this technique at speed makes no difference to the height of your jump, so focus on accuracy when you can.
Pull Pogo
Pull Pogos are usually performed when hanging under a platform or ledge. The idea here is to make the same motion as a normal Pogo and effectively pull yourself into the air. There are a lot of places in the run where Pull Pogos are important, but the tricky part is making sure there’s clearance to clear the obstacle. Usually, you’ll be doing Pull Pogos at a slight angle or with some momentum, so you don’t get stuck.
Negative Pulling
Negative Pulling is a nifty trick that opens up some pretty cool options for you across the map. If you’re hanging off the side of a wall and know you won’t have traction to swing up on top of it, you can briefly pull your hammer away before swinging it back and then use that momentum to climb.
This is an advanced movement and isn’t really useful unless you’re competing at the highest level. Still, it’s good to know it exists and is worth practicing in the future. The wall near ‘The Bucket’ is a great place to so.
Advanced Pogo
I’ve seen a few names for different types of Pogo jump, but it makes sense to lump them into one category in this guide. Pogo Jumps are not limited to jumping off the flat ground beneath you. The technique can be used just about anywhere for an incredible amount of different results. If you’re mid-air with a wall by your side, you can push off that with your hammer for a horizontal boost, for example.
As a new runner, your movements will usually require a bit of forethought. The more you practice, you’ll get a feel for Getting Over its rather unusual controls. This is when you’ll want to start experimenting with things like this to go that little bit faster.
Repositioning
As you become a more experienced runner, you’ll learn how to deal with situations as they appear. Until then, you’ll get the best results by consistently approaching obstacles the same way each time. Take a few extra seconds to line things up if you need to because it will 100% save you time in the long run.
Staying Calm
It may sound like a cop-out to include ‘mood’ as a core mechanic but trust me, if you’re getting frustrated and flick your mouse in a temper, you will regret it! Getting Over It is the only game I’ve ever played with a narrator that advises you against playing after a rough day at work. He’s not wrong!
If you want a decent run, you need to have a steady hand and a sharp enough mind to adjust to situations on the fly. You won’t be much good at either of these if you’re flustered, so take breaks and come back with the mental clarity of a Jedi.
Practice, Practice, Practice!
When it comes to learning how to Speedrun just about any game, you can learn a great deal from watching top runners and trying to emulate what they do. In Getting Over It, watching is excellent, but you’ll never get a feel for the movement without extensive playtime.
Much of this game’s difficulty comes from how hard it is to just move around the map. Movement in this game will take hours and hours to feel even slightly normal, but for the best runners in the world, it’s second nature. The moment you feel comfortable moving around in Getting Over It is the moment you can start throwing down some serious times.
The Run
An incredible amount of work goes into a Getting Over It Speedrun, even if the game can be beaten in little over a minute! In this section, I’ll be covering key areas of a run in the order they present themselves.
Coffee Rock
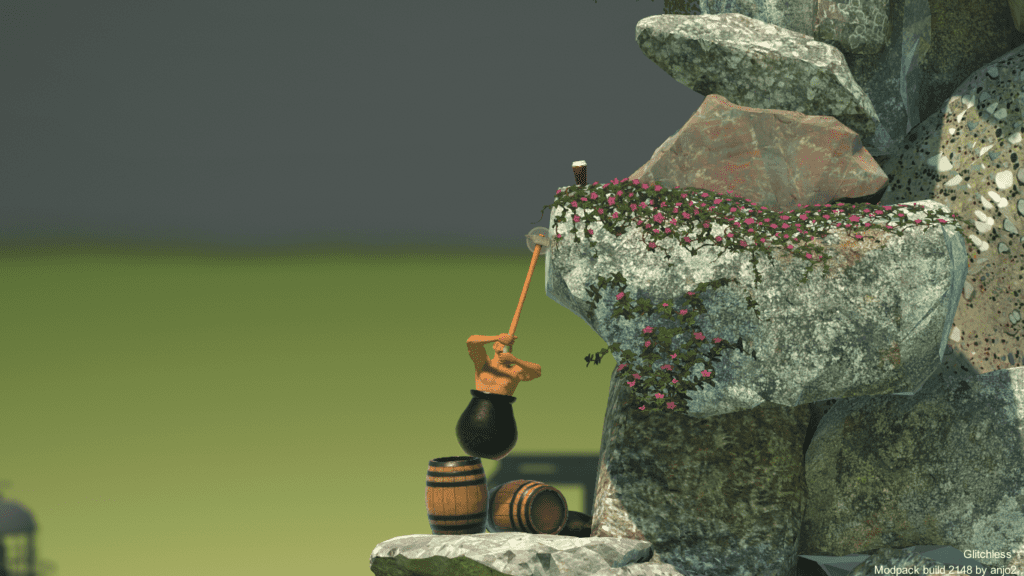
This little ledge is lovingly referred to as Coffee Rock! Although not essential, a quick way up from here is to Pull Pogo up from the shelf with the cup on it. This place is great for practice as it’s right by the start of the game and is pretty straightforward.
The Devils Chimney

This is the first nasty difficulty spike in the game. Thanks to the sloped ground underneath, it’s hard to practice, but this is critical to learn. The lights in the chimney are what you’re aiming for with your hammer. Once you’ve connected with the first, you can pull towards the light just above. If you start to slip, you can wiggle your hammer left and right against the walls to regain height.
Construction Wall
Remember I mentioned the value of slowly swinging in the ‘Core Mechanics’ section? That’s super useful here. Using controlled clockwise swings, you can traverse this wall quickly. If you swing erratically, you’ll usually find your cauldron collides with the wall, pushing you away.
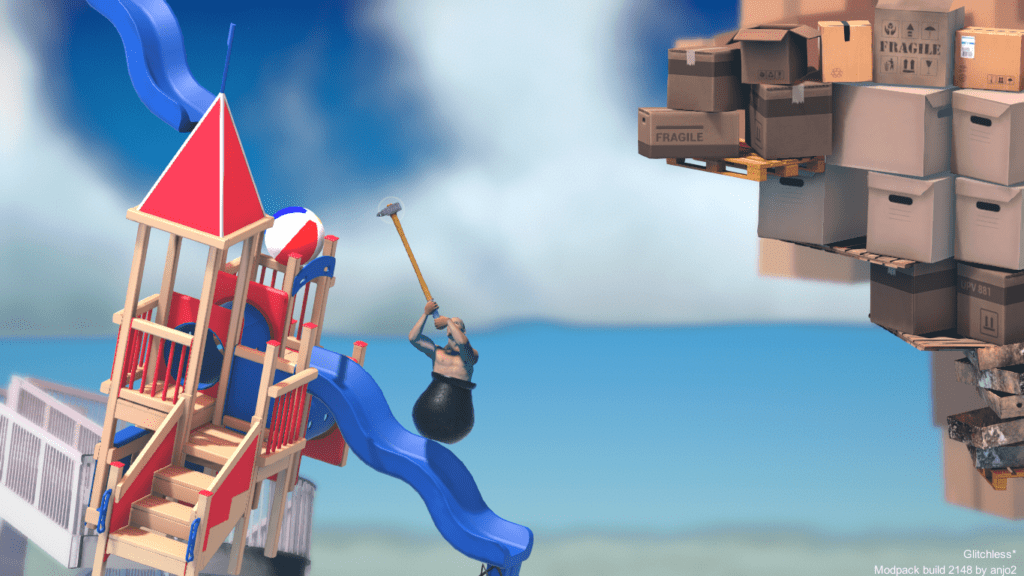
Slide Skip
If there was any place worthy of a ton of practice, it’s Slide Skip as it avoids an entire section of the map. The way I learned to do this skip was to position myself exactly as I am in the picture. From here, make a deliberate motion with the mouse down in a straight line. If you’ve done it correctly, you’ll launch and be able to catch the floating boxes to the left or the steps to the right.
Once you’re up here, if you think you’re going to fall, you can wave your hammer from left to right to catch the scenery beside you until you’re ready to proceed.
If you’re struggling with getting enough height, one thing I noticed with most of my failed attempts was I was repositioning the hammer in the air too early. Once you’ve drawn that line with your mouse straight down, hold it in that position for a moment.
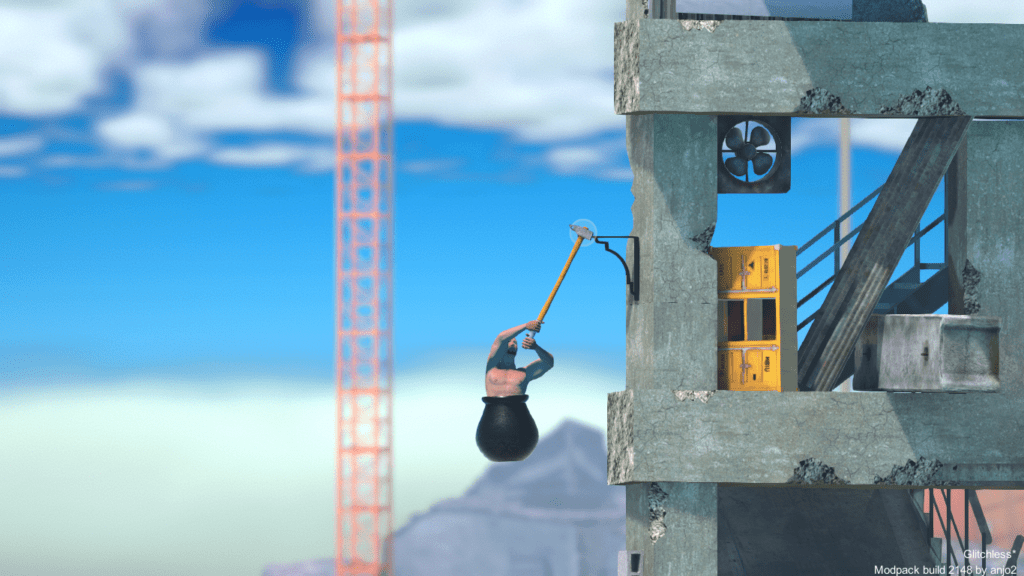
Furniture Land
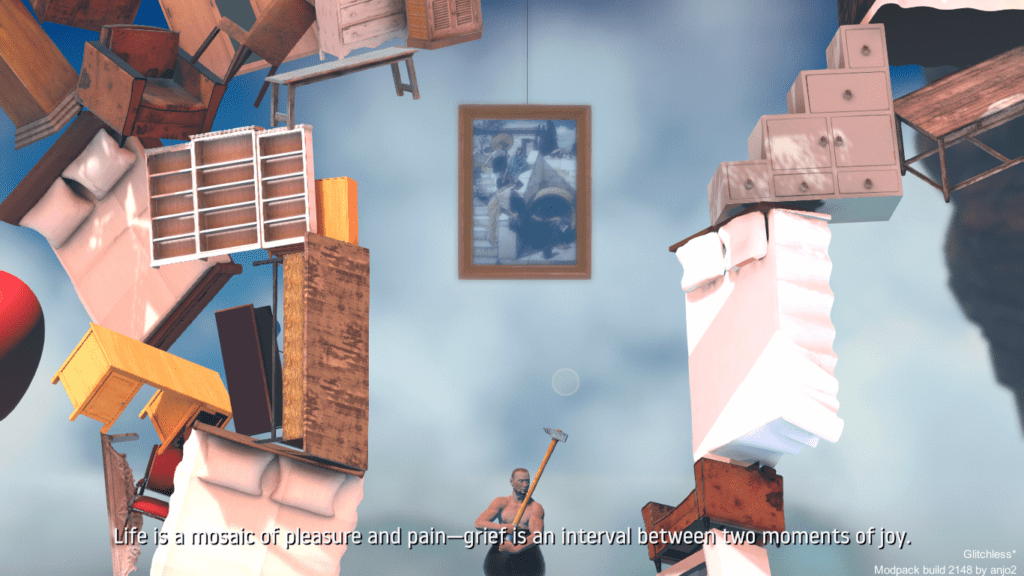
This area isn’t too bad. The initial climb past the security camera is a little scary because you can fall quite far, but you have plenty of opportunities to save yourself. I find the head of my hammer gets stuck around here a lot, but that’s usually thanks to jagged mouse movements. The only standout feature of this area is it’s pretty claustrophobic, so be delicate with your actions if you don’t want to bump into everything.
Orange Hell

Few places in gaming have a name as appropriate as this one.
This area is terrifying because a full-blown fall will put you back an absolute mile!
Pogo off the table in the picture above to start your ascent, and tread carefully. I recommend taking this entire section slowly, as any quick movements are usually enough to bump yourself down and off the slope. This area is hard to give tips on as no single technique makes it any easier. My best suggestion is to practice this area with the Mod Tool, as it takes the sting out of falling here.
If you’re curious about how far you can fall, look no further than the picture below. If it doesn’t look familiar, that’s because this is the section you avoided with Slide Skip!
Scaling the Bell Tower
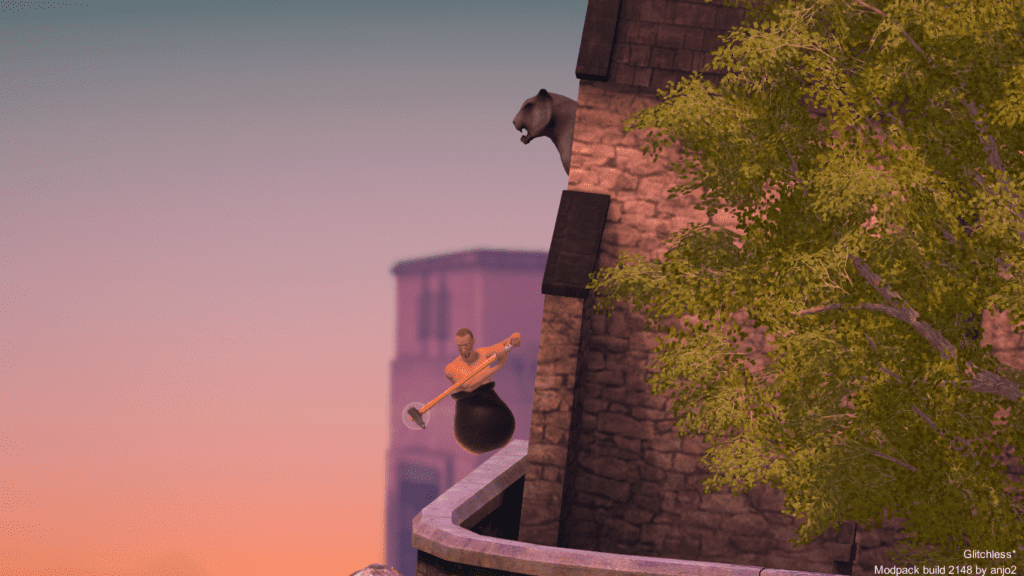
You’re not entirely out of the woods yet, as a fall will still throw you all the way down. To start your climb, you can Pogo from where I am (pictured), swing clockwise and grab the stone head on the wall. From there, a couple of smooth swings will get you to the top of the tower. Just be careful not to get your hammer stuck here, as I have in the picture below.
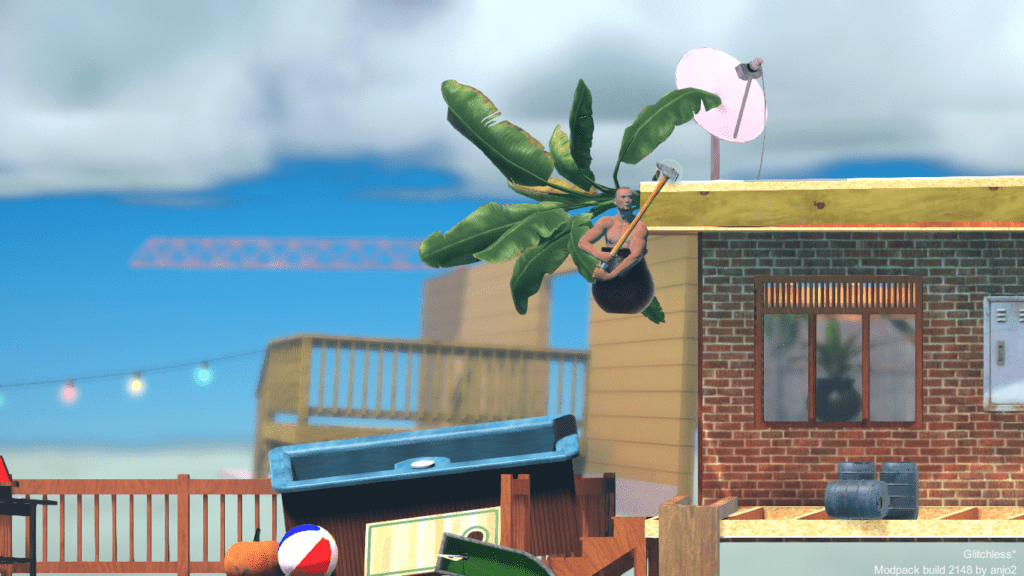
What follows this section feels like a well-deserved respite over the rooftops as here, there’s no real penalty for messing up any obstacles.
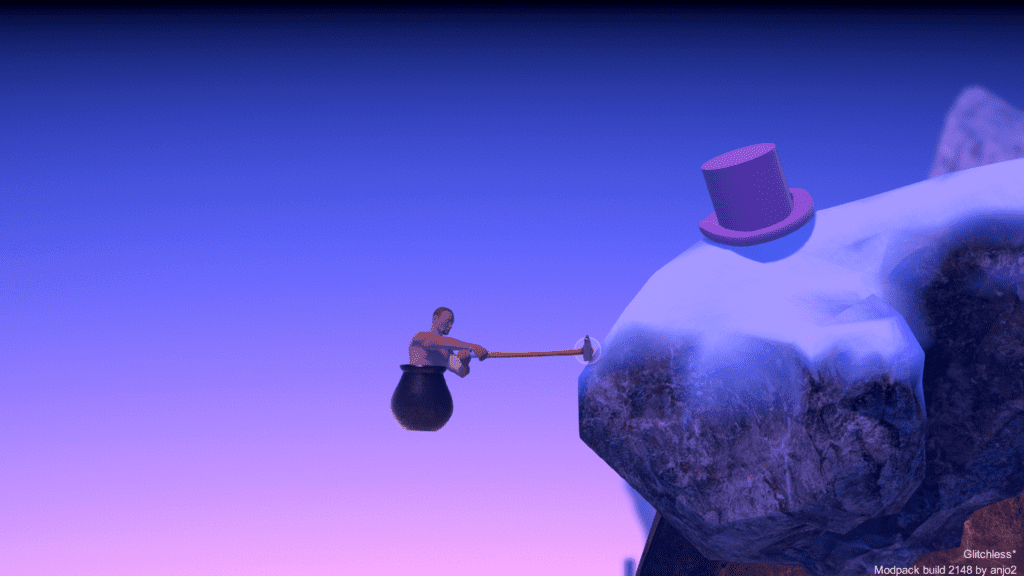
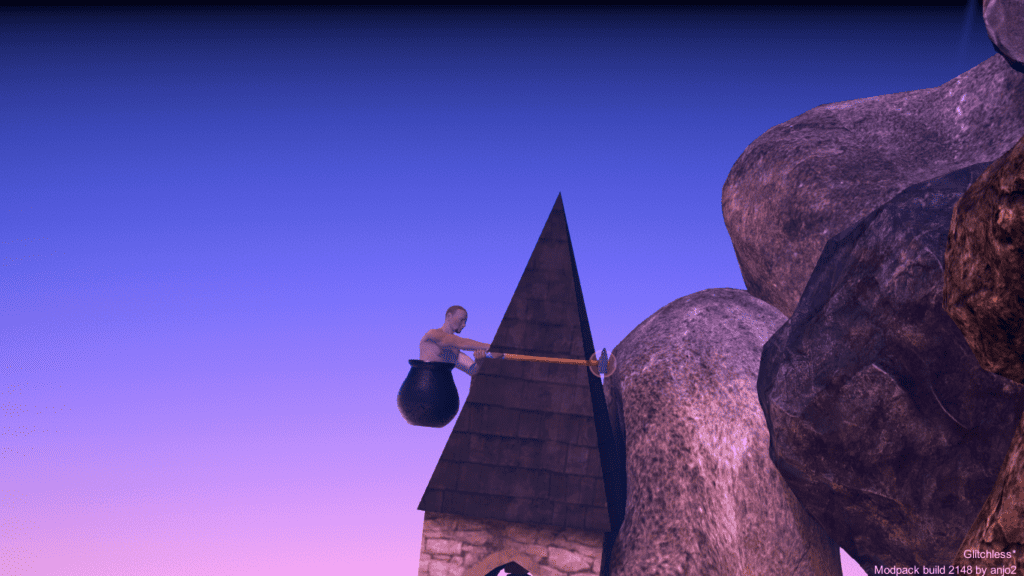
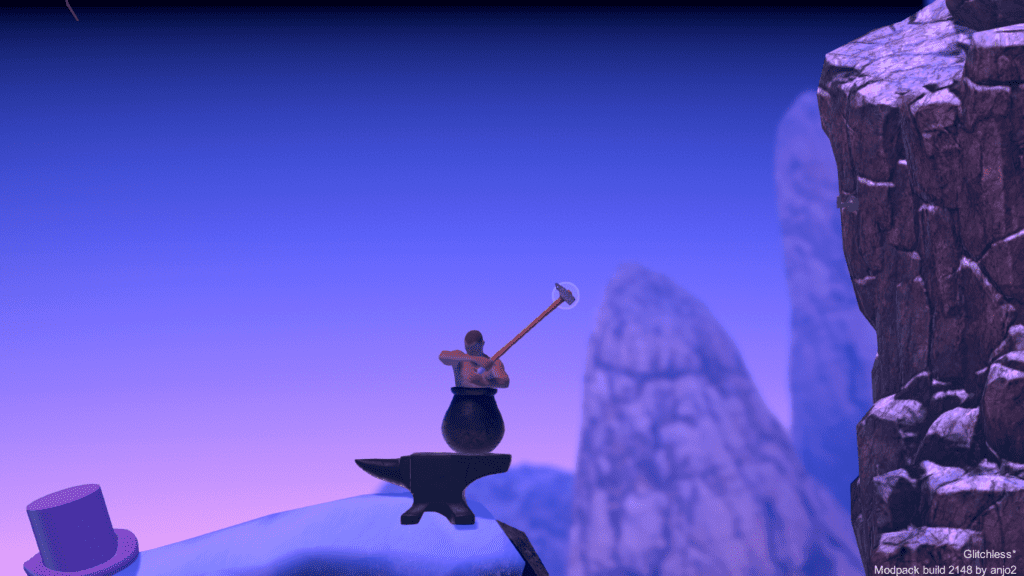
The Hat
Although there’s no risk of losing progress, the climb just before The Hat can be tricky. Fortunately, a good straight Pogo down from where I am in the picture above will clear the overhang just enough for you to get a solid grip with your hammer. Even though the floor is snowy, the hammer grips just fine, and you can swing clockwise to claw yourself up and on the next section.
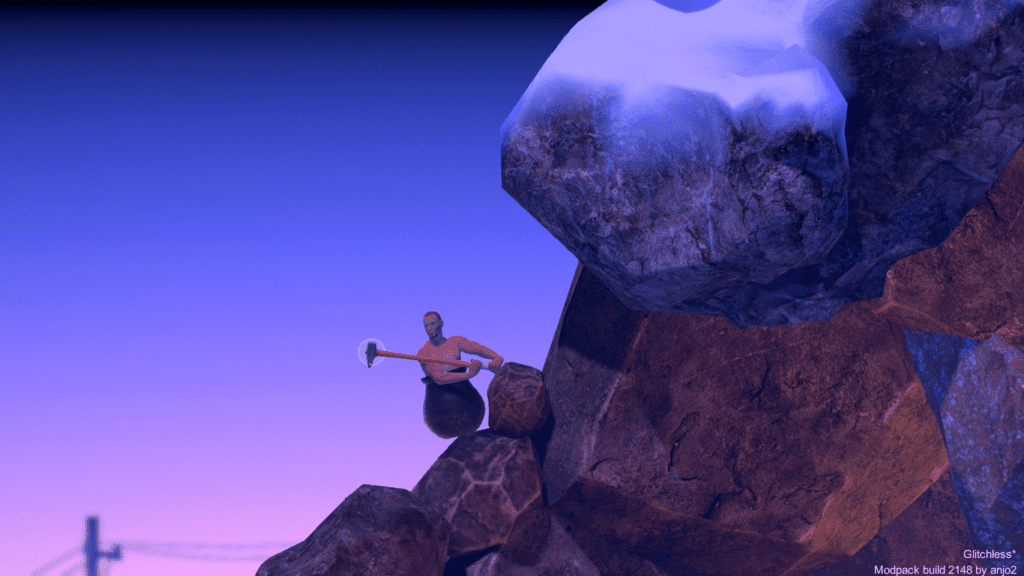
The Anvil
The Anvil is easy to overthink, but it’s not so bad in practice. Simply pogo diagonally down into the Anvil and really commit to it. As long as the head of your hammer connects with the Anvil (it’s frustratingly easy to miss), you will get high enough to grab the ledge. When you get up, be careful not to bump the wall with your hammer, as you’ll have to jump from the Anvil again.
Floating Platforms

Although the picture isn’t too helpful (I was falling at the time!), if you end up hanging off the edge of these platforms, you can sometimes recover with a Negative Pull. This technique shouldn’t be required; as long as you carefully reposition when necessary.
The Bucket
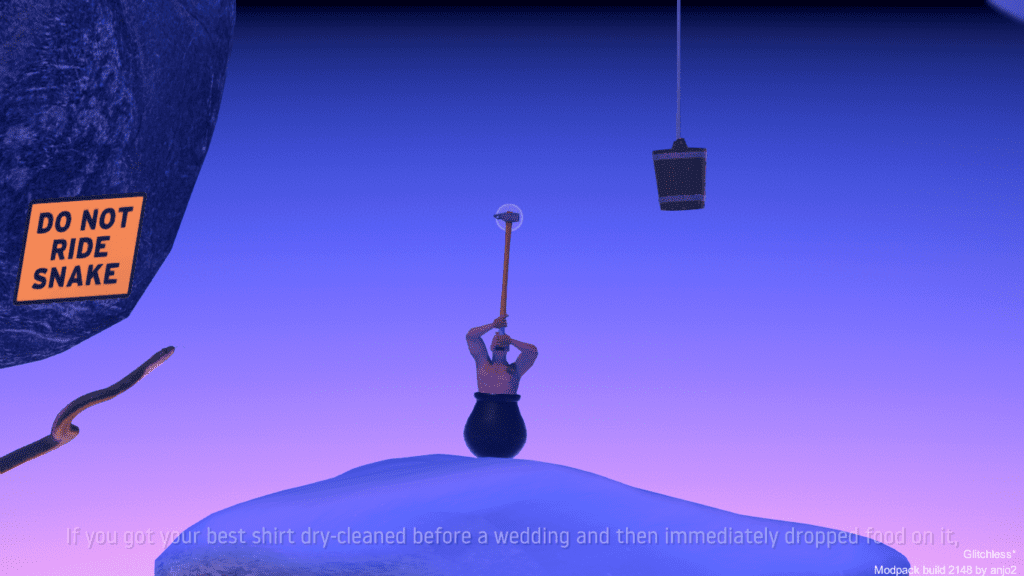
This obstacle is probably the most hair-tearing and frustrating in the entire game. There are a few ways to do this, but I find it easier not to think of the bucket as a platform. Instead, use it to boost a Pogo you’re already doing from the ground. Hanging off the bucket and doing a Pull Pogo to proceed can work, but it’s unreliable and costs time. You’ll always be more consistent doing a good Pogo from the ground beneath and doing a Pull Pogo off the bucket on the way up.
If you’re new to the game, there’s nothing wrong with hanging off the swinging bucket and waiting for the perfect moment.
Depending on how high you jump, you can opt to land on the structure on the left or the slightly higher (and riskier) ledge to the right.
If you’re feeling spicy, you can try a technique called ‘Bucket Skip’, which, as the name suggests, revolves around not touching the bucket at all. It’s possible to Pogo off the ground as normal but execute a Negative Pull on the left wall. Honestly, I struggle with this even though I can do Negative Pulls just fine elsewhere. It doesn’t work for me here, but if you’re up to the challenge, it might work for you.
Mountain Climb

This smooth, steep incline isn’t as smooth as it looks at first glance. There are tiny areas of this slope that you can grab with your hammer. The problem is most are impossible to see. Fortunately, the areas you can hold onto are always in the same place and can be memorized. The Mountain is a lot less intimidating once you’ve figured out a route that works for you. Anjo2’s Modtool is an absolute godsend here!
The scariest thing about the Mountain is if you start sliding and can’t save yourself, you can fall all the way down to Slide Skip! There is a ledge that looks like it provides safety but don’t be fooled. You’ll drop a LONG way if you slip up here! Delicate control and precision are so valuable for this section of Getting Over It, and if you’re about to slip, carefully try and slide the hammer head down the slope and pray it hooks onto something!
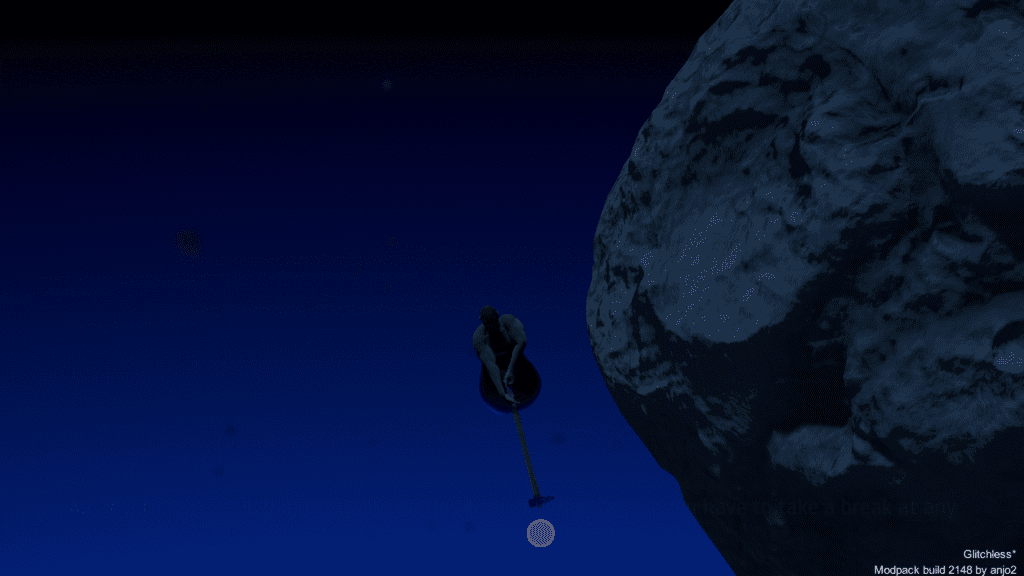
Satellite Climb

The base of the Satellite Tower can be reached with a strong Pogo Jump, much like the one you needed for Slide Skip. This area is tricky because the Satellite dishes can ‘bite’ the head of your hammer, which can kill your momentum. I’ve had times where this saved my climb from a dodgy input, so it’s not all bad but something you should be aware of!
This biting seems to happen most when the hammer is moving slowly. Keep a close eye on your hammer placement because if the hammer connects with the tower itself, you will fall.
Wide Sweeping clockwise swings work wonders in this section. You don’t need to pull off fancy maneuvers to reach the top.
Satellite Launch and Space
I think the peak of the Satellite Climb deserves its own section because a lousy jump off the top of the tower will cost you dearly. It’s worth a few seconds to reposition before you launch into Space.
Ideally, you want to launch slightly to the right to gently connect with the left side of the first boulder in Space. With a gentle hammer tap, you can carry your momentum up and toward the boulder on the left. Any kind of Pogo Jump from here will take you through to the end of the game. The main thing to remember here is that you don’t want much power when you bounce off the first boulder. The low gravity will do all the work for you, so focus on accuracy over everything else!
One final Pogo jump from the 2nd boulder will catapult you to the end of the game! Whether it’s taken 5 minutes or 5 hours, pat yourself on the back because Getting Over It is a tough nut to crack!
Useful Resources
If you’re struggling with the Space Boulders, a map of where they are can be viewed here
A great set of preset Splits for Livesplit can be found near the bottom of the page here
A showcase of ways to do Slide Skip can be found in a short video here. The first technique most closely resembles the one in the guide.
Frequently Asked Questions
Question: What Platforms can I Speedrun Getting Over It on?
Answer: Getting Over It is available on PC and mobile. As valuable mod tools for practice are exclusive to PC, I recommend you run on PC if possible.
Question: What is a Good Time for a Getting Over It Speedrun?
Answer: Anything under 10 Minutes is a great, solid run and demonstrates a deep understanding of the game.
Question: What is the World Record for Getting Over It?
Answer: At the time of writing, the world record is an incredible 1m 1s 896ms by Blastbolt.
Question: Is Getting Over It a Challenging Game to Speedrun?
Answer: Yes, but a great deal of the difficulty comes from how unique the controls feel. It will take hours upon hours, but once you get a feel for how things work in Getting Over It, you’ll start to see progress quickly.
Conclusion
Speedrunning Getting Over It feels like an impossible task at first (much like the game normally does on your first attempt!). There’s a tremendous amount of nuance involved in this game’s movement, and the more you play, the more you realize that very little in the game is down to chance.
Getting Over It is a punishing test of skill and is incredibly rewarding to speedrun once you have the fundamentals taken care of!
Continue reading:
Undertale Speedrun Guide – This Speedrun fills you with DETERMINATION!
Jump King Speedrun Guide – It’s Rude to Keep a Lady Waiting!