
- The True Dovakhiin: Skyrim Trophy Guide - December 19, 2022
- Titanfall 2 Speedrun Guide - October 23, 2022
- Majora’s Mask Speedrun Guide - October 23, 2022
Ratchet and Clank is a reboot of the classic platformer series filled with wacky weapons and third-person shooting action. It retells the original game’s story with new flair and even spawns its theatrical movie.
The game has a little bit of something for every player out there, whether they are looking for fun mechanics, laughs, wacky enemies, or chaotic fights. It also has something for the trophy hunters out there: a platinum.
Key Info Up Front
- Genre: Third-Person Shooter
- Difficulty: 3/10
- Playthroughs Required: 2
- Number of Trophies: 50
- Estimated Time Required: Approximately 26 hours
Ratchet and Clank Walkthrough
Before we take a look at what each of the individual trophies you’ll be earning during your time with Ratchet and Clank is, it’s essential to take a broader overall look at how you should approach your time with the game.
This is why we’ll go through this walkthrough to help you approach the playthrough in the most efficient way possible. This will help you cut down on grinding and help you know exactly what to expect when tackling the game.
Step One: The Nuts and Bolts
The first stage of your playthrough is simply playing through the game’s story mode. This will be your first playthrough, and you can take it at whatever pace you want to. You can chase down the collectibles and all missable trophies here if you wish, or you can just try to enjoy the experience in as natural of a way as possible.
However, during this playthrough, you should try to get every weapon in the game up to level five. Not only will this help cut down on the required grinding later on, but it also will give you a look at every combat option available to you in the game.
Trophies in this Step

- The End of the Beginning
- Safecracker
- Training
- The Little Robot That Could
- The Rescuer
- Off To The Races
- You’re In The Rangers Now
- Winner Winner Sandshark Dinner
- Who’s A Good Snagglebeast?
- Braaaaaaaaaaaains
- I Shot Down Your Battleship
- Zurkon Family Values
- Splashdown!
- Ferocious Oxide
- Radical
- A Change Of Heart
- Not My Job
- When Sheep Fly
- Trader In Training
- Modder
- Trade-Up
Step Two: The Midas Touch
After you complete the story and have your guns leveled up, you’ll want to track down the rest of the Gold Bolts and R.Y.N.O. Holocards. These will carry over to your second playthrough and will help you there.
Trophies in this Step
- Ultimate Explorer
- Full Gun Rack
Step Three: The Leftovers

Once you have those all out of the way, you can chase down any of these trophies that you don’t have. There is a good chance that you’ll get some of these during your natural playthrough, but you also may need to go out of your way for them here.
All of these can be tackled before you jump into your second playthrough and after completing the story, so all of the missable trophies will be included in step four so that you can get them there if you didn’t already.
Trophies in this Step
- Tech Head
- Abby Normal
- Go, Speed Ratchet, Go!
- Safecracker
- Faster than a Speeding Amoeboid
- Kalebo Thunder
- Kerwan Gladiator
- Clank Crusher
- That Sinking Feeling
- I Hate Lamp
- Top Gunner
- Warbots Into Plowshares
- Pool Sharks Are The Worst
- Character Assassination
- Et tu, Copernicus?
- Lazy Lombax
Step Four: Challenge Mode
This step will be your second playthrough in Challenge Mode, known in most games as New Game+. All weapons can be upgraded even more in this mode, but the enemies are a lot stronger.
You’ll also receive a bolt multiplier for your entire playthrough. During this playthrough, you will again want to use every weapon to get it to max level, which is why already having them all at level five from your first playthrough will be a big help.
You’ll also want to make sure you grab any of the missable trophies you didn’t get your first time around so that you don’t have to take on the third playthrough just for those.
Trophies in this Step
- Super Trader
- Challenging
- Master of War
- These Go To Eleven
- Mr. Fancypants
- Maximizing Potential
- Not My Job
- When Sheep Fly
- Death By Disco
- Cha-ching!
- Trade-Up
Ratchet and Clank Trophies
The End of the Beginning
- Rarity: Gold
- Description: This is a story trophy you will get in your first playthrough.
Super Trader
- Rarity: Gold
- Description: This trophy is for finishing every holocard set.
Tips: This trophy requires you to collect 108 holocards total. Many of these can be either found in randomized packs or are dropped by enemies when killed. You will also get duplicates, but those can be traded for a card you don’t have for every five copies you get.
The R.Y.N.O. holo cards are also earned by winning the hoverboard gold cups, but we’ll go over getting those in the Full Gun Rack trophy below. Getting the holocards is also much easier after you acquire the Map-O-Metric gadget, which will mark all of them for you.
Challenging
- Rarity: Silver
- Description: This trophy is for beating the game in Challenge Mode, which you will do in your second playthrough.
Ultimate Explorer

- Rarity: Silver
- Description: This trophy is for collecting every gold bolt in the game.
Tips: You will need to collect 28 Gold Bolts total. They are all listed below.
| Planet | Location |
| Veldin | To the right of Grimroth’s Garage, there is a Magnestrip that you can walk up using the Magneboots. |
| Kerwan | After going up the stairs to the Grav-Train Station, use the Helipack High Jump to get on top of the steel crates with the two white arrows on them. Then, use Stretch Jump to the top of the other nearby wall of steel crafts and drop down. |
| Another Gold Bolt is found on the third island of Captain Qwark’s Fitness Course. | |
| Aridia | From the starting area of Sandshark Valley, go through the grate on your right. |
| A second Gold Bolt is found in that same wall further down by where there was once a Sandshark spawner. Look for a spot with holes in the wall and hit it with an explosive weapon to open a tunnel leading to it. | |
| The green room with the drained pool hop down to the platform with the bolt crank. Jump into the water and dive down. The bolt is in the center of a massive spinning fan. | |
| From the campsite for Skidd’s Agent, take the Magnestrip up the wall behind the tent and use your Thrusterbolt to move the cranes. You can then swing across the peninsula and go to the left to find the Gold Bolt in the bed of a truck. | |
| Rilgar | There is a Gold Bolt in the only area of the maze that cannot have its walls lowered from outside in the Containment Area. This means that you have to get in by going to the maze’s exit and High Jumping on top of the advertising board near it. You can then walk on top of the maze walls and jump into the room to get the bolt. |
| Another Gold Bolt is located by jumping off the ramp inside the second turn in the Hoverboard course. This leads to an upper area where you can find it inside a boost ring. | |
| Another is found in the rising water section of the Blackwater Sewers. From the elevator that takes you back down into the sewers, swim back towards the start until you get to a hallway with water pouring out of holes in the wall on your right. There is a tunnel in the lowest area under the water to swim up to get to the Gold Bolt. It is recommended to do this once you have the O2 Mask from Pokitaru. | |
| Nebula G34 | This Gold Bolt is in the circular room within the Swarmer cages just before you reach the arena where you fight the Snagglebeast. When you enter the area, go to the right and High Jump to the upper level. One of the cells will lead to the room with the Gold Bol and some crates. |
| Gaspar | Near the area where you get the Grindboots, there is a forcefield bubble blocking it from where your ship is. Use the Jetpack to fly up to the nearby platform at the bottom of a Magnestrip that leads to the flaming smokestack. Go along the Magnestrip and turn the Bolt Crank. Go through the tunnel and activate the Tri-Pads you find to lower the forcefields. Take the elevator there and follow the path to your left to reach a Gold Bolt behind your ship. |
| Warbots guard a Blag Depot in the Docking Bay area. There is a Gold Bolt here in a forcefield bubble that the Tri-Pad buttons can lower to allow you to grab it. | |
| There is another one in the northeast area of the Telepathopus Fields. A metal ring with lava and a small volcano inside with the Gold Bolt floating above it. Wait for the volcano to erupt, and then fly over with your jetpack and grab it. | |
| In the same area, there is a strip of land between two traps in the cliffs to the west. The Gold Bolt is in that strip of land. | |
| Batalia | Early on in the level, there is an area with Cora fighting Warbots. The large building to the left of that area has a Gold Bolt on the roof. |
| There are small cliffs to your right after you raise the first bridge with a Bolt Crank. Stretch Jump across them and follow the path to find another Gold Bolt. | |
| To the left of the Bolt Crank that opens the door leading to the Starwatch in Fort Krontos, a pile of crates stacked up. Use those to climb up to the ramparts and go to your left to find another bolt. | |
| Pokitaru | From your ship, when you arrive, find the small rocky island with two palm trees. Swim to the right of it and see an arch underwater. Follow the trench beneath that arch to find another arch with a Gold Bolt underneath it inside a wooden chest. |
| This one can be found just before you jump onto the second skiff as you progress through the level. Here you can swim out to an island with big cliffs, but make sure to stay close to land not to get eaten. Climb up on the island’s east side and follow it to the west to work your way up to the Gold Bolt. | |
| You can also earn a Gold Bolt by completing the mission Find a Way at the top of the waterfall. | |
| Quartu | While playing as Clank, you can find a Gold Bolt up in an elevated grate. To reach it, place a springbot facing the grate on the platform and then use a bridgebot to cross the gap and place it beneath the grate. Then, blow up the grate using a bomb and a second springbot to open up the path. |
| Another is found in the Warbot production line. In the southeast corner of the room, there is a door closed by a Trespasser puzzle. Open complete the puzzle to reveal a Bolt Crank that will open blast doors to a second area. Directly across the way from you, you will find a Gold Bolt. | |
| A second bolt can be found on the western side of the Warbot production line in a small room that you can identify as it doesn’t have a vendor in it. Hit the button and then fly into the small tunnel to find the Gold Bolt. | |
| Deplanetizer (first visit) | In Drek’s office, get on the Trespasser pad and look up the wall on your right to shoot the button there. This will drop a ladder that you have to climb. You will see some platforms with a Gold Bolt reachable at the end. |
| Kalebo III | You can find a Gold Bolt here in the area where you get your hands on the Thrusterbolt. After you use it to spin the room around you, take the elevator up and turn around to spot a ledge on your left. Stretch Jump to the platform, and you will find the Gold Bolt in that area before you take the Grind Rail. |
| Another is on the Hoverboard track. Take the first shortcut and take the thin portion of the track to the right of the large ramp. Follow it and jump off the ramp at the end to go into a final tunnel that has the Gold Bolt at the end of it. | |
| The final Gold Bolt on the planet is on the optional Grind Rail that leads to the Map-O-Matic room. Grind along the rail and hit the four buttons you pass to disable a forcefield that you can then grind through to get to an optional loop with the bolt on it. | |
| Deplanetizer (second visit) | The final Gold Bolt is in the room with two golden statues of Drek. Turn around when you first enter the room and look to your right to find two crates with blue lights. Jump on the first one, go up the ladder, and go across the two platforms to reach it. |
Full Gun Rack

- Rarity: Silver
- Description: This trophy is for getting all 14 weapons in the game.
Tips: 13 of the weapons can be purchased from the Gadgetron Vendor as you play through the game, while the last will be unlocked when you collect all 9 Ryno cards. The locations of the Ryno cards are below.
| Planet | Card Name | Location |
| Rilgar | R.Y.N.O. | This card is available when you first get the Trespasser from the dealer. There is an orange forcefield with the card behind it at the end of the path through the Blackwater Sewers. |
| R.Y.N.O. II | This card can be earned by getting first place in the Gold Cup Hoverboard race. | |
| Kerwan | Zodiac | On the path through Downtown, there is an orange forcefield to the vendor’s right after you save the Rangers. |
| Nebula G34 | RY3NO | On your way to face the Snagglebeast, go through the doorway to your left after going through the tube hallways. There will be a large room here with a rocket in the middle. There is also a Trespasser terminal next to a doorway here that you can use to access a small room with stacks of crates and the card. |
| Gaspar | Harbinger | In the northeast section of the Telepathopus Fields, go to the Brain Scientist. Follow the islands to his right and up into the air until you reach the tallest island with the metal structure. There is a platform with the card on the side of the structure opposite you. |
| Batalia | R.Y.N.O. IV | Go down to the vendor at the start of the level. Ahead of you is where Cora will fight two Warbots by two large buildings. The left one will have a Trespasser terminal you can crack to open up a vault with the card. |
| Quartu | R.Y.N.O. V | There is a vendor you need to reach in the room with the production line. Then, follow the main path until you reach a turret with a green circular door to its right. Destroy the door with the turret to reveal the card. |
| Kalebo III | R.Y.N.O. VI Protosuit | This card is the prize for getting first place in the Gold Cup Hoverboard race. |
| Deplanetizer (second visit) | R.Y.N.O. VII | This card is in the final room before the boss fight. At the end of the room is a platform with Blarg bomb-lobbers on it. Get on the platform using the crates and get the card at the top. |
Master of War
- Rarity: silver
- Description: This trophy is for getting every weapon to level 10.
Tips: This can only be done during your Challenge Mode playthrough. Before leveling them up above level five, however, you need to have completed their holocard set, which is why you should collect all of them in your first playthrough.
Then, only use weapons that can be upgraded further while playing until you get it to level 10 by getting XP for them and purchasing the upgrades from vendors.
These Go To Eleven

- Rarity: Silver
- Description: This trophy is for getting every modification for the weapons in the game.
Tips: You can upgrade weapons using Raritanium, which you should get plenty of to do during your playthroughs.
Mr. Fancypants
- Rarity: Silver
- Description: This trophy is for upgrading Ratchet’s health as high as possible.
Tips: You will do this naturally during your Challenge Mode playthrough.
Tech Head
- Rarity: Silver
- Description: This trophy is for getting all 16 gadgets.
Tips: You will unlock all gadgets by playing through the game’s story missions and side missions during your first playthrough.
Abby Normal
- Rarity: Silver
- Description: This trophy is for collecting all 90 Telepathopus brains on Gaspar.
Tips: You will get 30 of these brains by progressing through the story. After you do so, you should continue the story until you get the Map-O-Matic at the end of Kalebo III’s grind section. You can then return to Gaspar, where the remaining 60 brains will be marked on your map and much easier to find.
Go, Speed Ratchet, Go!
- Rarity: Silver
- Description: This trophy is for getting the Gold Cup in the races on Rilgar and Kalebo.
Safecracker
- Rarity: Silver
- Description: This trophy is for finishing all 16 Trespasser puzzles without using AutoHack.
Maximizing Potential
- Rarity: Silver
- Description: This trophy is for upgrading a single level to level 10 in Challenge Mode.
Training
- Rarity: Bronze
- Description: This trophy is unlocked by playing the story.
The Little Robot That Could
- Rarity: Bronze
- Description: This trophy is unlocked by playing the story.
The Rescuer
- Rarity: Bronze
- Description: This trophy is unlocked by playing the story.
Off to the Races
- Rarity: Bronze
- Description: This trophy is unlocked by playing the story.
You’re In The Rangers Now
- Rarity: Bronze
- Description: This trophy is unlocked by playing the story.
Winner Winner Sandshark Dinner
- Rarity: Bronze
- Description: This trophy is for winning the hoverboard Bronze Cup on Rilgar.
Who’s A Good Snagglebeast?
- Rarity: Bronze
- Description: This trophy is unlocked by playing the story.
Braaaaaaaaaaaains

- Rarity: Bronze
- Description: This trophy is unlocked by playing the story.
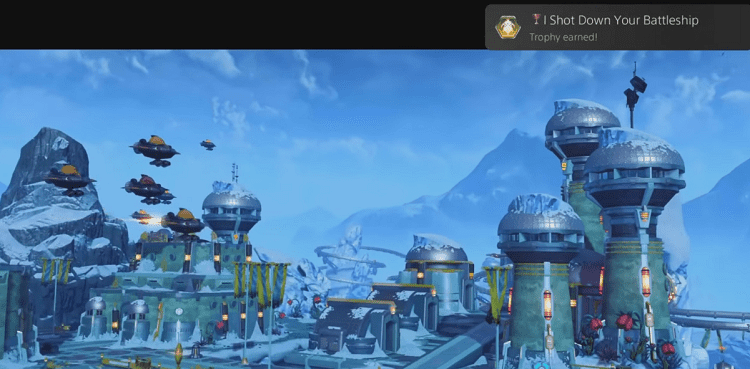
I Shot Down Your Battleship
- Rarity: Bronze
- Description: This trophy is unlocked by playing the story.
Zurkon Family Values
- Rarity: Bronze
- Description: This trophy is unlocked by playing the story.
Splashdown!
- Rarity: Bronze
- Description: This trophy is unlocked by playing the story.
Ferocious Oxide
- Rarity: Bronze
- Description: This trophy is unlocked by playing the story.
Radical
- Rarity: Bronze
- Description: This trophy is unlocked by playing the story.
A Change Of Heart

- Rarity: Bronze
- Description: This trophy is unlocked by playing the story.
Faster than a Speeding Amoeboid
- Rarity: Bronze
- Description: This trophy is for finishing the Gold Cup hoverboard race on Rilgar in less than 1:35.
Tips: To do this, you have to complete the race flawlessly, which you should be able to do in just a few attempts. If you are having trouble, you can come back after getting enough Gold Bolts to activate the invincibility cheat in the menu to keep the explosive crates from slowing you down.
Kalebo Thunder
- Rarity: Silver
- Description: This trophy is for finishing the Gold Cup hoverboard race on Kalebo in less than 2:05.
Tips: This trophy is much easier than the one above if you use the two shortcuts on the track. It should only take a few tries to get under the needed time.
Kerwan Gladiator
- Rarity: Silver
- Description: This trophy is for completing the training course on Kerwan in less than 70 seconds.
Tips: You can complete the course as many times as you want, so just keep running through it when you have all of your gadgets to get past it fast enough.
Clank Crusher
- Rarity: Bronze
- Description: This trophy is for crushing five gadgebots on Quartu.
Tips: This trophy is obtainable while playing as Clank. To get it, use the conveyor belt to move five gadgebots under the crusher and then turn off the crusher to let it fall and crush the bots.
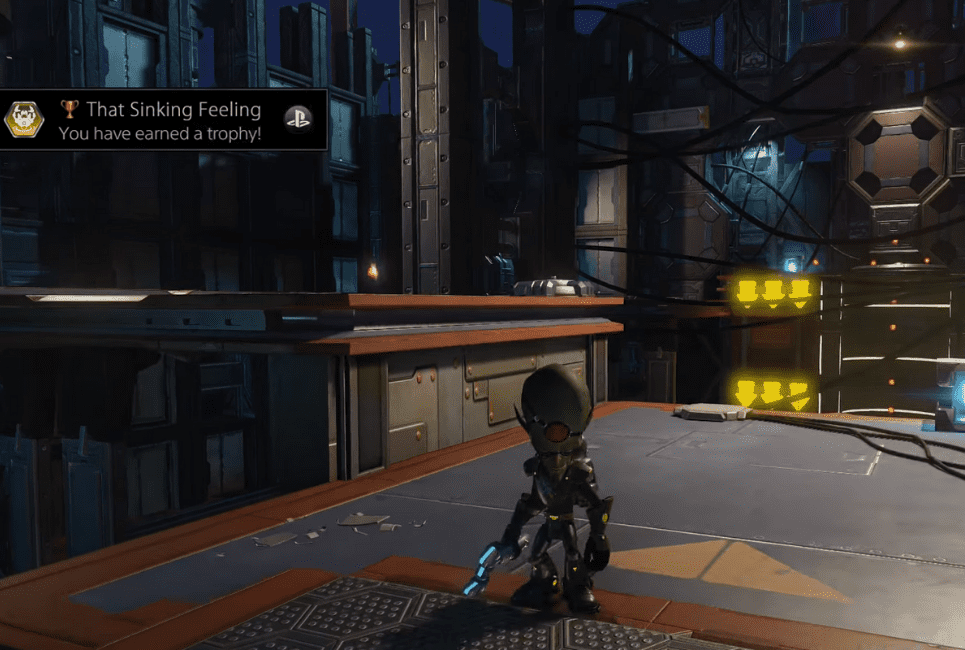
That Sinking Feeling
- Rarity: Bronze
- Description: This trophy is for hitting a constructobot into the quicksand on Aridia.
Tips: The constructobot is a yellow robot with a red tank on the path you’ll go down to save Skidd’s agent. Go up to the bot on the catwalk and hit him three times to send him into the quicksand below.
I Hate Lamp

- Rarity: Bronze
- Description: This trophy is for breaking every lamp in Aleero City.
Tips: You have to break 17 lamps in total for this trophy that you can find while exploring the city. If you are revisiting the planet to get this trophy, you can access the city via taxi.
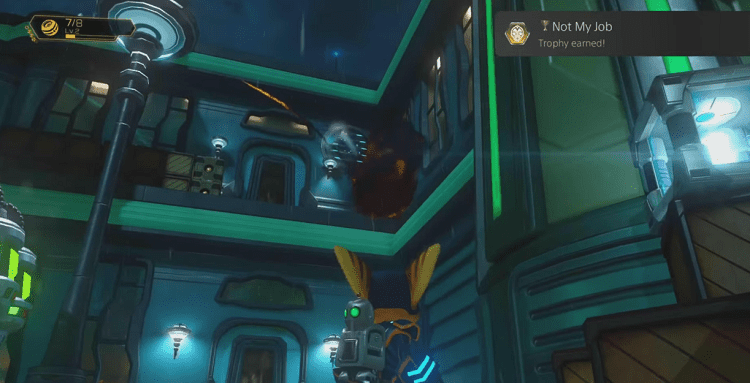
Not My Job
- Rarity: Bronze
- Description: This trophy allows the extermibots to kill a total of 35 amoeboids on Rilgar.
Tips: The extermibots are found on your way to the Hoverboard race, so just don’t kill them until you get the trophy to pop.
Top Gunner
- Rarity: Bronze
- Description: This trophy is for killing a total of 40 enemies on Gaspar while using your jetpack.
When Sheep Fly
- Rarity: Bronze
- Description: This trophy is for sheepinating a Blarg Helicopter Commander.
Tips: This trophy is easiest to get on your Challenge Mode run since you’ll already have the Sheepinator. If you want to get it on your first playthrough, you can find the enemy on Kalebo III halfway through the level.
Warbots Into Plowshares
- Rarity: Bronze
- Description: This trophy is for destroying ten of the inactive Warbots in the factory on Quartu.
Tips: The inactive Warbots are found on the right side of the area where you fight Mrs. Zurkon. Ride the moving belt there to see the Warbots and destroy ten of them.
Pool Sharks Are The Worst
- Rarity: Bronze
- Description: This trophy is for getting eaten by a shark on Pokitaru.
Character Assassination

- Rarity: Bronze
- Description: This trophy is for destroying all of the planet models in Drek’s office on the Deplanetizer.
Et tu, Copernicus?
- Rarity: Bronze
- Description: This trophy is for finding Qwark’s Lounge on the Deplanetizer.
Tips: Go back to the first hallway on the Deplanetizer after completing the game. If you keep to the left of the hallway on your way back from the end of the level, you will find a dead-end with two doors. Stand by them as Qwark talks, and when he is done, the trophy will unlock.
Lazy Lombax
- Rarity: Bronze
- Description: This trophy is for riding every catwalk on Kalebo without moving.
Tips: This trophy requires you to ride the four conveyor belts on Kalebo by standing on them and not moving until they take you to the other end.
Death By Disco
- Rarity: Bronze
- Description: This trophy uses the Groovitron on every type of enemy in the game, which you will have to do during your Challenge Mode playthrough.
Trader in Training
- Rarity: Bronze
- Description: This trophy is for completing your first Holocard set.
Modder
- Rarity: Bronze
- Description: This trophy will unlock when you make your first weapon mod with Raritanium.
Cha-ching!
- Rarity: Bronze
- Description: This trophy reaches the maximum bolt multiplier in Challenge Mode.
Tips: If you have a hard time getting your multiplier up to 20, the easiest way to do so is to kill infinitely respawning enemies without destroying their spawner. You should be able to kill them quickly enough that they can’t hurt you until you get this trophy.
Trade-Up

- Rarity: Bronze
- Description: This trophy is for trading in a set of five duplicate holocards for a new one.
FAQs
Question: Do You Have to Have Played Other Games in the Series Before Ratchet and Clank?
Answer: No, this game is a reimagining of the first game, so no previous titles are required, and it is a great way to be introduced to the world and characters.
Question: Do I Need to Play Ratchet and Clank Before Ratchet and Clank Rift Apart?
Answer: No, Ratchet and Clank are considered non-canon for the mainline entries in the series. Rift Apart actually follows the story of Ratchet and Clank Into the Nexus.
Question: Does Difficulty Affect any Trophies in Ratchet and Clank?
Answer: No, all trophies can be earned on any difficulty, and your difficulty can be changed at any time, so feel free to play at whatever is the most fun for you.
Conclusion
Ratchet and Clank is a solid reboot of the classic series and is one that all fans of platformers and third-person shooters should pick up. Getting the platinum trophy in the game is not very difficult or time-consuming, but it is still a ton of fun, making it a great option even for players who don’t usually like these types of titles.
Find more helpful guides below: