
- The Forest Achievements Guide: King of the Cannibals - May 31, 2023
- Genshin Impact Trophy Guide – Teyvat Trophy Hunting - May 18, 2023
- Cult of the Lamb Doctrines Tier List - April 17, 2023
Okay, storytime. As a gamer of a certain age with adult responsibilities and a cavalcade of things to get done before I can melt into a gaming chair and play to my heart’s content, my time spent with a controller in hand is much more limited than it was as of a decade ago. It’s a tragedy, but that’s life, I suppose. However, with this limited time frame, it means that I have developed new gaming habits and have found titles that make sense to play in short bursts.
I have found solace in short indie games, and live service multiplayer games have made recurring appearances too. Though this raised a problem, I was sinking hundreds of hours into casual, mindless gaming that offered little substance. I mean, I can’t quantify how much Rocket League I played last year, but rest assured, it was too much. In February 2022, things were about to change.
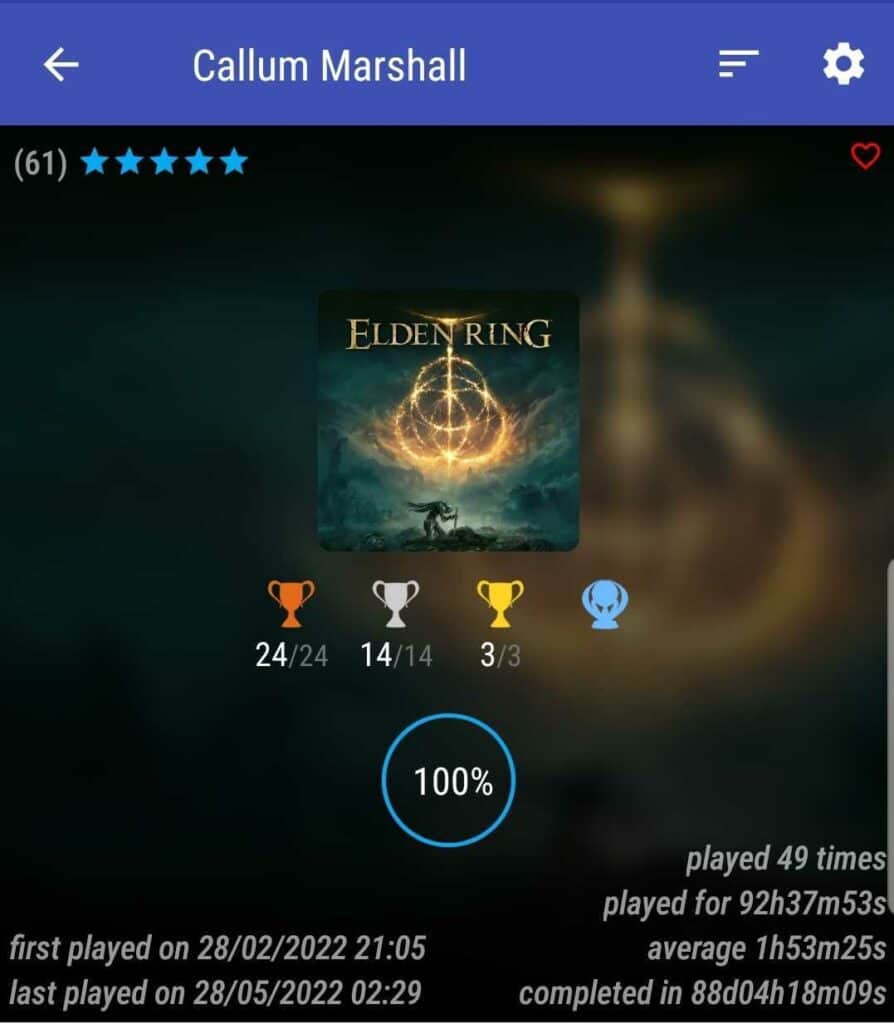
With the release of FromSoftware’s open-world masterpiece Elden Ring, I vowed to play games with more varied gameplay and narrative focus. My journey through The Lands Between rewarded me for making this switch. In my 120-hour assault on the Elden Throne, I transformed from a naive young tarnished to a certified souls veteran with a platinum trophy to ease the burden of the battle scars and the late nights swearing furiously at the TV.
This, my fellow tarnished, is exactly why I am the perfect guy to walk you through the platinum process. Together we will burn the Erdtree, claim the Elden Throne as our own, and most importantly, beat all those pesky bosses. So without further delay, here is our Elden Ring Trophy Guide
Key Details
- Genre: Soulsborne
- Number of Trophies: 42
- Difficulty: 6/10
- Playthroughs Needed: One
- Time to Platinum: 60-120 hours
Roadmap To Success
Okay, so before we jump into the trophy breakdown, let’s lay things out in a smooth, streamlined way so that you know where to begin, and the most efficient path to the platinum. Here is the breakdown below:
Before you begin
Before you even set off beyond The First Step, a few things to keep in mind throughout your journey will ensure you don’t miss trophies or lock yourself out of content. Here is a quick list of considerations:
- When you defeat Mohg, The Omen in the Subterranean Shunning Grounds, do not descend beyond that area and action the criteria for the Frenzied Flame ending, as this will make all other endings impossible.
- Before you burn the Erdtree and turn Leyndell to ash, you must go and grab the Bolt of Gransax. After you change the layout of this area, this weapon is inaccessible, and therefore, you need to get it beforehand.
- Don’t kill Fia, I know it’s tempting to swing your big ol’ sword at anything sentient within a Souls game, but if you kill her before you kill Lichdragon Fortisaxx, this content will be inaccessible. So stow away that blade, Tarnished.
Step One: Battle Through the Main Story Content
While there is perhaps a more efficient way to grab all the trophies in record time, I would suggest to players to just play naturally in the beginning. Get a feel for The Lands Between, and stop to smell the roses if you really want to. The game does a reasonable job of guiding you through the main story content. It introduces you to the six major regions of the map.
So take your time, battle the necessary Shardbearers, and when you stand before the Erdtree and only the Elden Beast stands in the way of you and becoming Elden Lord, that’s when you need to turn on your heel and start paying more attention to a detailed guide. Your results may vary as most of the bosses within Elden Ring are optional, but here are the trophies that you will most likely earn through natural play:
- Margitt the Fell Omen
- Shardbearer Godrick
- Shardbearer Radahn
- Shardbearer Morgott
- Great Rune
- Erdtree Aflame
- Roundtable Hold
- Maliketh the Black Blade
- Red Wolf of Radagonn
- Rennala Queen of the Full Moon
- Magma Wyrm Makar
- Godfrey, The First Lord
- Hoarah Loux The Warrior
- God Slaying Armament
Step Two: Fight The Optional Bosses
Now that you only have one epic fight standing between you and the end of the game, it’s time to make your way around this vast open world, laying waste to the monsters and behemoths lurking in the depths. There are so many bosses within this game. A lot of them don’t warrant a trophy for your efforts, so turn your attention to those listed below if you want to manage your playtime and get things done nice and sharp:
- Shardbearer Rykard
- Shardbearer Malenia
- Shardbearer Mohg
- Dragonlord Placidusax
- Lichdragon Fortissax
- Godskin Duo
- Godskin Noble
- Dragonkin Soldier of Nokstella
- Fire Giant
- Valiant Gargoyle
- Regal Ancestor Spirit
- Mohg, The Omen
- Loretta, Knight of the Haligtree
- Astel, Naturalborn of the Void
- Mimic Tear
- Leonine Misbegotten
- Royal Knight Loretta
- Ancestor Spirit
- Elemer of the Briar
- Commander Niall
Step Three: Find all the Goodies
You’ll be happy to know that most of the hard work is done, and the next part is mostly busy work and clean-up. This step requires the player to get all the legendary gear hidden across The Lands Between. Still, by this point, you’ll have access to the most important Sites of Grace, and you’ll likely have a couple already, so it shouldn’t take too long. Here are the trophies in question below:
- Legendary Armaments
- Legendary Ashen Remains
- Legendary Talismans
- Legendary Sorceries and Incantations
Step Four: Get all the Endings
Then lastly, you’ll want to head back to where you defeated Hoarah Loux, drop a hard save on a USB or cloud storage, and go about defeating the Elden Beast. It’s a tough battle, but after the scraps you’ve been through, it’s more than manageable. After you beat the hulking beast, drop a hard save on a USB or on cloud storage. This will allow you to return to this point a handful of times and action two of the endings needed to get the platinum.
Then you will need to action the criteria for the frenzied flame ending using the first hard save you made, and then sadly, you’ll have to take on the Elden Beast one more time. Here is the set of trophies needed to finish things off:
- Age of the Stars
- Lord of the Frenzied Flame
- Elden Lord
Elden Ring Trophy Guide
So now that you have the map laid out before you, it is time to put those plans into action and begin the grueling process of platinuming a Soulsborne game. Don’t worry, though; you aren’t alone, as we have an individual guide for each trophy, meaning all you have to do is use these strategies effectively. You’ll be done in no time. Okay, here we go:
Margitt the Fell Omen
Rarity: Bronze
Players Earned %: 85.79%
We begin proceedings with the gatekeeper of Stormveil Castle, Margit the Fell Omen. He is pretty much every player’s first trophy unless you head down the Weeping Peninsula first, and he’s no pushover for new players. You will need to defeat him to push forward and earn this trophy. Here are some tips to make this easier:
- You can purchase Margitt’s Shackles from Patches, who is found in Murkwater Cave. This item allows you to stun Margit twice when he is in his first phase.
- Be sure to use Sorcerer Rogier as a summon for this fight. He will likely die before the second phase, but he will cast a few high-damage spells and serve as a distraction throughout
- Try to be at least level twenty and have a decent weapon with around +3/+4 refinement before you take this battle on
- In most cases, rolling is better than blocking in this fight
- Stay away from the edge of the arena, if possible
Shardbearer Godrick
Rarity: Silver
Players Earned %: 81.07%
Next up, we have the first shardbearer that players will naturally encounter in this game unless you are a psycho and went straight to Caelid to fight Radahn. Godrick is one of the easier mandatory fights in this game and offers a nice reward in the form of the best Great Rune in the game, according to most players. You must beat him to earn this trophy.
- Try to get behind Godrick, most of his attacks happen in front of him, and in the second phase, the flame attacks tend to play out for a while, giving you time to whack him repeatedly
- If you have access to blood loss weapons, make use of them here, as Godrick is weak to Blood Loss
- Use the Nepheli Loux summon to distract him; this will help you beat his first phase
- Godrick’s AOE attack is the toughest to avoid, so roll away from the first and then jump over the follow-up to take no damage
Shardbearer Radahn
Rarity: Silver
Players Earned %: 70.09%
Next, we have Starscourge Radahn, a boss that can be very tricky unless you have made some allies in this unforgiving land. However, you can best this boss with the use of summons and staying very mobile throughout. You’ll need to slay him to claim this trophy.
- You’ll need to utilize summon signs in this battle, and you can summon up to six allies to help you. So make sure you make some pals before this fight
- Keep moving, especially during Radahn’s second phase. His meteor showers and slam attacks are brutal, and if you stand still, you’re pretty much asking him to flatten you
- After the initial charge, stay close to Radahn as his long-range attacks are much more dangerous than his short-range combos
- Use Torrent to close the gap on Radahn. Torrent can also be used throughout the battle and can help avoid many of Radahn’s attacks, but this makes you a bit of a glass cannon.
- He’s weak to Scarlett Rot damage, so use this to your advantage
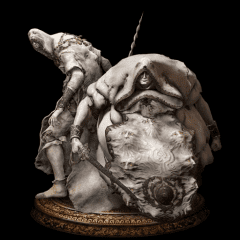
Shardbearer Morgott
Rarity: Silver
Players Earned %: 65.26%
Now we have Margott, another shardbearer that poses a real challenge. The best way to describe him is like Margit but much faster, more powerful, and with much more varied attacks. You’ll need to beat him to make this trophy yours.
- Margit’s Shackles work on Margott as well. So be sure to stun him throughout this fight for some easy hits
- Bring along your Mimic Tear for this fight, Melania is great, but a strong Mimic Tear is much more effective
- Margott is weak to Blood Loss, and Scarlett Rot damage
- Try to get the Haligdrake Talisman before this fight to curb Margott’s intense Holy damage
- Margott is easiest to fight when wielding his hammer, so dodge and wait for this phase to deal damage
Great Rune
Rarity: Bronze
Players Earned %: 77.35%
To get this achievement, you will need to take a Great Rune obtained by beating a shardbearer, and then restore it at the Divine Tower of that region. The easiest of which to restore is that obtained after beating Godrick the Grafted. You can access this area through Stormveil Castle and then crossing the Limgrave Tower Bridge. There are other options, but this is by far the easiest.
Erdtree Aflame
Rarity: Bronze
Players Earned %: 59.85%
To earn this trophy, you will need to defeat the Fire Giant, travel to Farum Azula, and defeat Maliketh the Black Blade. This will trigger the event, and the trophy will pop. Remember to get the Gransaxx Bolt beforehand in Leyndell, or it will be gone forever.
Roundtable Hold

Rarity: Bronze
Players Earned %: 89.35%
This event will happen via natural play. After you beat Godrick, beat a handful of mini-bosses, or use the teleporter near the Third Church of Marika, Melania will speak to you at the next Site of Grace you rest at and offer you access to the Roundtable Hold.
Maliketh the Black Blade
Rarity: Silver
Players Earned %: 57.67%
I’m sure you’ve encountered those annoying, tough lion enemies wielding daggers in their mouths by now, either in Stormveil Castle, Caelid, or Castle Sol. Well, Maliketh is essentially the most powerful of the bunch and will test you to your limit. Beat him, and this trophy is yours.
- Be sure to get the Blasphemous Claw if you want to make this battle as manageable as possible. You’ll need to beat Rykard to do this.
- Use the pillars around the arena to serve as protection during moments of respite
- Bring along your Mimic tear to chip away at him, or to allow you windows to use ranged spell attacks
- Two-hand your weapon in the second phase, as dodging his draining attack is key to success
Red Wolf of Radagon
Rarity: Bronze
Players Earned %: 75.48%
If you are on the way to fight Rennala in the Raya Lucaria Academy, then the Red Wolf of Radagon is a hurdle that you’ll have to clear first. He’s a fast and agile boss, but in truth, if you come prepared, you should sweep him aside relatively easily. If you do, the trophy is yours.
- If you have a shield or talismans that eat up magic damage, be sure to equip those for this fight
- Wait for the right moment to dodge; this battle is all about timing your dodge and counter-attacking
- Lead with a high physical build; this boss has a small HP pool, so you can get this wrapped up pretty fast
Rennala Queen of the Full Moon
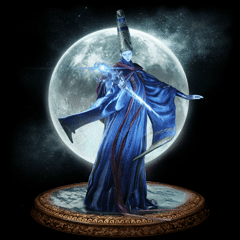
Rarity: Bronze
Players Earned %: 74.21%
Rennala is the main boss of the Raya Lucaria Academy and one of the puzzle-based bosses within the game. Thankfully, this makes her first phase a cakewalk, and with a summon at hand, the second isn’t too tough either. Beat her and claim this trophy.
- To beat the first stage, you must kill all enemies with a golden glow. When these are killed, Rennala becomes vulnerable
- Just like the Red Wolf of Radagon, you’ll want to equip all the gear you have that has magic damage negation.
- In the second phase, go in hard, avoid her summons, and try to wrap things up fast. Playing cautious will get you killed
Magma Wyrm Makar
Rarity: Bronze
Players Earned %: 69.46%
If you want to get to the Atlus Plateau without going to the trouble of acquiring medallion pieces, you’ll need to fight the Magma Wyrm Makar. He’s a bulky dude and hits pretty hard with large AOE lava attacks, but by all accounts, easy if you know what you are doing. Kill him, and pop goes the trophy.
- Bring a summon for this fight. This allows you to get behind Makar and avoid the majority of his Lava spews
- Attack his legs if possible; these are his weakest area and allow the player to stagger him
- Use the pillar to your advantage if the wheels begin to come off
- Use Ranged spells and keep your distance if your character build allows for this
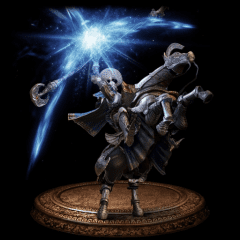
Godfrey, The First Lord
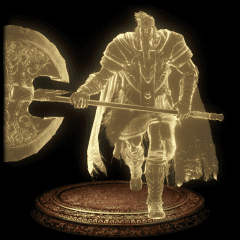
Rarity: Bronze
Players Earned %: 65.74%
Before you make it to Margott, you’ll be greeted not too warmly by the ghostly apparition of Godfrey. This boss is a taster of what is to come from the real Godfrey and uses some powerful physical attacks. Avoid, counter and get this trophy when he falls.
- He is weak to Scarlett Rot, so be sure to prepare for this battle with weapons and items that utilize this damage type
- Grab the Dragoncrest Shield Talisman if you can to absorb some killer blows
- Don’t block; keep moving, keep dodging
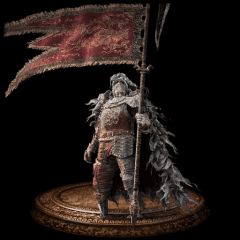
Hoarah Loux The Warrior
Rarity: Silver
Players Earned %: 56.80%
Hey, remember that Godfrey fella from the entry above? Well, he’s back, he’s not a ghost anymore and wants to kick your ass. Then just when you get going, he becomes Hoarah Loux, and take it from me, that’s a terrifying prospect. This is one of the toughest fights you will face in the game but winning means another trophy for the pile.
- Just like his ghost form, he is weak to Scarlett Rot, but honestly, you are better going with a bleed build
- Ignore Nepheli’s summon and stick with your Mimic Tear
- Give him lots of space when he performs his chain AOE attacks
- Avoid his grabs at all costs
God Slaying Armament
Rarity: Silver
Players Earned %: 61.06%
The player will earn this one for upgrading their chosen weapon to the highest possible grade (+10). You’ll need a Somber Ancient Dragon Smithing Stone for this procedure.
Shardbearer Rykard
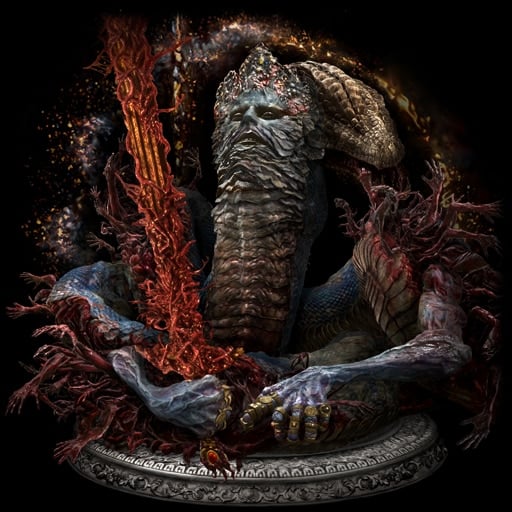
Rarity: Silver
Players Earned %: 61.83%
If you head out to Mt Gelmir and visit Volcano Manor, you’ll eventually stumble upon the lair of Rykard, a very freaky snake with an insatiable need to turn you into a paste. This boss hits hard, but his fight is pretty gimmicky, which translates to a simple fight. Beat him, and the trophy is yours.
- Pick up the Serpent Slaying Blade at the beginning of the fight; this is the key to success
- Use spirit Summons to distract him, allowing you to chip away at him with the Serpent Slaying Blade
- Be Wary of his sword during his second phase
- Stay out of the Lava, duh
Shardbearer Malenia
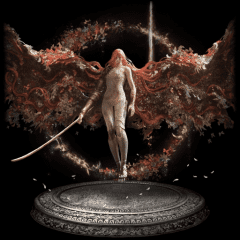
Rarity: Silver
Players Earned %: 55.03%
Now we have Malenia, Blade of Miquella, who is easily the toughest boss in Elden Ring. Unless you can employ the services of the ‘Let me Solo her’ guy, this will be a real test and undoubtedly too many attempts. However, this trophy will be yours to keep if you remain persistent.
- Go with a bleed build to knock off large chunks of HP
- If you can stagger with charge attacks, do so, as her poise is relatively low
- NPC Summons are relatively ineffective here, but Black Knife Tiche can help in a pinch
- Use Freezing pots to cancel Waterfowl Dance
- Learn her patterns carefully and find perfect windows to dodge, as absorbing attacks allow her to heal
Shardbearer Mohg
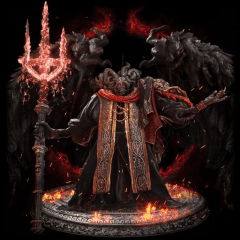
Rarity: Silver
Players Earned %: 58.17%
The final shardbearer on this list is the Lord of Blood himself, Mohg. If you have battled Mohg The Omen by this stage, this battle is similar but with a few unique quirks and a lot more Blood Loss to worry about. However, this trophy is in the bag if you can keep him at bay and slay him.
- You should acquire Mohg’s Shackles in the Subterranean Shunning Grounds before this fight. These work the same as Margit’s Shackles and allow you to stun him twice in his first phase
- Lock on in this fight will only hinder you, so free your camera and keep your eyes on him manually
- Mimic Tear works great here
- Comet Azur right at the start of the fight is very effective
- Save your healing flasks for the blood-leeching attacks
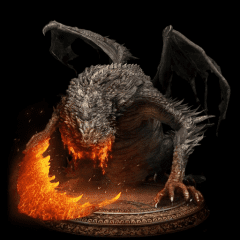
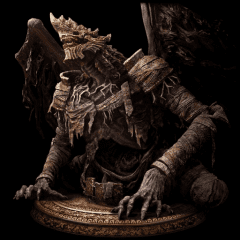
Dragonlord Placidusax
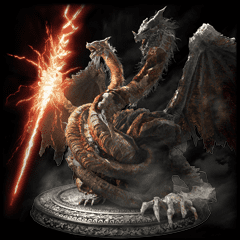
Rarity: Bronze
Players Earned %: 52.31%
The whole area of Farum Azula gave me huge Dark Souls 3 vibes, and no battle leaned into this more than the one with Dragonlord Placidusax. This huge arena sees you fight the most devastatingly powerful dragon within the game. A tough battle for sure, but that will make the trophy all the sweeter.
- Blocking is practically useless here. Two-hand your blade, learn his attack patterns, and dodge accordingly
- Watch the floor as this will telegraph lightning attacks
- Turn the volume up for this fight; audio cues are the only consistent way to dodge his teleport dashes
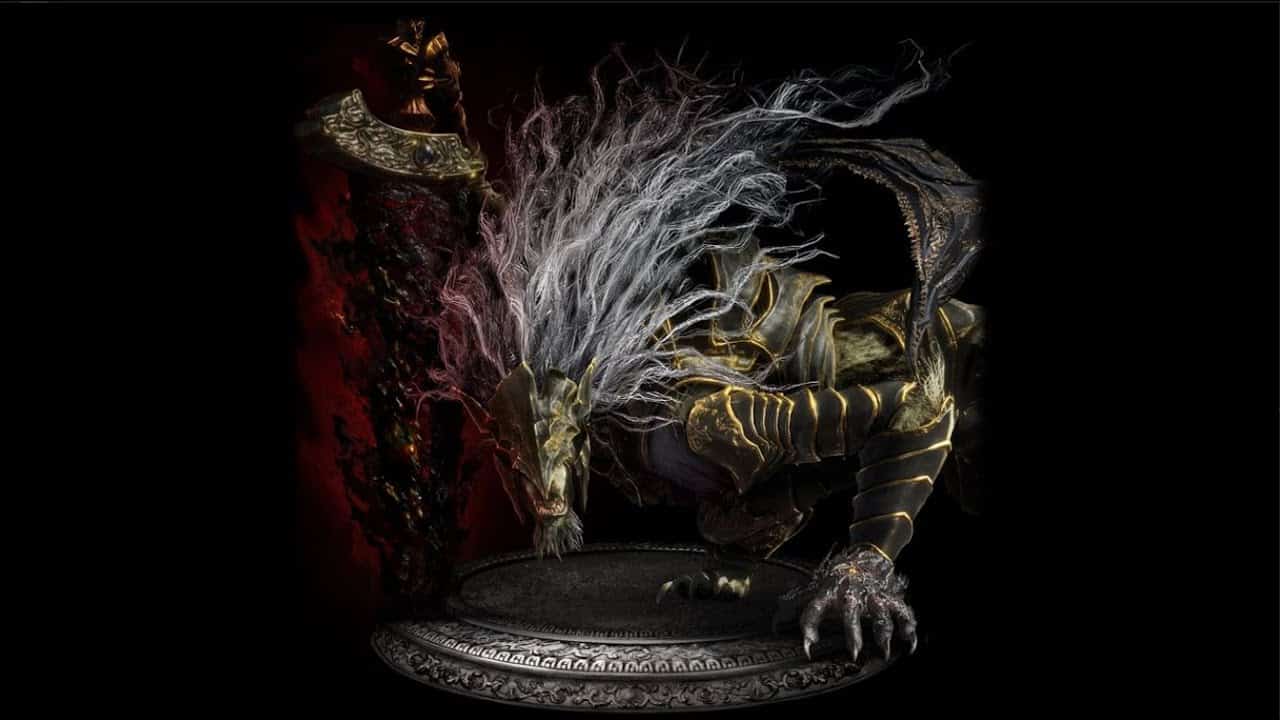
Lichdragon Fortissax
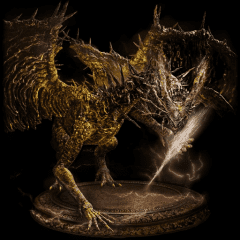
Rarity: Bronze
Players Earned %: 54.95%
If you are doing Fia’s questline, Lichdragon Fortissax serves as the end-boss for that quest, and a tough one at that. This boss could devastate you from long range if you aren’t reactive right out the gate. However, if you can close the gap and get some damaging blows in, this monster will fall, and the trophy will pop. Remember, don’t kill Fia before you beat this boss, or you won’t be able to fight them.
- Up close and personal is the order of the day here. Get behind this beast and chop away at its hind legs
- Mimic Tear is useful but summon him when you close the gap, as if summoned before, they will get blown away by powerful long-range attacks
- Get out of blight clouds fast; this is a quick way to die if you aren’t wary
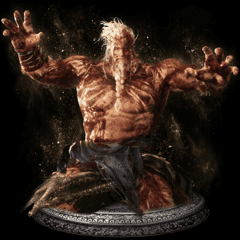
Godskin Noble

Rarity: Bronze
Players Earned %: 58.93%
Before you reach Rykard, you will likely run into the Godskin Noble, a rather plump and deadly foe. If you have access to a strong summon and a bleed build, this isn’t too tough of a fight, but you’ll need to keep your wits about you if you want to beat them and earn this trophy.
- Use a bleed build to knock huge chunks off his HP; a frost build is also a viable option
- Equip some fire negation items to negate Godskin Noble’s Black Flame attack. The Flamedrake Talisman +2 is ideal
- These combos are long, so be sure he’s done before you lunge in
- Roll into his own rolling attack
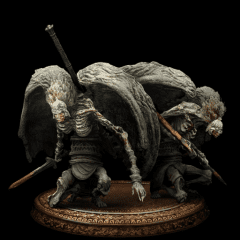
Godskin Duo
Rarity: Bronze
Players Earned %:
What’s worse than a Godskin Noble? Well, how about them and then a Godskin Apostle thrown into the bargain. This battle is darn near impossible unless you get a helping hand from your Spirit Ashes. If you can distract them, keep them separate, and cut them down effectively, then another trophy is coming your way.
- Break out your Mimic Tear for this one; try to use them to Aggro the Godskin Noble. The Apostle is much easier to handle.
- Keep a line of sight on both enemies; if you can’t see them, you are probably about to take a beating
- Keep them both relatively close to avoid ranged attacks
- When your summon falls, turn your attention to the Godskin Noble
Dragonkin Soldier of Nokstella
Rarity:
Players Earned %:
There is a huge map directly under the main map of the Lands Between, adding to the sheer volume of areas to explore in this game. The Ainsel River is a key area of the map down below. Here you will encounter the Dragonkin Soldier of Nokstella. This boss can be tough for low-leveled players but doesn’t pose too much of a threat otherwise. Beat him and claim this trophy.
- Nestle in behind this enemy’s back knees and swing at will; they cannot hit you as long as you adjust to remain in this position
- Don’t use camera lock in this fight; it allows you to maintain this position easier
- Don’t get too greedy; if you need to dodge and react, do so, as he’s no slouch if he hits you
Fire Giant
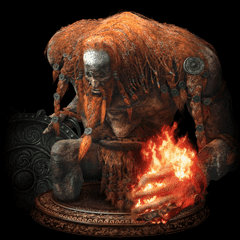
Rarity: Bronze
Players Earned %: 60.88%
Now we have a mandatory boss and guardian of the Giant’s Forge, the Fire Giant. This boss can be a tough battle if you don’t know his weaknesses and gimmicks. However, with these in your tool belt, he falls pretty easily, and this trophy can be added to your collection.
- As the name would suggest, equipping all the fire negation gear you have would be a good move
- This weakest area is his unshackled left ankle, so direct all your attention to that limb.
- Torrent is an asset during this fight. He can help you stay mobile, just be careful to be knocked down and stomped on
- Use ranged attacks to detonate Fire Orbs before they become an issue
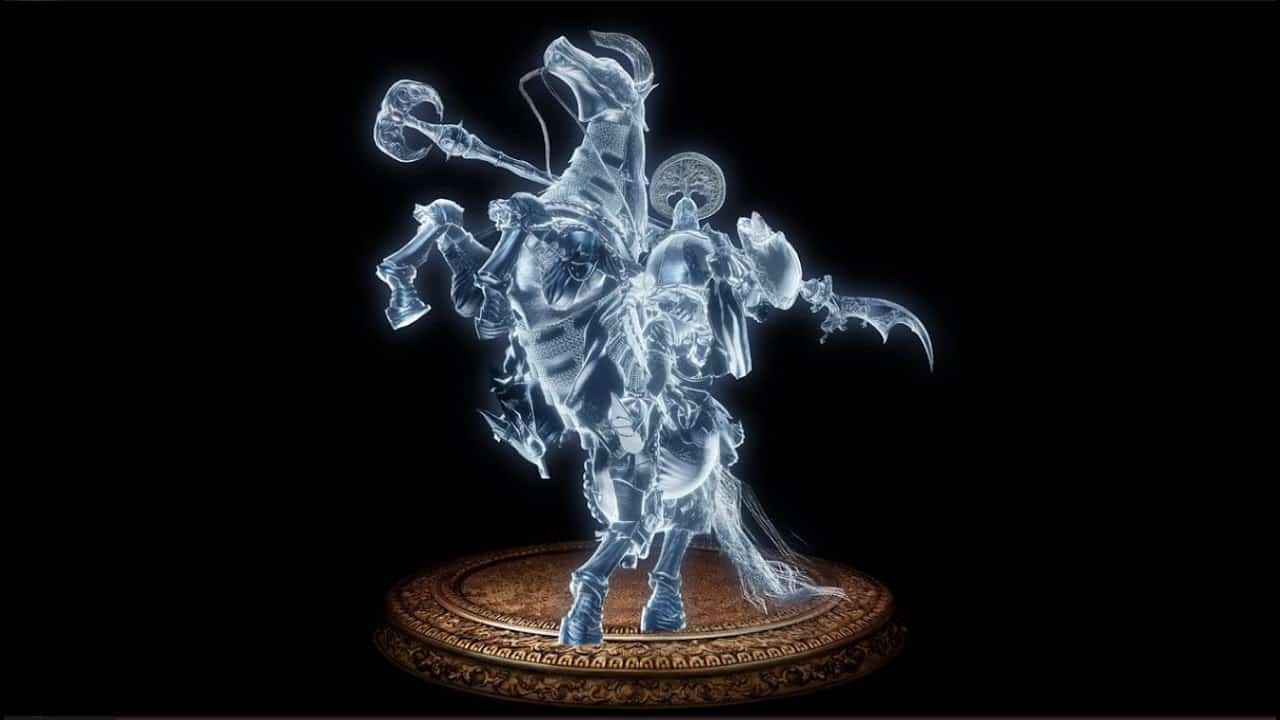
Valiant Gargoyle
Rarity: Bronze
Players Earned %: 61.96%
Aside from the obvious choices, the Valiant Gargoyle duo is one of the toughest boss battles in the game. The main issue is that there are two of them, which is never good. Plus, they have no weaknesses, so it’s all about physical damage and battle strategy here. However, you can make this trophy yours with enough grit and determination.
- Mimic Tear is near essential in this fight to lure away one of the gargoyles long enough to even the playing field
- Have items on hand to take care of poison status effects
- Magic attacks make this battle significantly easier if your build allows for it
Mohg, The Omen
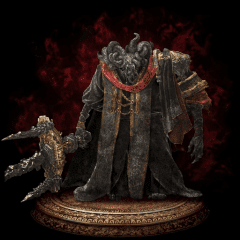
Rarity: Bronze
Players Earned %: 56.87%
If you have beaten the Lord of Blood, Mohg The Omen only serves as a tame understudy to the Lord of Mohgwyn Palace. He is a much more standoffish version of the battle with Shardbearer Mohg, and with the aid of Mohg’s shackles, you should be able to earn this trophy without much issue.
- Comet Azur works well when Mohg slowly closes the gap
- Fire negation equipment works well here
- The arena is a pretty tight space; try to stick to the more open areas to allow room to avoid attacks
Loretta, Knight of the Haligtree
Rarity: Bronze
Players Earned %: 57.67%
When visiting Malenia at the Haligtree, you’ll likely run into Loretta; she’s essentially a higher form of the boss you’ll fight at Caria Manor. This is a much tougher fight than the one you’ll have with her spirit form. However, thanks to the similar attack patterns and relatively weak movesets, this one should be one of the easier end-game fights on offer.
- Blocking is an option, but two-handed wielding and effective dodges will end the battle a lot quicker
- Her attacks are well telegraphed, so give her space to make her move, then counter
- Magic Negation items are good for this fight
- The Erdtree Greatshield is a wonderful tool to have in this fight, allowing you to keep her at range and retaliate with blasts from blocks
Astel, Naturalborn of the Void
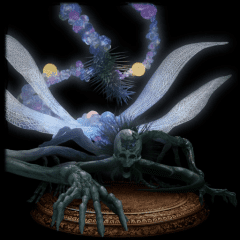
Rarity: Bronze
Players Earned %: 62.97%
When completing Ranni’s questline, the end boss of this sequence is Astel. This huge magical being has the power to annihilate players with brutal magical beams. However, this boss has a lot of weaknesses, making it a glass cannon of sorts. So the trophy is all but yours if you play your cards right.
- Watch out for the ranged astral laser beams; these are easily the most devastating attacks they have to offer
- The Erdtree Greatshield can be a good tool here to help deflect magical attacks and close the gap
- The beast is very weak to magic, so if you aren’t a magic user, I will urge you to summon another player to help with this section
- When He teleports, start moving immediately to close the gap
Mimic Tear

Rarity: Bronze
Players Earned %: 67.88%
The Mimic Tear can be a reasonably tough fight or a complete joke of a fight, depending on how you treat this enemy’s gimmick. The Mimic Tear will match the strengths, weaknesses, buffs, and equipment that you have entered the fight with. When you beat them, you’ll get the best Spirit Ash summon in the game and a trophy to boot.
- If you approach this fight normally, you know your build better than anyone, so use items, weapons, and skills that work effectively against you. Think of it as a very surreal invasion fight.
- If you want to cheese this fight, enter the fight with no armor, no weapon, and no equipment, then equip it all again when they spawn in. Then wail on this unprepared, helpless little clone
Leonine Misbegotten

Rarity: Bronze
Players Earned %: 78.49%
If Margit isn’t the first boss-related trophy you earn, then Leonine Misbegotten probably will be. They are located down in Castle Morne and serve as a much more accessible and palatable first key boss than the main storyline path. They are fast and use a flurry of attacks to disorient players, but if you keep your cool, you should be another trophy to the good.
- You might as well go two-handed for this fight and utilize dodging, because Leonine never really stops coming at the player
- Watch out for the occasional jump attacks by side-rolling
- Use a bleed weapon if you have one
Royal Knight Loretta
Rarity: Bronze
Players Earned %: 78.24%
Remember the fight with Loretta we mentioned above at the haligtree? Well, this is the much easier, much more tame version of that fight. The exact same strategy applies here, so refer to the entry above.
Ancestor Spirit
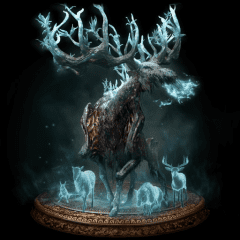
Rarity: Bronze
Players Earned %: 67.05%
This boss is encountered in the Soifra River area and serves as one of the few puzzle bosses needed to earn the platinum trophy. You’ll need to light eight obelisks around the immediate area. Then when you do this, the area with the deer carcass will glow, and the fight with the Ancestor Spirit begins. This battle plays out the same as the Regal Ancestor Spirit aside from the self-healing capabilities of the Regal stag, so refer below for a strategy guide.
Regal Ancestor Spirit
Rarity: Bronze
Players Earned %:
This one plays out pretty much the same as the boss listed above, only this one hits harder and has a tougher second phase that can catch you off guard if you aren’t careful. However, earning this trophy is a cinch relative to other challenges in this game.
- Take out the spirit animals to stop the Regal Ancestor from healing
- Roll into this beast’s rolling attack
- Avoid AOE frost damage
Elemer of the Briar

Rarity: Bronze
Players Earned %: 62.09%
Resembling a tanky version of a Bell-Bearing Hunter, Elemer of the Briar is the boss of the Shaded Castle area of Atlus Plateau. This is a relatively tough battle despite the copy-and-paste nature of this enemy. However, after battling much tougher foes, this won’t be anything too challenging.
- Try to stay in the middle of the small arena to avoid being cornered
- If you are a magic user, keep your distance, use a spell, then dodge, get space, and repeat
- If you are a melee fighter, it’s all about getting up close and personal and using charge attacks with heavy weapons to break their poise and do huge visceral damage
Commander Niall
Rarity: Bronze
Players Earned %: 60.84%
Then lastly, for the trophy-related boss battles, we have Commander Niall, the boss of the Castle Sol legacy dungeon. Niall is a very tough opponent, even with a Mimic to help you out. However, if you take out his cronies early and prepare carefully, he will fall, and you’ll be done fighting bosses. Huzzah!
- Lightning negation is key here as Niall’s attacks are largely lightning based
- Kill the two-handed enemy first as he is the tougher enemy. Hug the back left corner and agro him over before the other enemy
- Try to keep the other enemy alive and pick away at Niall’s health. When both enemies fall, he becomes much more aggressive
- Watch his leg; when he raises his leg, that means run
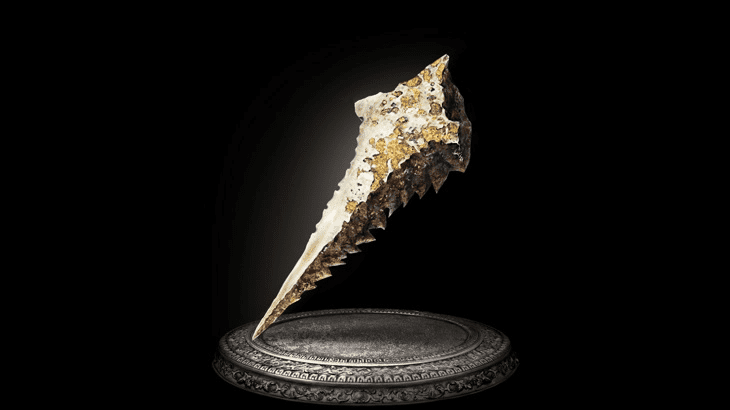
Legendary Armaments
Rarity: Silver
Players Earned %: 48.34%
Now, we move on to the collectible entities that players will need to acquire to earn the platinum. I’ll keep this as brief as I can. Here is where you can find all the Legendary Armaments:
- Grafted Greatsword – Defeat Leonine Misbegotten at Castle Morne
- Sword of Night and Flame – Found in Caria Manor near the Upper Manor Site of Grace
- Ruins Greatsword – Beat the Misbegotten Warrior and Crucible Knight at Redmane Castle
- Marias Executioner Sword – Slay the Elemer of the Briar
- Dark Moon Greatsword – Complete Ranni’s Questline
- Bolt of Gransax – Obtained in Leyndell Capital before defeating Maliketh The Black Blade
- Eclipse Shotel – Found at Castle Sol
- Devourer’s Scepter – Kill the Warmaster at the Warmaster’s Shack or Found later in Farum Azula
Legendary Ashen Remains
Rarity: Silver
Players Earned %: 49.55%
Next up, we have the Legendary Ashen Remains; here is a list of where to get your hands on them:
- Redmane Knight Ogda – Found in the mini-dungeon found in the area you defeat Starscourge Radahn
- Ancient Dragon Knight Kristoff – Obtained in the Sainted Hero’s Grave area near where you begin the game
- Lhutel The Headless – Found in the Tombsward Catacombs
- Cleanrot Knight Finlay – Found at the Haligtree, nearest the Prayer Room site of grace
- Black Knife Tiche – A Reward for defeating the Black Knife Assassin at the Ringleader’s Evergaol
- Mimic Tear – Obtained for defeating the Mimic Tear boss in Nokstella
Legendary Talismans
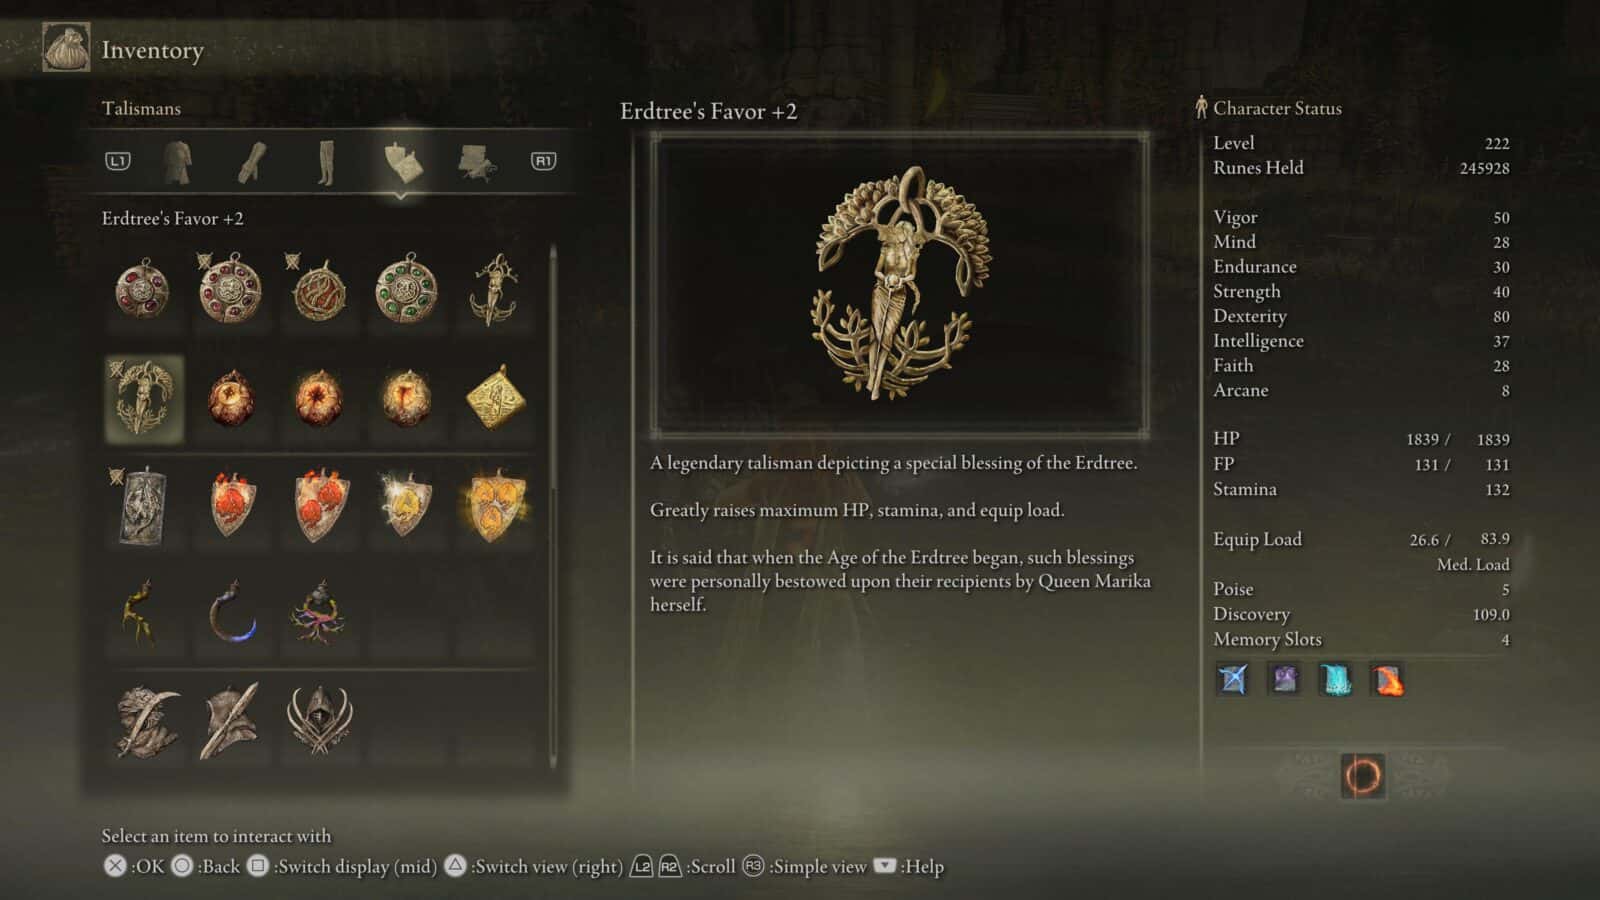
Rarity: Silver
Players Earned %: 49.30
Let’s keep things moving; this time, it’s legendary talismans. Check out where to pick them up below:
- Dragoncrest Greatshield Talisman – The Great Haligtree
- Godfrey Icon Talisman – Golden Lineage Evergaol
- Moon of Nokstella – Nokstella Eternal City
- Marika’s Soreseal – The Great Haligtree, near the Elphael Inner Wall Grace Site
- Old Lord’s Talisman – Farum Azula
- Ragadon Icon – Debate Parlor
- Erdtreee’s Favor +2 – Leyndell Capital after burning the Erdtree, accessed via the Forbidden Lands Site of Grace
Legendary Sorceries and Incantations
Rarity: Silver
Players Earned %: 49.32%
Then lastly, for items to collect, we have Legendary spells and incantations. Here is a list of locations below:
- Ranni’s Dark Moon – Chelona’s Rise
- Founding Rain of Stars – Heretical Rise
- Comet Azur – Hermit’s Village
- Star’s of Ruin – Sellia Hideaway
- Greyoll’s Roar – North of Fort Farron (Caelid)
- Flame of the Fell God – Malefactor’s Evergaol
- Elden Stars – Deeproot Depths
Elden Lord
Rarity: Gold
Players Earned %: 48.82%
Now, we wrap things up with the endings required to make that platinum pop. Firstly, we will do the Elden Lord ending, which can effectively apply to four different endings within Elden Ring, which see you become Elden Lord. For all endings required, you will need to defeat Ragadon and the Elden Beast so let’s break down some strategies to help you do that first of all:
Radagon:
- Equip Crucible Tree armor and a form of the Haligdrake Talisman to boost Holy damage
- Fire Damage works well in this fight
- Don’t roll to dodge their AOE attacks; jump instead
- Guard Counters are brilliant for breaking poise and landing combos
Elden Beast:
- Never stop moving forward; close the gap as fast as you can
- Attack the sides of the enemy, avoid attacking head-on
- Don’t lock on to this beast; a free camera works much better
- Equip Crucible Tree armor and a form of the Haligdrake Talisman to boost Holy damage
Okay, now that the bosses standing in the way have been covered, it’s as simple as choosing an outcome in the end area, and the game will end. Provided you have not finished Ranni’s questline or Accepted the Frenzied Flame, then it doesn’t matter what you choose with regards to earning this trophy.
Age of the Stars
Rarity: Gold
Players Earned %: 51.12%
Now we have the Age of Stars ending, which requires the player to complete Ranni’s questline. So let me give you a rundown of what needs to happen aside from the general criteria to end the game.
- Encounter Ranni in Liurna at Ranni’s Rise after exploring Caria Manor
- Find Blaidd in the Siofra River
- Speak to Selvius, who will direct you to Sellen
- Head to the Waypoint ruins, Defeat Mad Pumpkin Head, and speak to Sellen
- Head to the Festival at Redmane Castle in Caelid
- Defeat Starscourge Radahn
- Head to Forlorn Hound Evergaol and use a finger snap gesture, then free Blaidd
- Descend into Nokron and Defeat Mimic Tear
- Find the Fingerslayer Blade in the Night’s Sacred Grounds and give it to Ranni
- Visit Carian Study Hall and examine Globe to flip the building
- Travel to Nokstella, speak to the Ranni Doll and defeat the Baleful Shadow
- Traverse the Lake of Rot and get in the stone coffin near the Grand Cloister grace site
- Defeat Astel, Naturalborn of the Void
- Head to the Cathedral of Manus Celes and speak once more to Ranni
This ends the questline. Then, when you beat the Elden Beast, simply select the ending option relating to Ranni, and this trophy will pop.
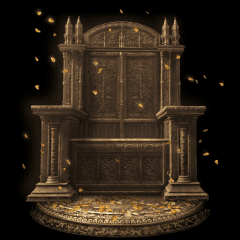
Lord of the Frenzied Flame
Rarity: Gold
Players Earned %: 46.69%
Then lastly, we have the Lord of the Frenzied Flame, one that can easily be missed. There aren’t quite as many steps to obtain this ending. In fact, all you have to do is Defeat Mohg, The Omen, then open the passageway directly beyond where you thought him. This will open up a new area where you will have to do some very particular and incredibly frustrating platforming. Once at the bottom, you will be faced with a doorway. The only way to proceed is by removing all of your armor, weapons, everything.
This will allow you to interact with the Three Fingers and will lock you into this ending unless you undo your actions by completing Millicent’s full questline. You then simply go about your business and beat the Elden Beast to select this ending. Unlike the other two endings, you will not be able to use safe manipulation to avoid fighting the Elden Beast again, so you will have to fight them at least twice to platinum this game.
Conclusion
If you managed to beat every challenge set before you, endure the pain and punishment of the boss battles, and find all the hidden secrets hidden within this expansive and frankly wonderful game, then I salute you. This may be one of the most accessible Souls games out there, but Elden Ring is by no means a cakewalk. It takes skill, patience, persistence, and practice to ace this challenge, and I can only hope this guide has seen you through to the other side. If you liked this one, maybe follow it up by checking out my review of Elden Ring over at RPG Informer. As always, thank you for reading Avid Achievers!
FAQ Section
Question: Is Elden Ring Hard?
Answer: Depends on your disposition towards and experience with Soulsborne games, I suppose. For a casual gamer with no skin in the game, this will be a real slog and be an uphill battle right until the end, even with lots of multiplayer summons to help ease the burden. However, as a Souls veteran, I would say it’s a mid-tier difficulty when weighed up against the rest of the FromSoftware catalog.
Question: How Long is Elden Ring?
Answer: Again, depends on your ability and your approach. Realistically you will need to set aside at least sixty hours to platinum this game, and perhaps half of that just to finish the main story in some regard. This could be shorter if you take a rather extreme, streamlined route through the game. It could be longer if you did all the additional content and regularly stopped to smell the roses like me. Essentially, your mileage may vary.
Question: What Is Elden Ring’s Hardest Boss?
Answer: It’s not even a conversation; it’s Malenia, Blade of Miquella. She is a certified killer; she heals every time she lands a hit on you, she has the most deadly move in the game, Waterfowl Dance, and she has two phases when quite frankly, one was hard enough. Outside of Malenia, these are five other bosses that I would say will give you the hardest time:
- Hoarax Loux The Warrior
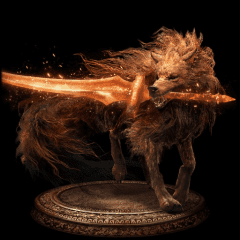
- Starscourge Radahn
- Full Grown Fallingstar Beast
- Commander Niall
- Maliketh The Black Blade