

Anthony enjoys deep diving into strategies and explaining them to people whilst they blankly stare back, and is also a big fan of cosplay and creating assets for Cons and events in his spare time.
- Evil Dead Achievements Guide - May 30, 2023
- Just Cause 3 Speedrun Guide – How to Liberate Medici at Breakneck Speed. - May 18, 2023
- Dishonored Speedrun Guide – Corvo’s On The Clock - May 13, 2023
Simpsons Hit & Run (SHAR) is one of those rare games that’s seen a resurgence in popularity many years after its release. At the time of writing, SHAR is almost 20 years old! And has arguably never been topped as the best Simpsons video game.
I’m not sure if it’s because SHAR is the best Simpsons game, or it’s just a great game in general, but this title has quite the Speedrunning community. Driving games are traditionally uncommon in Speedrunning unless you include legends like Mario Kart.
This alone makes SHAR Speedrunning unique, and as you’d expect from a game almost two decades old, there are some great bugs to exploit!
In this Simpsons Hit & Run Speedrun Guide, I’ll explain all the games’ flashy tricks and secrets. I won’t be presenting a complete route through the game, as describing a run turn by turn would make for a terrible read!
Instead, I’ll show you how to tackle each area, including areas you can ‘Reset’ at to warp around. I’ll also explain mission-specific tech to help beat the game at breakneck speed. If you’re ready to tear up Springfield, let’s begin!
Bottom Line Up Front
Simpsons Hit & Run is a fantastic game to Speedrun, thanks to many simple but effective tricks and glitches that spice up the run. The hardest things to learn are ‘Coin Routes,’ specific routes through the game to ensure you always have enough money to progress. If you’re willing to put in the time to learn, SHAR is a ton of fun to Speedrun, and it’s always great to revisit a classic.
Before you Begin
I know the feeling; you just want to turn the game on and start throwing down some legendary times! I have no intention of keeping you away from that, but there are a couple of things you’ll want to do first!
Picking a Category
This guide will provide helpful insights no matter what category you choose, but the most popular by a long shot is ‘All Story Missions.’ This category runs through each mission from start to finish and is sure to test your driving skills! This is a superb category for fledgling runners as it’s similar to a standard playthrough of SHAR with clever tricks and optimizations thrown in.
Although pailing in comparison to ‘All Story Missions’, other popular categories include ‘Any%’, which is usually a little faster, and ‘100%’, which generally takes 3-4hours.
Timing your Speedrun
The most popular program to record Speedruns is LiveSplit. It’s easy to use, and it’s free! LiveSplit can split your Speedrun into sections (splits) and even display if you’re on pace vs your past attempts. You can download it from the Official Website
Recording your Speedrun
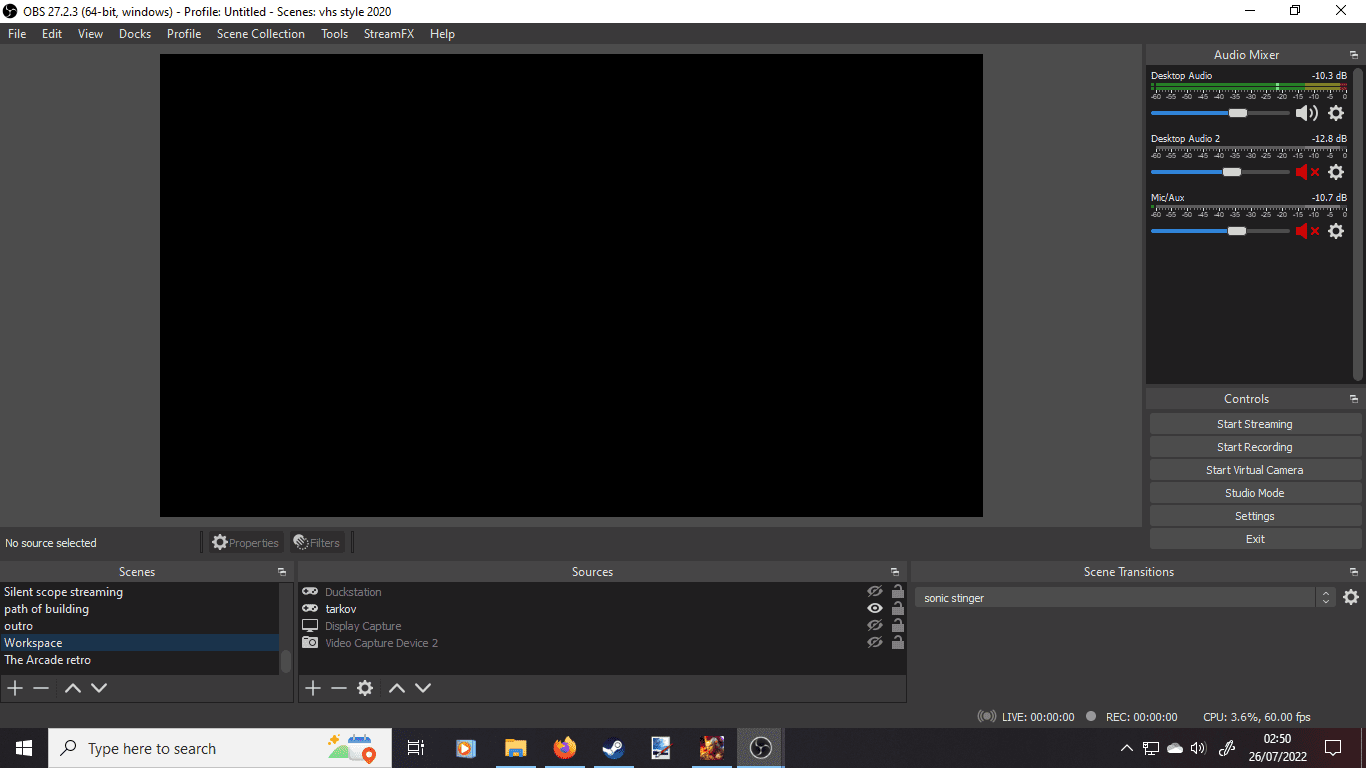
Any submitted runs of SHAR must have a permanent video attached. This means you cannot stream the game and just link to the Livestream in question, although Twitch Highlight is fine. OBS, a free recording and broadcast software, is the most popular program to record gameplay.
Playing on a console, you will need a capture card to submit runs. Make sure to research what product will suit your needs, as when I’m recording PS2 footage, I have to use an ‘Elgato Game Capture HD,’ an old capture card.
Frame Rate Governs EVERYTHING
SHAR has questionable physics, and even through standard play, all manner of physics-based glitches will occur. Losing control of your car or launching it across the map are commonplace and things you’ll just expect in a playthrough.
As it turns out, some of these issues are tied to the game’s Frame Rate and can be remedied by increasing it. It’s impossible to tinker with your Framerate without Mods, but fortunately, an incredibly user-friendly Mod Tool is available. 60-80FPS is recommended for beginners. Even some top runners stick with 60FPS, but at the highest level, you’ll see more runners playing at 150FPS.
Lucas’ Simpsons Hit & Run Mod Launcher
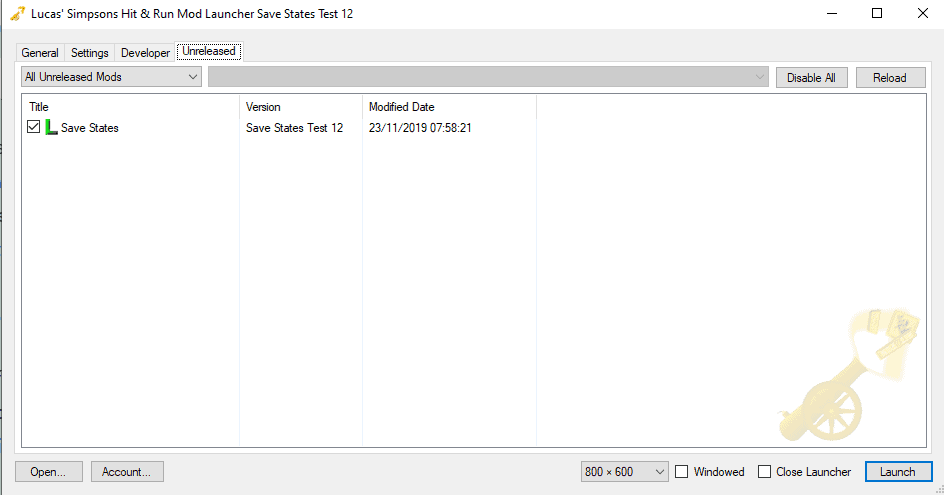
I’ve used a bunch of Mod Tools, and this is undoubtedly one of the best and easiest to use. This Mod Tool is available to download from the Donut Team Website. Once you’ve downloaded it, simply open it, pick what mods you want to use, confirm what folder your Simpsons Hit & Run game is in, and you’re good to go!
The best part of this Mod Tool is the Save States option in the ‘Unreleased’ tab. This allows you to save and load the game using the ‘1’ and ‘2’ keys.
Core Mechanics
In this section, I’ll explain away some of SHAR’s Speedrun lingo. I’ll also explain why you see certain things in Hit & Run Speedruns (like why runners flick their camera backward) and how you can do these yourself.
Hit & Run
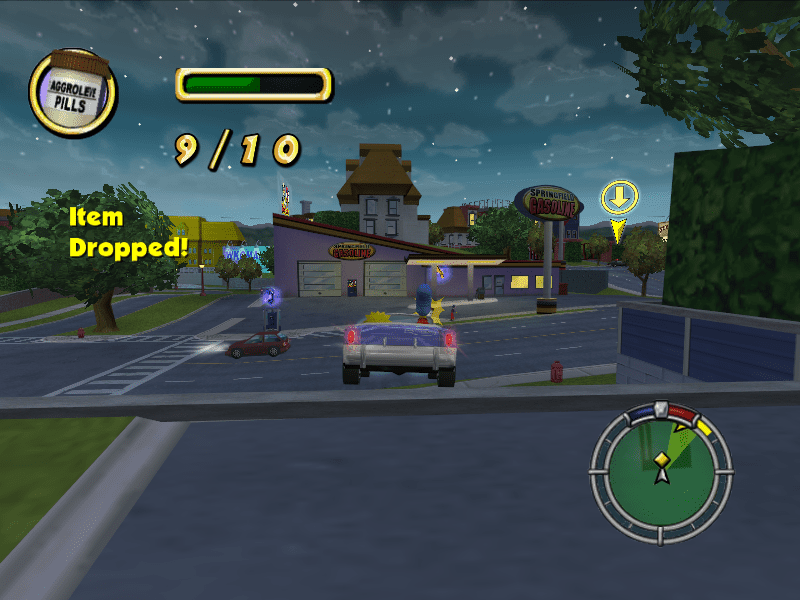
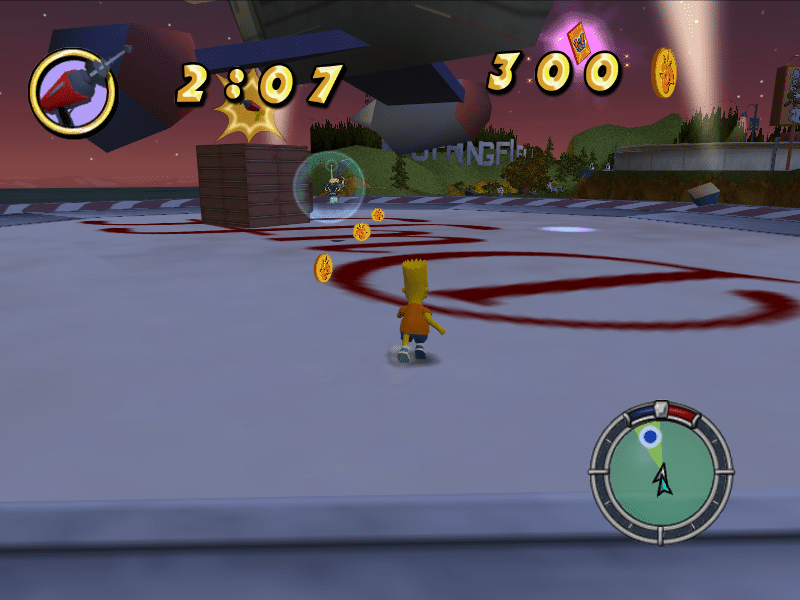
Hit & Run triggers when the bar around your radar grows and turns red. This bar fills up when you do things like crashing into pedestrians and breaking public properly. Upon triggering, you’ll be chased by the police, and if they catch you, you’ll lose 50 coins. This can be disastrous in a Speedrun that lives and dies by your coin count! Drive carefully if this meter starts to get too high.
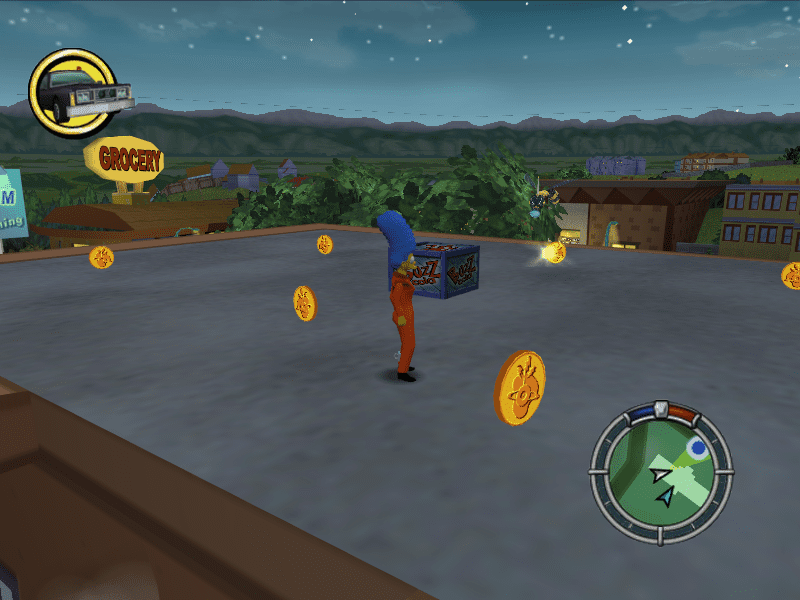
Coin Routes
Coin Routes are basically paths Speedrunners follow through the game to ensure they always have enough coins. Coins are a tremendously important part of Simpsons Hit & Run. Multiple times throughout the game, you need coins for new vehicles and even outfits that are mandatory to progress.
This isn’t an issue in a standard playthrough, as you can just collect coins while exploring Springfield. Of course, in a Speedrun, you don’t have that luxury.
With this problem in mind, SHAR Speedrunners follow ‘Coin Routes.’ These are optimal routes for speed, and they pass just enough coins to progress through the game. These Coin Routes are the chief reason this guide more broadly covers each area.
There are dozens of ways to approach some missions in SHAR, and none are ‘wrong.’ Finding a ‘Coin Route’ to follow is easy; watch any Speedrunner make their way through the game and do your best to hit the boxes, wasps, and vending machines they do. A link to the Speedrun.com leaderboards is in the ‘Useful Resources’ section of this guide.
E-Brake Boosting
E-Brake Boosting gives your car a small burst of speed. It’s helpful if you’ve pinned a vehicle against a wall and want to damage it quickly.
It’s not a tricky technique, but it will initially feel alien. I like to think of it as a 3-step process. First, simply hold and then let go of ‘Reverse’. The moment you let go of ‘Reverse, hold E-Brake and Accelerate. Finally, let go of E-Brake whilst keeping Accelerate held down. You don’t need to hold E-Brake for long; it feels like an extended press. If you need to do it multiple times, repeat the three steps.
Quick Vehicle Entry
This only saves a little time, but as you’re constantly entering vehicles, doing this will add up. If you enter a vehicle from the side, your character will open the door and get inside. If you’re on top of the car and get in, the game will teleport you inside immediately. This only works for some cars but is a habit you should get into.
Warping with ‘Mission Select’
Springfield is a lovely place, but as you’re Speedrunning, you want to avoid taking the scenic route whenever possible. Once you’ve completed a Mission, open your Pause Menu, then ‘Mission Select’. The next mission will be at the bottom of the list. If you press ‘Up’, you’ll immediately select the latest task; upon pressing confirm, you’ll be warped straight there.
SHAR’s Weird and Wonderful Camera
The camera in Hit & Run does much more than just help you see things. It’s broken, and it’s glorious! If you’ve watched SHAR Speedrunners and noticed they flick their camera to look behind them all the time, this is because of how it affects objects in the world. If you briefly look behind you, it can cause traffic in front of you to de-spawn. Yes, you read that right; you can delete traffic by angling your camera!
This camera trick even has uses in chase missions too. When you’re tailing a vehicle, the AI driver tends to behave erratically and will crash into things. If you’re looking the other way, AI seems to drive much better. This is a bizarre interaction, but it can be used to make chase sections much more consistent.
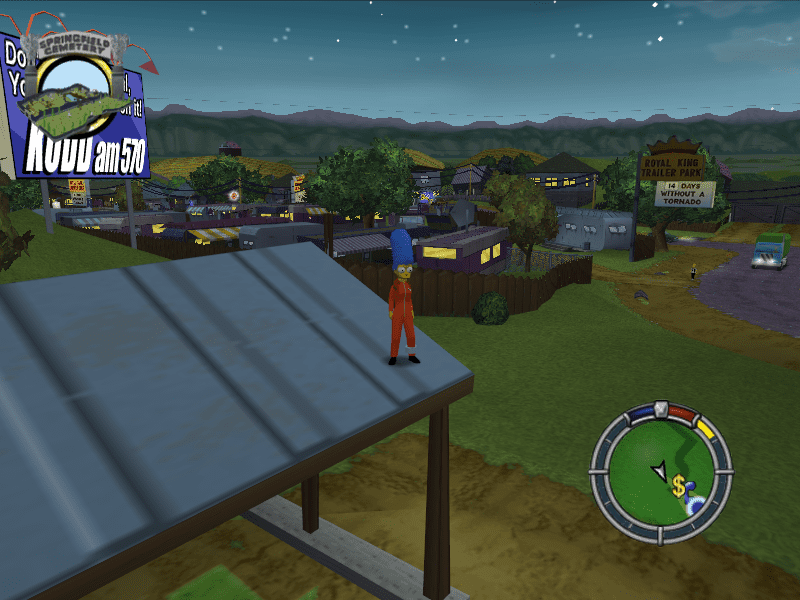
Resets
Traditionally, the ‘Reset’ button puts your vehicle back on the road and is helpful if you get stuck somewhere. For Speedrunning, the Reset button is used to Warp around the map in ways the developers never intended!
All you have to do is press ‘Reset’ in specific places, and you’ll be taken elsewhere. I won’t include every single instance of this in the guide, but I have explained some more impactful ones. Resetting your car’s position without these warp points has its own advantages, too, and can save you time if you’ve driven into a dead end.
Shortcuts
Every level has dozens of shortcuts you can use to get around faster. These shortcuts are usually marked by things like glass panels. You’ll want to use shortcuts to get around whenever you can, but committing all of them to memory will take some time. Keep this one as a long-term goal!
The Run
In this section, I’ll give an overview of each level and Mission specific tricks. I will also show off important places to collect coins and Reset positions for warping.
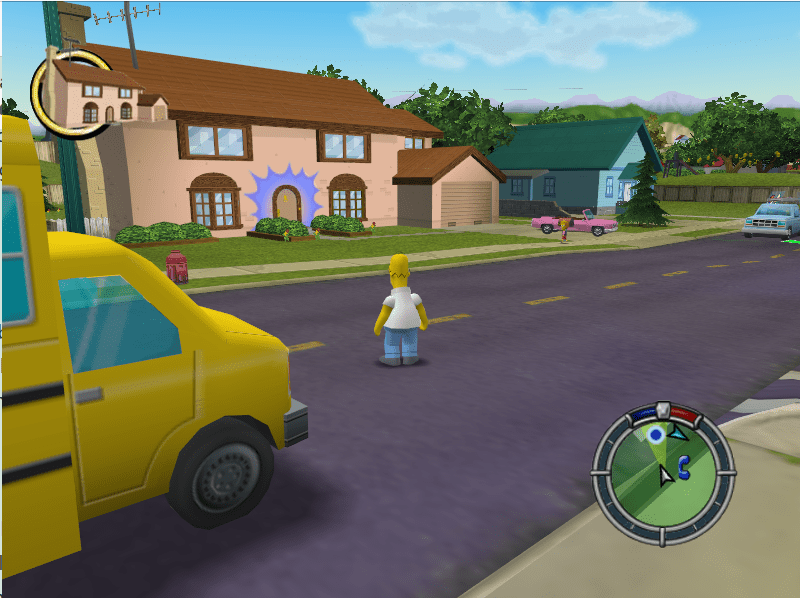
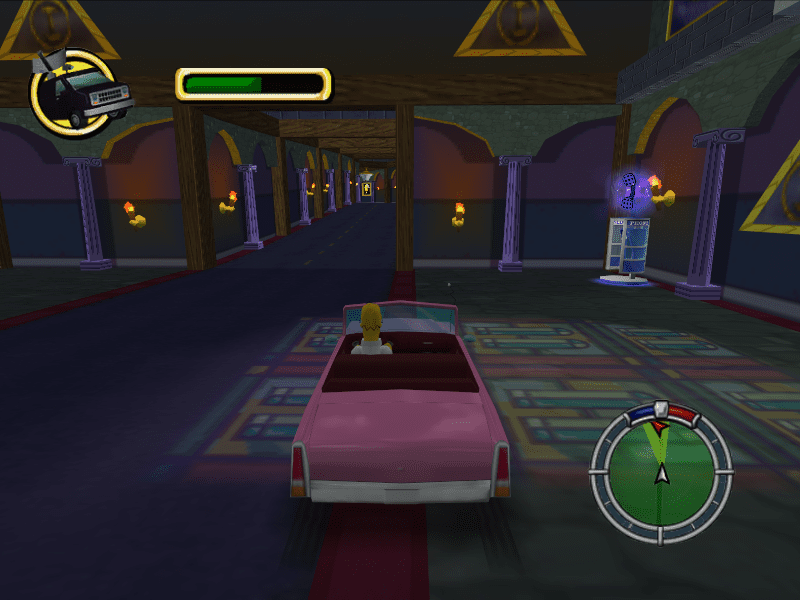
Level 1 (Homer)
Level 1 is full of iconic areas and is easy to navigate, making it a fantastic starting location. With this and any level going forward, I highly recommend you drive around and get a feel for the area.
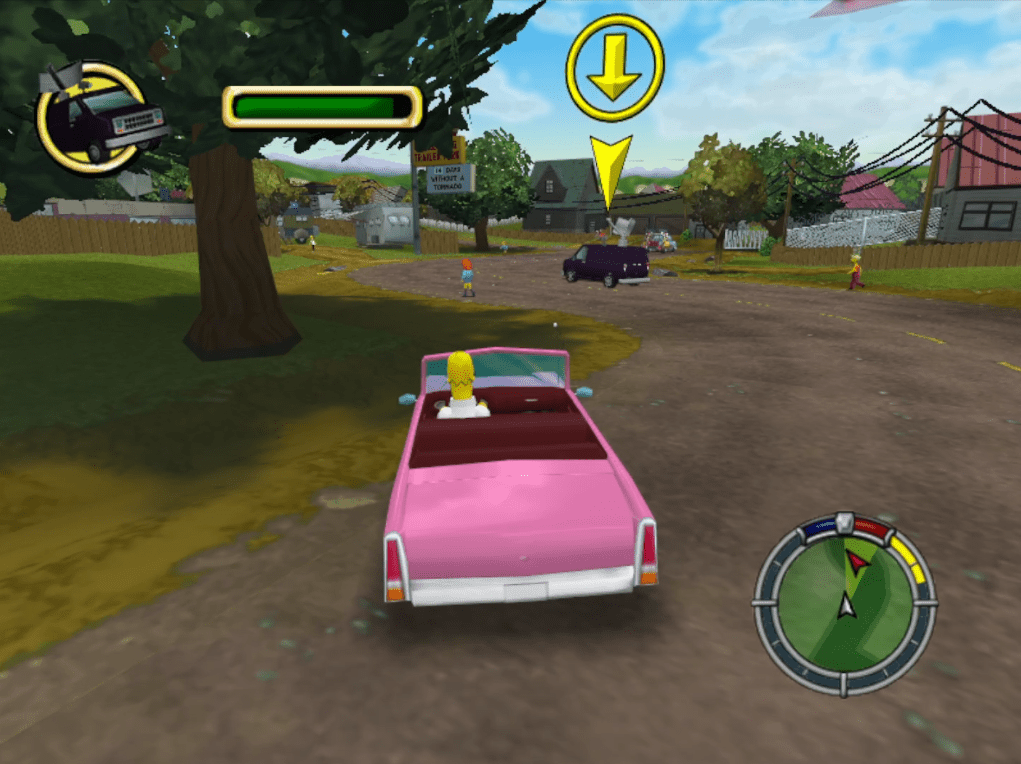
As easy as the Missions are early on, ensure you collect coins and destroy wasps whenever possible. There are a couple of boxes, and a wasp in your neighbor’s backyard, so be sure to visit at some point.
Mission Specifics
1-2
You can use a ‘Reset Point’ on the way to the School. It serves little purpose outside this mission hence its inclusion here. Crash into the vending machine here for some easy coins. If you get the front of your car stuck behind the fire truck and Reset, you’ll get put back on the road a little closer to the school.
1-3
Lenny & Barney
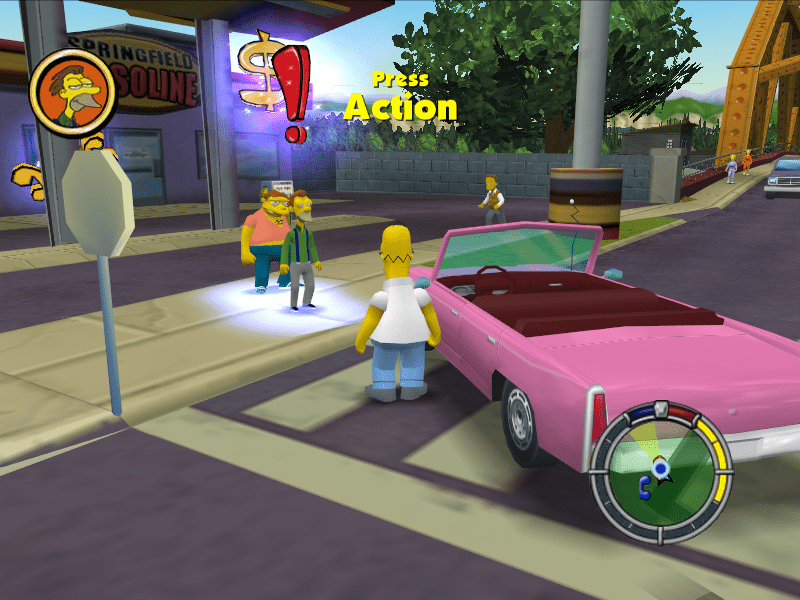
In this mission, you have to chat to Lenny and then Barney, standing on the other side of the road. You can lightly bump into Lenny with your car as you approach them and push him towards Barney. This lets you talk to them both much more quickly.
Smithers Chase
You need to buy the ‘Plow King’ to progress the mission, but you don’t actually need to drive it. Pickup trucks driving around the world are a little more forgiving with better acceleration, so grab one of these for the Smithers chase.
It will take some practice, but you can shunt Smithers off the road and get him stuck in the corner of this house near the Kwik E Mart. If you get him stuck, you can repeatedly ram into the back of his car to destroy it. In an actual run, you only get one shot at this, so it’s good to practice beating him normally too.
1-5
There’s a bizarre interaction during this chase mission when you reach this area in the Power Plant. If you drive to the phone booth and exit your vehicle, the mission will abruptly end if you wait a few seconds!
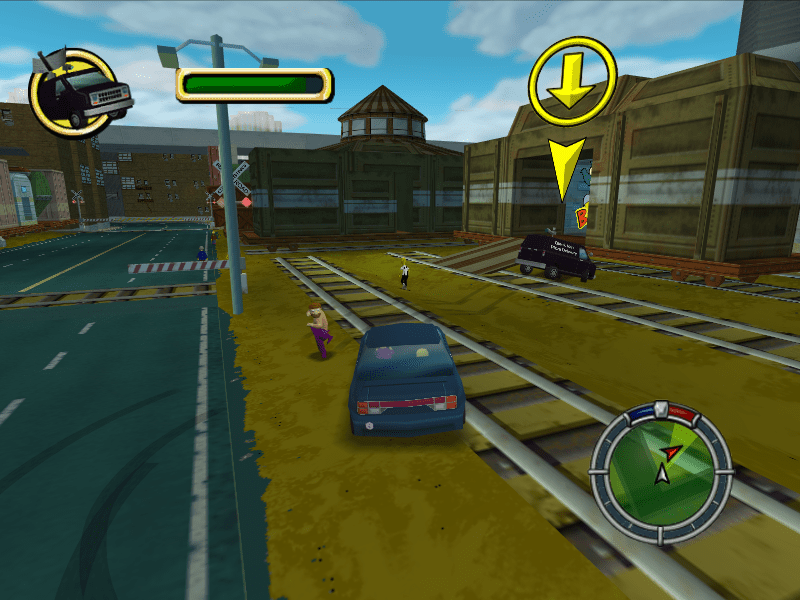
1-7
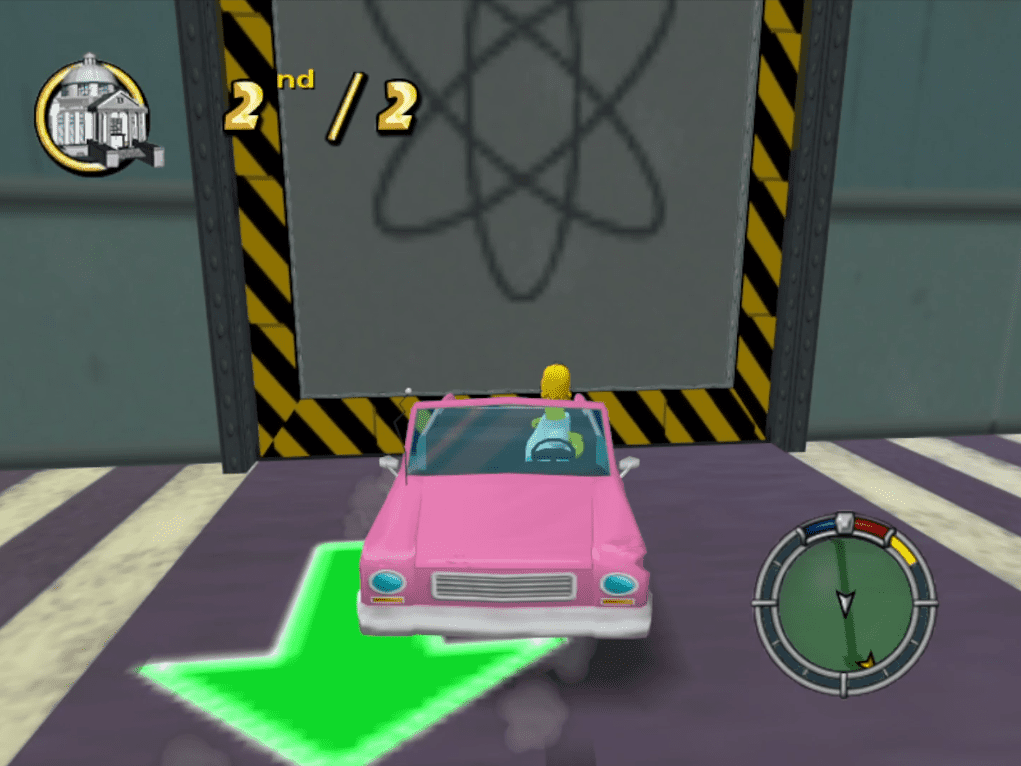
This mission challenges you to race Smithers from the Power Plant all the way to Mr. Burns’s Estate. Yeah, you’re not doing that. Turn your camera to face the Power Plant door and reverse into it. The moment your car hits the door, press ‘Reset’. If it’s worked, you’ll be able to clip through the closed door and take a leisurely drive through the Power Plant!
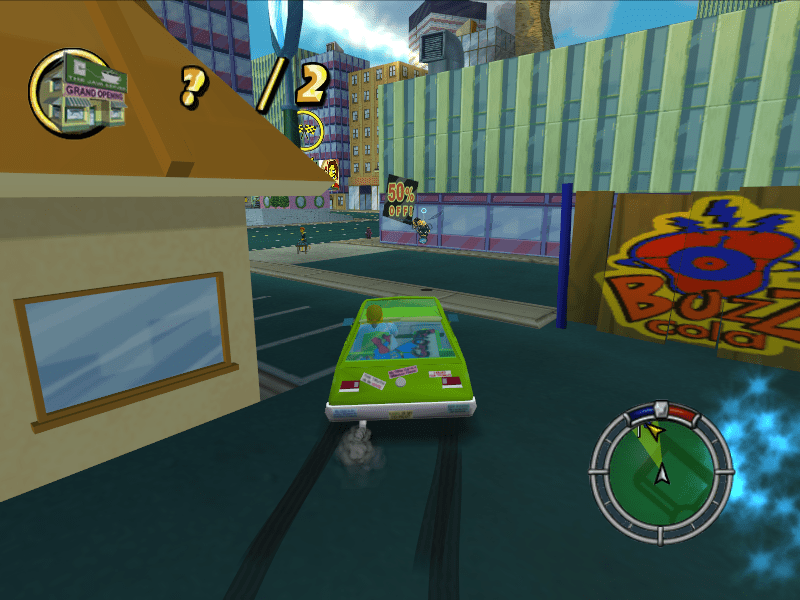
Level 2 (Bart)
Compared to Level 1, this area is much more built up with far more sharp 90-degree turns to navigate. As always, collecting coins is essential, so keep your eyes peeled.
A wasp spawns just outside this car wash and isn’t usually visible until you get very close.
An easy wasp to collect during 2-3. You may have to slow down slightly to get it, as the wasp will only spawn in when you’re close.
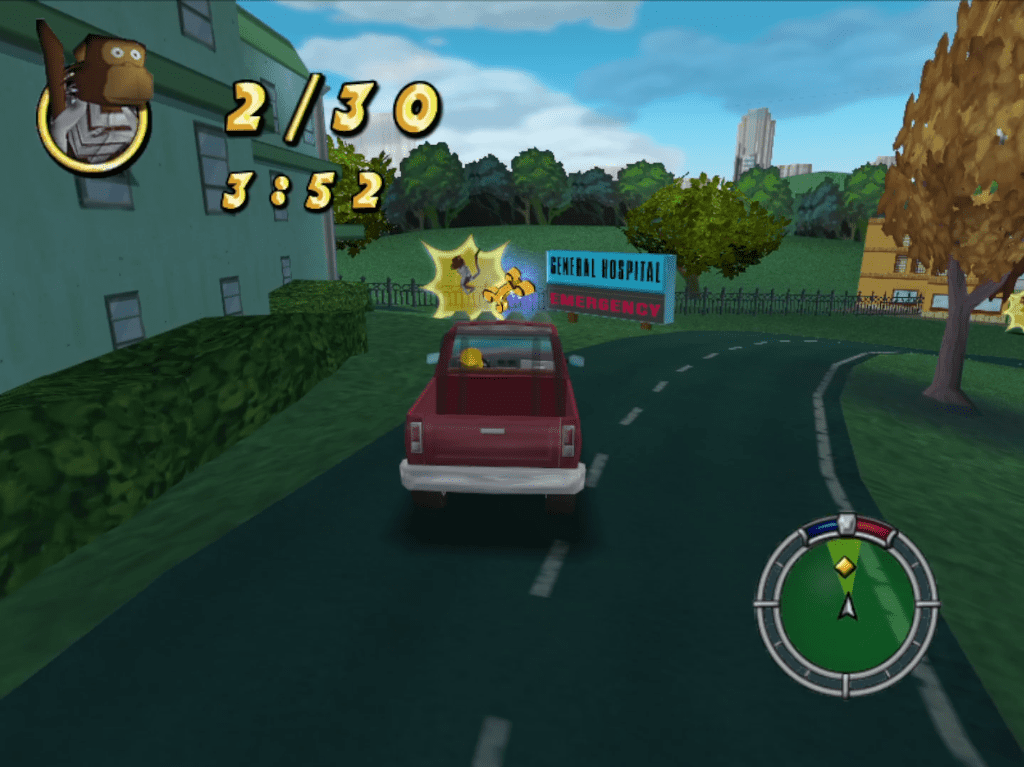
A couple of boxes and a vending machine around the Hospital. You’ll waste almost no time at all if you collect them during 2-6
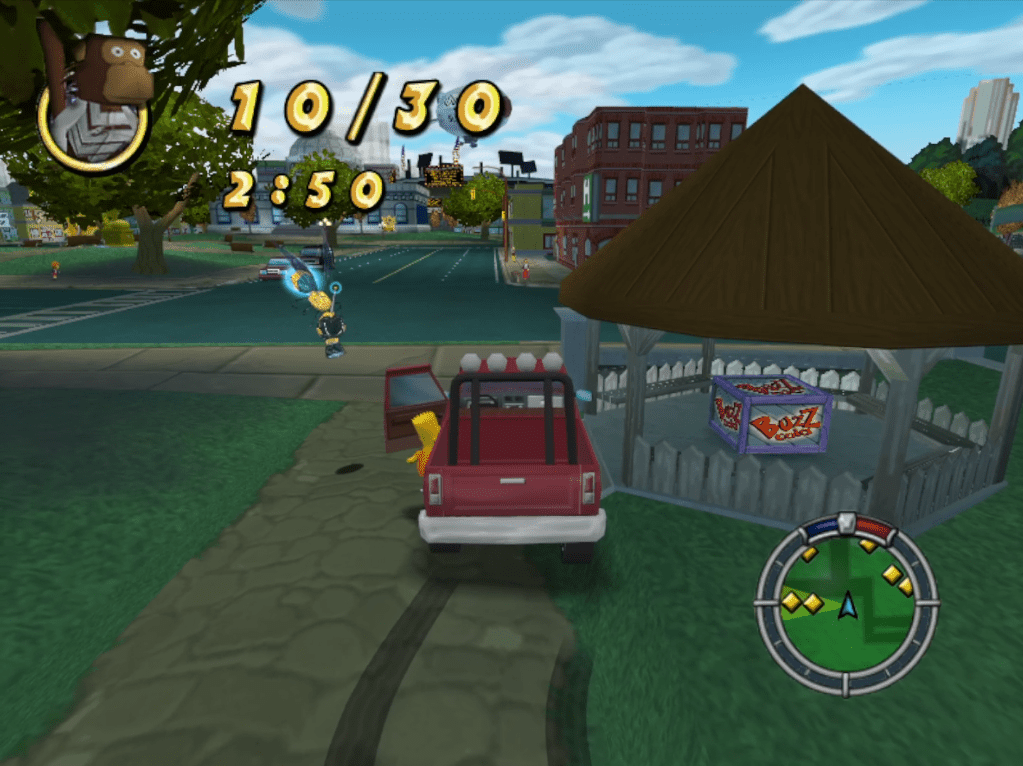
Another couple of easy pickups are around this pavilion. You’ll also be in this area during 2-6, and you can bump the box inside without exiting your vehicle.
Mission Specifics
2-1
In this mission, your goal is simply to evade and outrun Principle Skinner. A great way to do this fast is to head to this building, exit your vehicle and walk through the doors. This immediately completes the mission, and it’s right next to Jimbo, your next quest giver!
2-2
This mission is an easy multi-part fetch quest for the most part. When you talk to Ralph at the end, he will drop an item. The moment you pick this up, you will trigger a police chase. You can make this chase easy if you hop in your vehicle BEFORE picking the item up. If you race straight over the roundabout ahead, you’ll quickly escape and finish the mission.
2-4
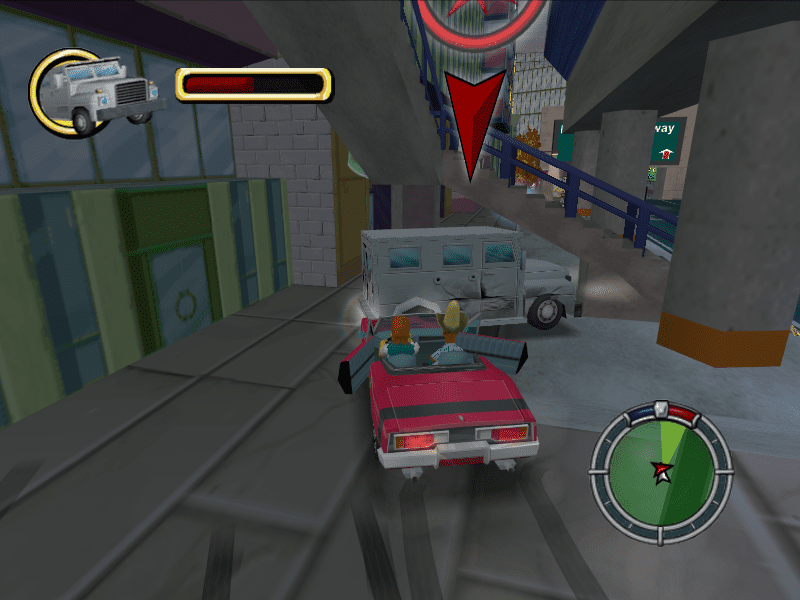
The black van you’re tailing in the mission has the worst driver in Springfield behind the wheel! There’s a good chance the van will get stuck in the pictured area. If you can drive alongside the van before it makes this turn, you can keep it on the road and hopefully stop this from happening.
2-7
There are no Speedrun tricks in this stage per se, but it’s worth a mention because it’s the first stage where you’re tasked with destroying multiple cars. Any time you go for a head-on collision, ensure you’re ready to do an E-Brake turn, as your target will usually get a good lead on you otherwise. A great strategy here is to try and force the target cars into walls head-on. All of the supports on the roundabout here are great for this.
Level 3 (Lisa)
This level is awesome and has some great Reset opportunities. It also has some very impactful shortcuts that link together, so keep your eyes peeled for those!
This staircase is a decent shortcut you can use both ways. On the way down, if you meander past the cement mixer to your right, there’s another shortcut you can use (both pictured above).
This shortcut works both ways; just be careful of the moving barrier. If your car gets stuck there, it can take a ridiculous amount of damage.
The giant ramp is another good shortcut. Make sure you line up properly because messy jumps and SHAR’s physics do NOT mix well.
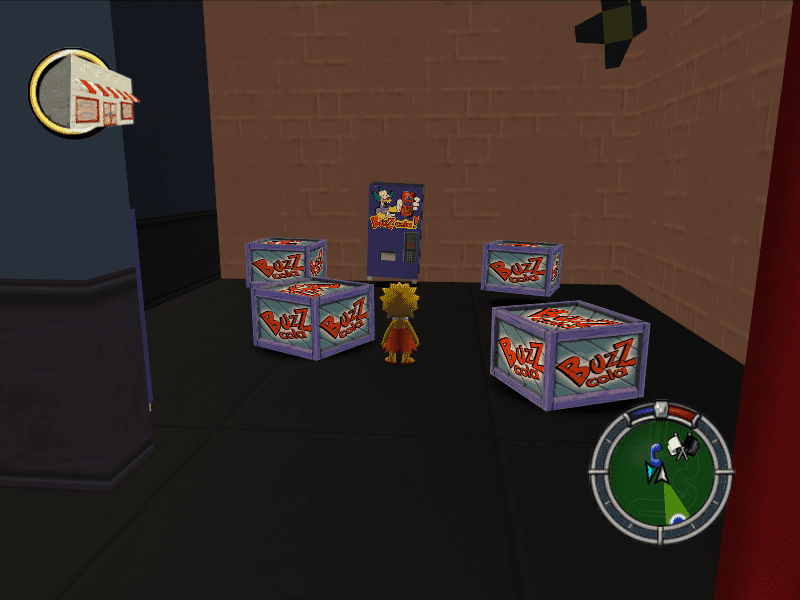
At some point during your time in Level 3, be sure to visit the Krustylu Studios. With how scarce coins can be, don’t miss out on this bounty around the corner.
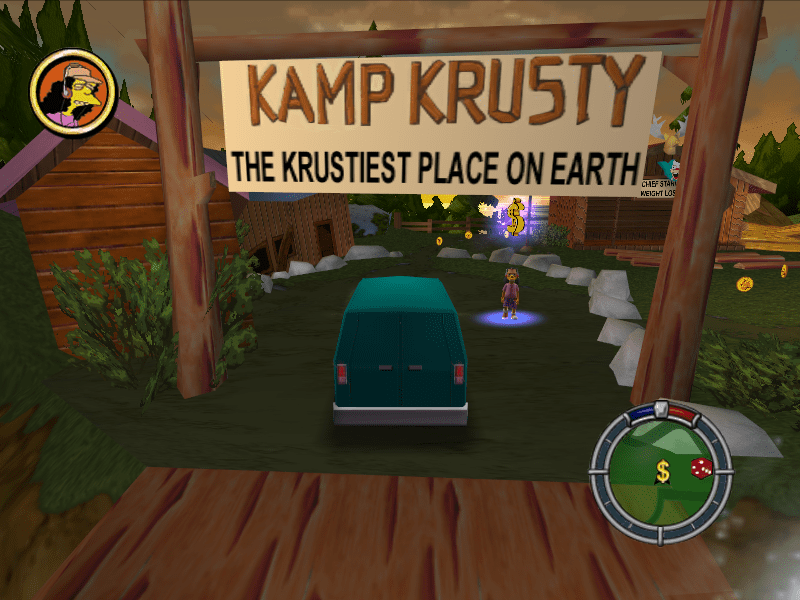
You’ll visit Kamp Krusty to start one of your missions here. It’s worth spending time to grab all the coins.
Level 3 Reset points
This one on the beach at the bottom of the map warps you to the landing above.
If you jump into the ship and hit ‘Reset’ when you hit the railing inside, you’ll warp through the boat and onto the road on the other side!
Mission Specifics
3-3
Like you did with Smithers back in 1-3, you can force Cletus’s truck into this corner and repeatedly shunt until he drops all the necessary items. This is tough to set up; you only get one shot, so practice this trick and the mission normally, too.
3-7
It’s possible to get the limo stuck down here. If you do, it will keep bumping against the walls until it destroys itself!
The final part of this mission tasks you with getting on top of the C-Spanker ship. The quickest way to do it is to drive along next to it as I have, jump to the wooden post and then double jump onto the signpost. This is a little fiddly, but you have plenty of time to do it!
Level 4 (Marge)
This world is almost identical to Level one, but at night. All of the coin hotspots are back, and you’ll need to find time to revisit them while completing missions.
There’s a decent amount of coins and a wasp on the school roof. You can visit this building during 4-5 as it’s on the way.
There are a lot of coins and two wasps in the Power Plant courtyard.
Mission Specifics
4-1
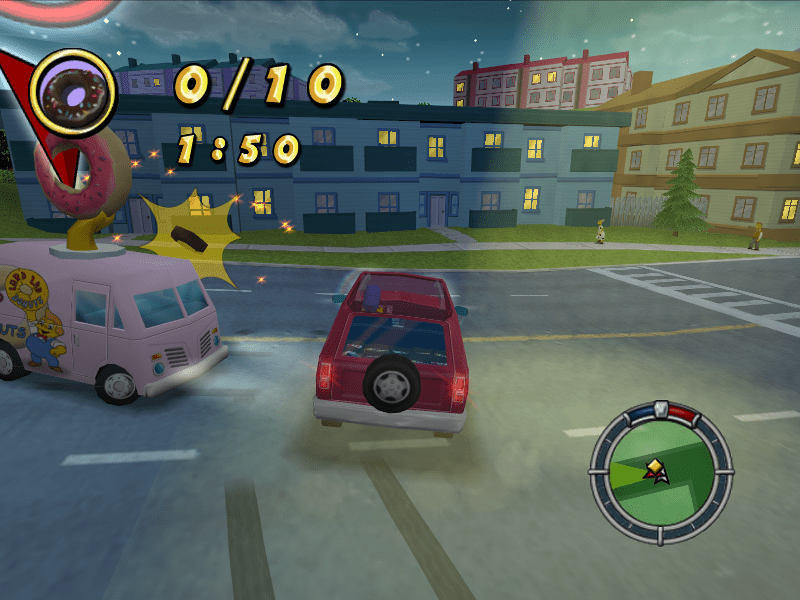
The quickest way to collect the doughnuts from the Donut Van is to get in its path like I have and let it repeatedly crash into you. You can do this on the road right next to Chief Wiggum. Make sure you use ‘Quick Vehicle Entry’ here, or you may not have enough time to get into position.
4-2
When you’re pursuing Cletus, he (unsurprisingly) drives like a total maniac! You can reduce this to a certain extent by flicking your camera backwards during the chase. Camera flicking to de-spawn traffic will also make your life much easier.
4-4
4-4 is a simple collect mission, but you’ll complete it much quicker if you switch your car from the Canyonero to the Malibu Stacy Car.
4-5
In the middle of this mission, there is a section where you need to collect items that drop from a chase car. Slow down a little when you’ve collected 7-8 of the 10 items. If you’re tailing this car too close, it will hold the final item for a long time; giving it some space should prevent this.
4-7
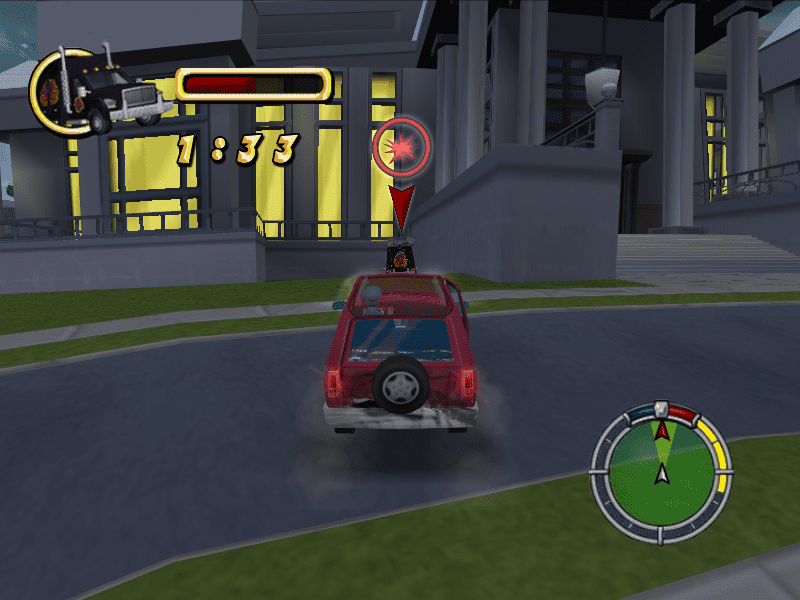
The armored trucks in this mission take a lot of work to take down. Try and get them stuck, and E-Brake boost into them for extra damage. The 2nd truck will always try to drive into the Power Plant. If you can position yourself on the right side of the truck and stop it from turning into the Plant, it will get stuck on the side of the building outside (pictured above).
Level 5 (Apu)
Level 5 is very similar to Level 2, but now, it’s nighttime. I feel like a broken record mentioning coins again, but vehicles and costumes aren’t getting cheaper! You’ll need to buy Apu’s American outfit and the ‘Car Built For Homer’ within the first three missions. These alone come to 925 coins!
Mission Specifics
5-2
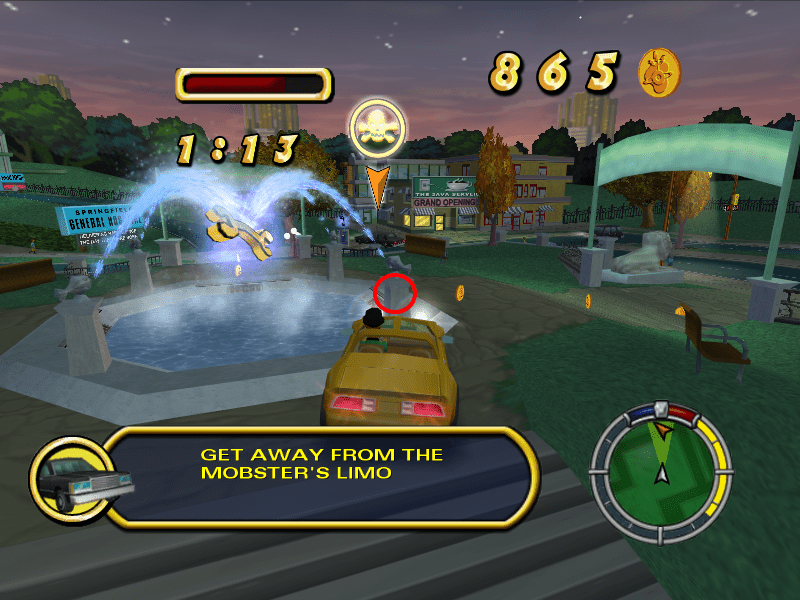
In this mission, you can quickly escape the 2nd mob car by bumping into this pillar on the fountain, turning 180 degrees and driving away. This works because the pillar is close enough to trigger the mob car, but you’ll be miles away by the time it gives pursuit.
5-5
I can’t offer any Speedrun tricks for this stage, but this is easily the most challenging mission so far. I strongly recommend watching a high-rated Speedrun for this section and following their coin route as closely as possible.
5-6
You’ll trigger a police chase early on in this mission. The moment you do, grind your car against the wall on the left side of the road. This confuses the police AI, making them spin, giving you an easy getaway!
The armored truck in this mission is an absolute menace! You can get it stuck here (pictured above), but it’s far less consistent than Cletus and Smithers from earlier. If the truck doesn’t get stuck, carefully pile on the damage and grab wrenches to repair if necessary.
Level 6 (Bart)
Level 6 is, you guessed it, an almost identical map to level 3 but at night. All the coin locations from level 3, including the lucrative Krustylu Studio, have all been restocked.
There are two wasps here just before the end of mission 6-4
Mission Specifics
6-1
The hardest part about this mission is every item is on a pathway, making it very likely you’ll trigger a Hit & Run. Ensure you’re using the shortcuts whenever possible as they don’t usually have pedestrians.

At the end of this mission, buy the ‘Globex Super Villain Car’ from Kearney. It costs 600 coins.
6-2 & 6-3
These missions are made much faster with the help of the ‘Globex Super Villain Car’ and the shortcuts. You’ll fly through these missions if you consistently use all the shortcuts described in the ‘Level 3’ guide.
6-4
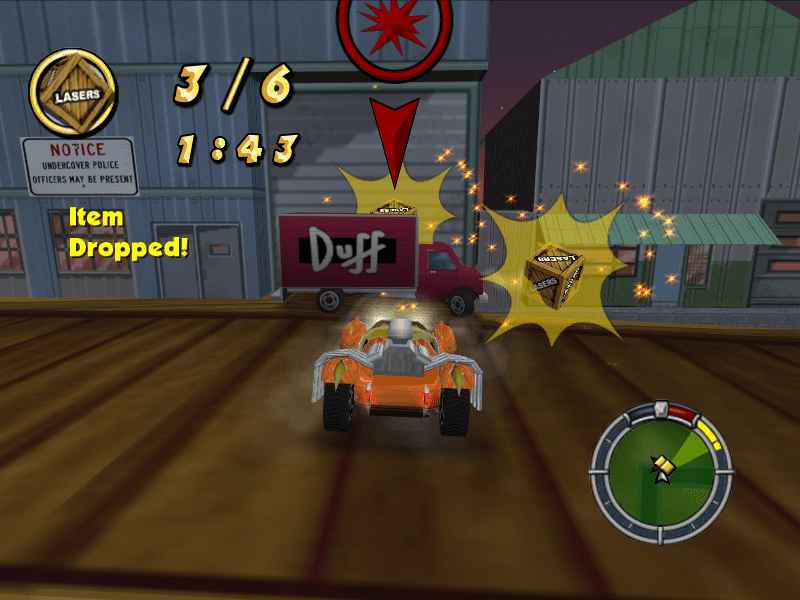
The Duff truck makes many sharp turns in this mission, making it easy to pin. If the opportunity arises, ensure you’re ready to E-brake boost, so it drops all its items quickly.
6-5
You can get Principle Skinner stuck in the Krustylu Studios car park (pictured). It’s a little tricky, so it’s worth practicing both the trick and standard way of beating this mission.
6-7
To finish this mission quickly, use every shortcut described in ‘Level 3’, including the ‘Reset’ in the ship. Once you’ve reset in the ship, you’ll need to briefly backtrack up the road to your right to trigger a checkpoint. Once you’re done, make your way to the finish line.
Level 7

You’ve made it all the way to the final level of SHAR! The map is almost the same as in levels 1 and 3, just with a ‘spooky’ coat on top.
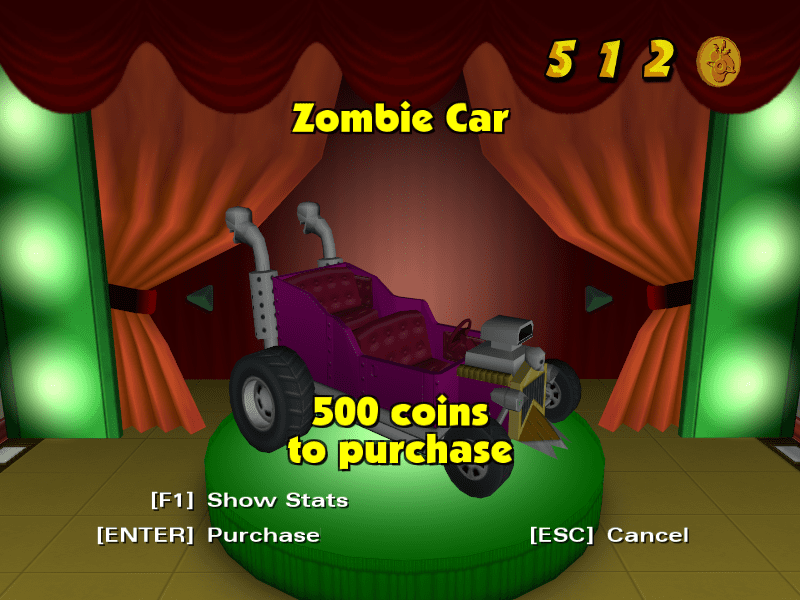
I’ll finally stop going on about coins now as you need 500 to get the last car you’ll need. The Zombie Car! It’s available to purchase in the Cemetary.
Mission Specifics
Broadly speaking, most of the missions in this level revolve around you taking toxic waste from the ferry in different cars and dumping them in the UFO’s tractor beam. You can drive the exact same way through missions 7-3, 7-5, 7-6, and 7-7.
7-4 is almost identical but has a unique jump puzzle section explained below.
7-4
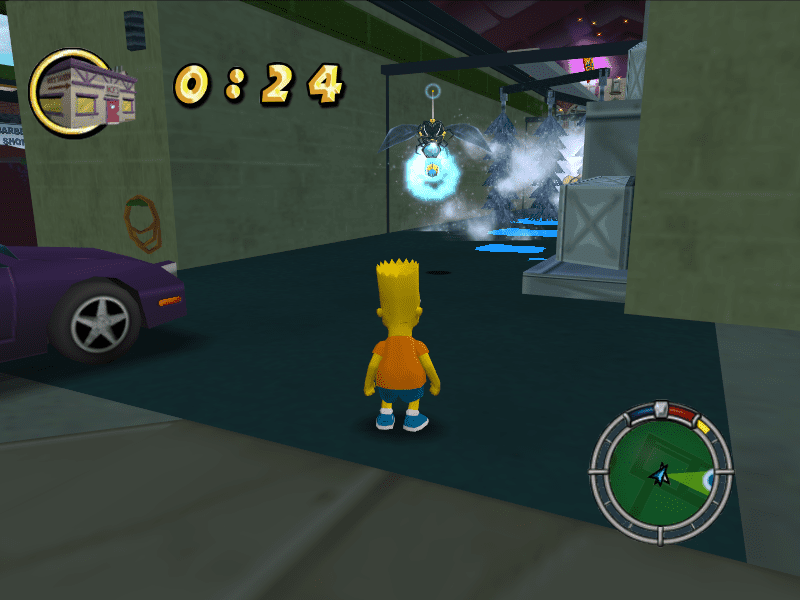
7-4 has an awkward jumping section; double jump as much as you need for stability, and try not to lose your cool if you fall.

The final room (pictured) has a tiled floor where only a few tiles are safe to stand. I have marked the safe ones in the picture above.
7-7
Welcome to the final mission of Simpsons Hit & Run! This mission is somewhat anti-climatic, as you’ve done this same drive several times already! The only real issue you may have is this black car (pictured). Fortunately, it always turns right and leaves a small gap to the left, just small enough for you to fit through.
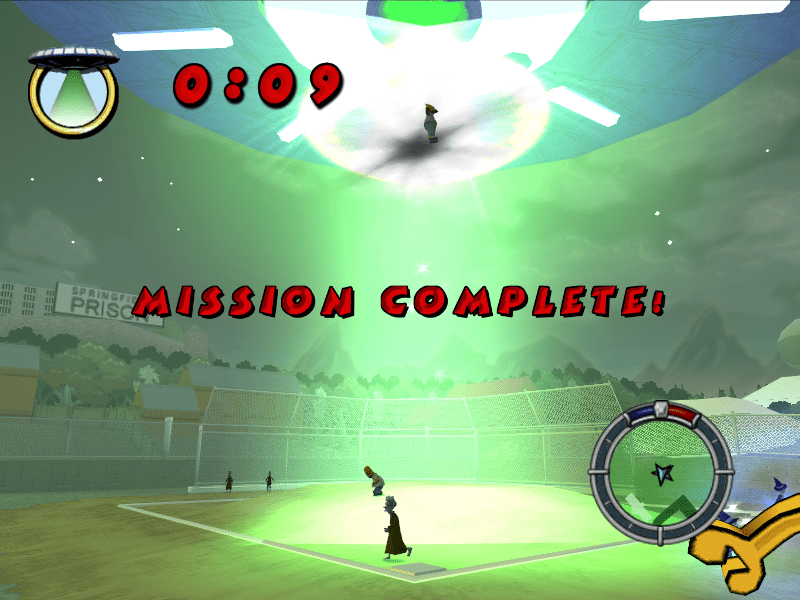
If you’re running the All Story Missions Speedrun category, you can stop the timer when the car explodes in the UFO tractor beam!
Useful Resources
The official Speedrun.com page has a video archive of every submitted run. These are perfect for learning coin routes and seeing the best of the best first-hand. A superb and in-depth tutorial for setting up the Mod Tool and even OBS can be found here:
Frequently Asked Questions
Question: What is the World Record for ‘All Story Missions’?
Answer: The World Record is currently held by LiquidWiFi with an incredible 1hr 19mins 53 seconds.
Question: Where can I Find a Coin Route to Follow?
Answer: Pick a Speedrun from the leaderboards on Speedrun.com and observe their route through the game. I suggest picking a run from the middle of the list, as the top runs use advanced strategies that will be impossible to emulate until you’re more experienced.
Question: Can I Speedrun on Console?
Answer: Yes, absolutely! Thanks to hardware differences, PC players have a notable advantage. To solve this, console runners have their own dedicated leaderboards on Speedrun.com.
Conclusion
There’s something special about Speedrunning, a classic. SHAR may not have the pedigree of Super Mario 64 or Zelda: Ocarina of Time, but it’s a charming title and an absolute joy to run regardless of your level. Perfect for beginners and pros alike!
Continue reading:
Stardew Valley Speedrun Guide – How To Speedrun A Game That Never Ends