

Anthony enjoys deep diving into strategies and explaining them to people whilst they blankly stare back, and is also a big fan of cosplay and creating assets for Cons and events in his spare time.
- Evil Dead Achievements Guide - May 30, 2023
- Just Cause 3 Speedrun Guide – How to Liberate Medici at Breakneck Speed. - May 18, 2023
- Dishonored Speedrun Guide – Corvo’s On The Clock - May 13, 2023
Hollow Knight is a masterfully crafted Metroidvania set in the grim but captivating underground world of Hallownest. This game quickly amassed a huge fanbase and following thanks to its iconic art style, stunning expansive world, tight platforming and deceptively tricky gameplay.
Combining the last 2 of those is like ringing the dinner bell for speedrunners, so it should come as no surprise that Hollow Knight has a thriving speedrunning community!
There are dozens of ways to speedrun Hollow Knight and a warm, welcoming community happy to show any new runner the ropes. Whether it was the graphics or the gameplay that drew you to here, if you’re planning to run this game, oh boy, you’re in for a treat!
Before you Begin
Hollow Knight has a daunting selection of different categories to compete in. The most popular is Any% NMG (No Major Glitches) using patch 1.2.2.1. This specific patch gives runners access to a few nifty tricks that can’t be used on newer game versions. The only problem is that you’ll need to ‘down patch’ your game to use it on PC, and it’s impossible to do on console.
With this in mind, this guide will focus on the Any% Current Patch NMG category. This means you don’t have to fiddle with your version, and anything you read here will also work on a console.
If you’re using Livesplit to time your runs (A popular Speedrun timer), you can find some handy presets here. I strongly advise you to create splits of your own for Hollow Knight and keep them simple whilst you’re learning a route.
The most important thing you need to do before starting is to pick a route and stick to it! The world of Hollow Knight is complex, and committing it to memory will take dozens of hours. Unless you’re familiar with the map, I recommend watching a top-rated run and studying the path they take. Y
ou can find hundreds of recorded runs here. You can even play alongside them on a 2nd monitor and pause when you need to catch up. As Hollow Knight is so popular, the route is pretty optimized, so any differences you find between videos will be minor.
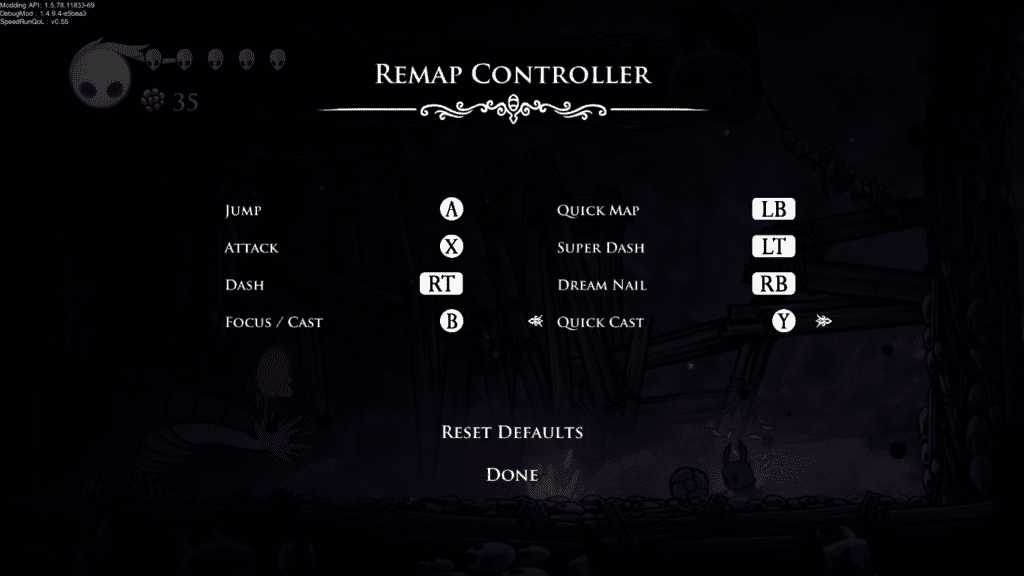
By default, Quick Cast is bound to one of the triggers, which isn’t nearly as responsive as a regular button is. You’ll be using this a lot so rebind it to a comfortable face button on the controller. I like it on the Y or Triangle button and dash on the Right Trigger.
And finally, armed with a route to follow, you’re ready to go! A win under your belt would help, but it is not essential.
Core Mechanics
There’s a surprising amount of nuance that goes into Speedrunning Hollow Knight! In The Run section of this guide, I’ll be going through scenarios in the order they will be thrown at you, but there are a few things you need to be aware of first.
Inventory Dropping
Inventory Dropping is harder to do using the Current Patch but opening your Inventory during a long fall dramatically increases your fall speed. There are a few parts of the run where you will need to fall down multiple floors. Providing there’s a safe landing, this will save a few seconds. Don’t sweat it if you can’t do this for now, as it’s a minor time skip.
Language Selection
Ever wondered why all the top Speedruns for this game are in Chinese? For reasons unknown, this language is quicker to scroll through during gameplay. It saves a good few seconds throughout a run.
If you want to use it, press Left twice on the language selection screen. Whilst you’re learning the run, you may prefer a language you can read (pictures in this guide are in English for this reason), but this is something you should consider later.
Vertical Strike
In Hollow Knight, you get knocked back whenever you attack something in front of you. Those knock-backs start to add up during a run and will affect your time. You can mitigate this by slashing upwards instead. You won’t be doing this much in combat, but against things like doors and breakable walls, this is the optimal way to deal with them.
Dialogue Skipping
If you’ve watched any speed runs online with their button inputs on display, you may notice runners mashing buttons when there’s text onscreen. Runners don’t just do that out of impatience (although, sometimes that’s part of it!). You can clear text off the screen faster with rapid button presses making this a small but free time skip.
Fighting VS Running
There’s no shame in being a coward! For most encounters, it’s quicker to avoid fights entirely. Sometimes you have no choice, but getting past enemies quickly and unscathed is usually the priority.
Geo Management
With the last point in mind, you will need to kill at least a few enemies because you need the Geo they drop for a few essential items and fast travelling.
Top runners have this down to a science, and they know exactly how much they need going into each area. Whilst you’re learning, I encourage you to kill a few enemies and be mindful of where you can skip fights in future runs.
Pogo Jumping
Pogo Jumping is an essential technique to master as it allows you to hop over enemies and obstacles you otherwise couldn’t safely. Fortunately, it’s fairly simple to pull off! All you need to do is press down and attack in mid-air.
The timing to avoid getting hurt by enemies is pretty tight, but once you master it, you can use enemies and dangerous obstacles as platforms. There are a few crucial points in a run that you’ll be relying on this technique. I will explain those in detail later.
Soul Management
Keeping track of how much ‘Soul’ you have is crucial for any Hollow Knight speedrun. This powers both your Vengeful Spirit attack (Fireball) and Focus (health regeneration). More damage will always get you through a run faster, and managing how much ‘Soul’ you can spend whilst staying alive is something that will come in time.
Fireball Skips
The most stylish trick in Hollow Knight speedrunning is, without a doubt, the Fireball Skip. Before you unlock the wall jump ability, this trick lets you reach platforms you otherwise wouldn’t be able to.
To perform a Fireball Skip, jump toward the platform you can’t reach, quickly turn away in mid-air to face away from the platform, use a couple of fireballs WITHOUT holding any directional input, and finally press and hold the direction towards the platform.
This technique gives you that little bit of extra distance on your jumps to reach some areas early. I will explain specific fireball skips in the next section. This technique is much harder to pull off than it looks and will take a lot of practice, but the results are absolutely worth it if you’re willing to put in the time.
The Run
In this part of the guide, I’ll be going through each major section of the speedrun in the order you’re likely to encounter them. If you’re timing your run for submission, your time starts the moment you begin to fall into Hallownest. And with that out of the way, let’s begin!
You can start putting some of the techniques in the previous section of this guide into practise right away! You can clear any doors in your way just that little faster with a Vertical Strike, and you can Pogo jump on the first flies you come across.
Dirtmouth
When you arrive in Dirtmouth, your character will slow down to take in the sights, but you’re a speedrunner now; you don’t have time for that! This is the only place in the run that you’ll need to do this, but jumping as you’re moving through the town will speed up your movement. You can stop doing this when you reach the well to the east.
Spike Skip
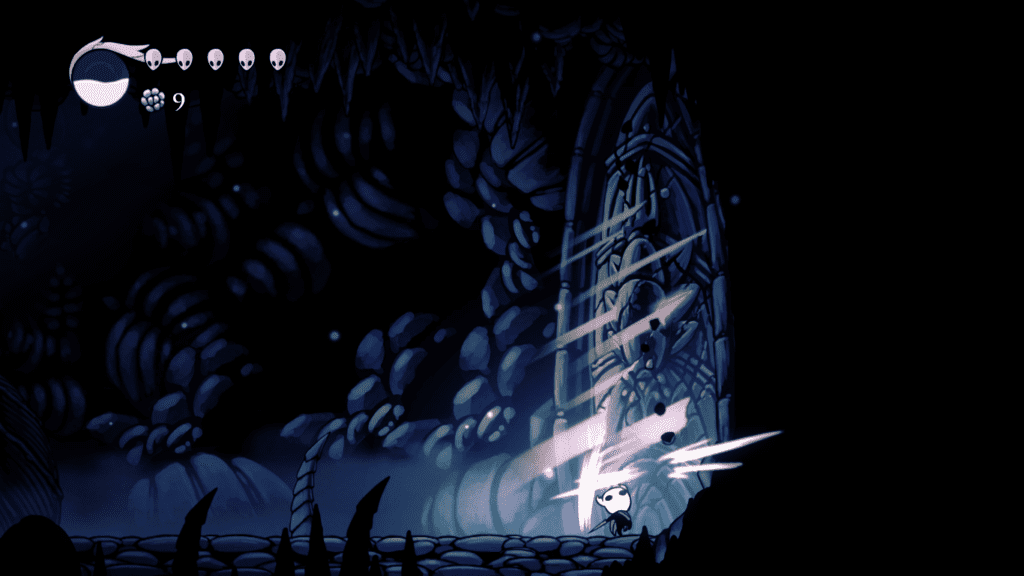
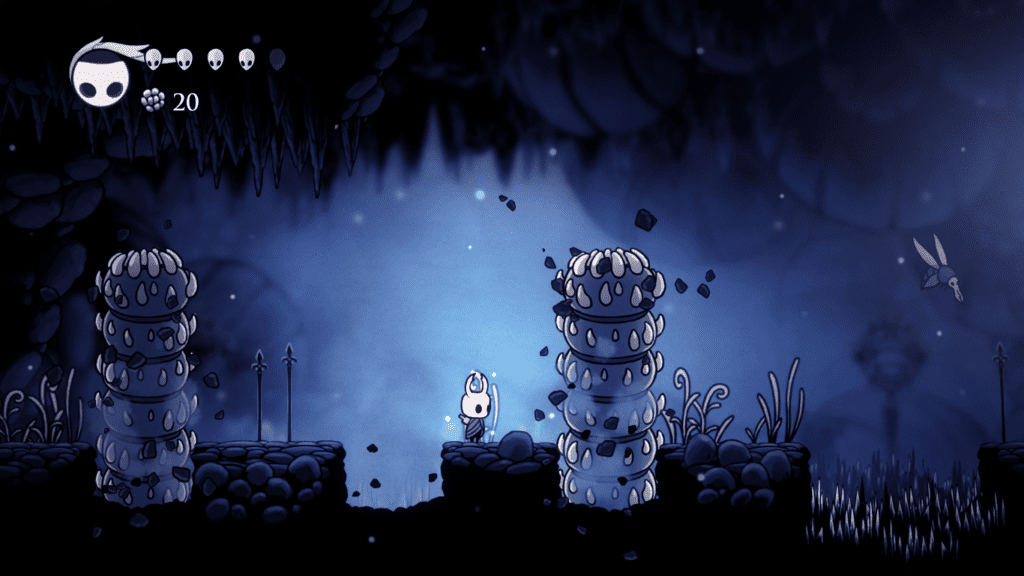
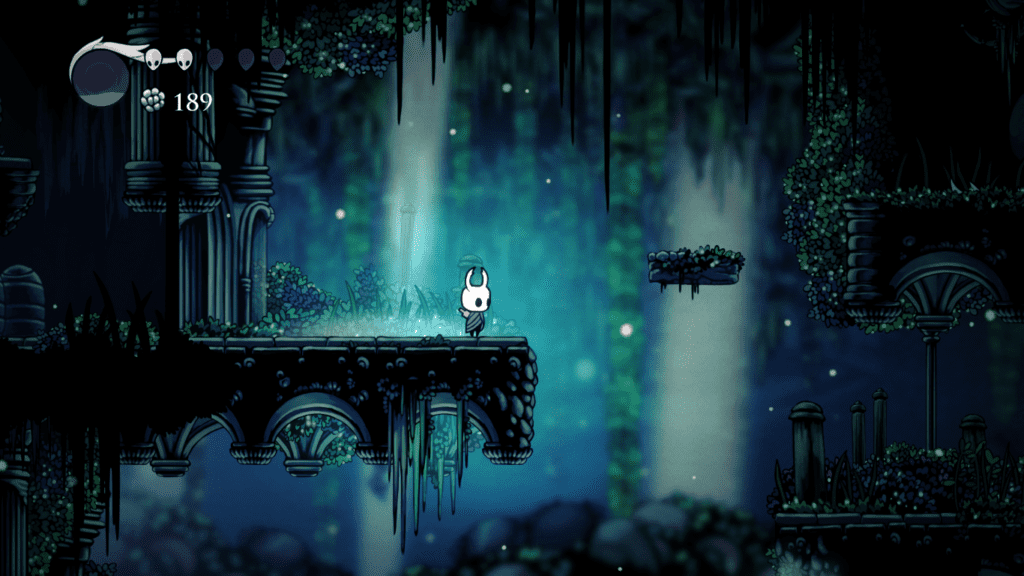
A few flashy but tricky bits of Speedrun tech present themselves early in a Hollow Knight Speedrun. The room pictured is home to one such trick called the Spike Skip. When you enter this room, there is a single spitter patrolling and when you defeat it, two more spawn in afterwards.
You can trigger a spike to fall off the ceiling if you stand on the top left platform in the room. If you hit it when it starts to fall at the right time, you can whack it into the two spitters, killing them both instantly for a quick clear.
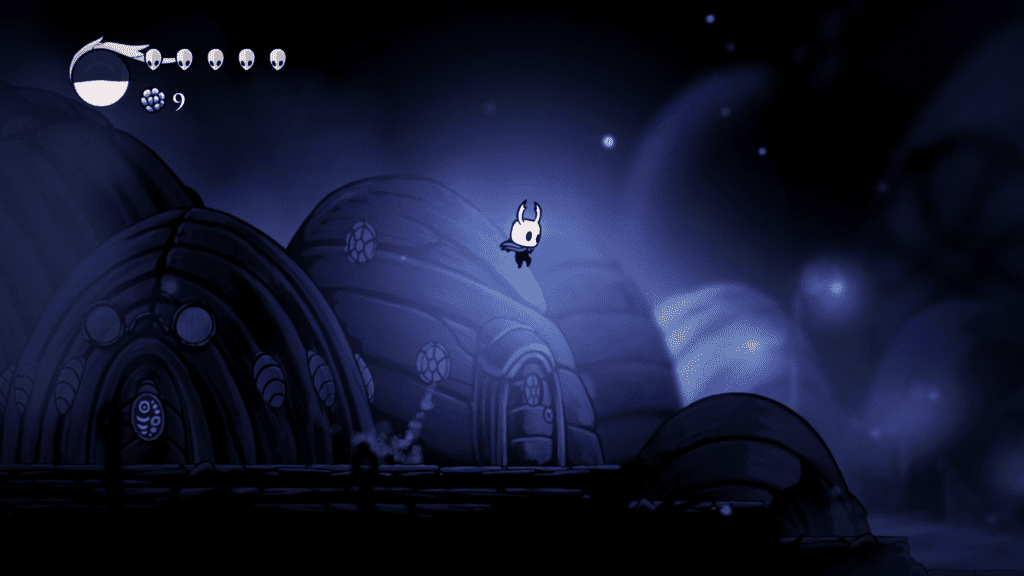
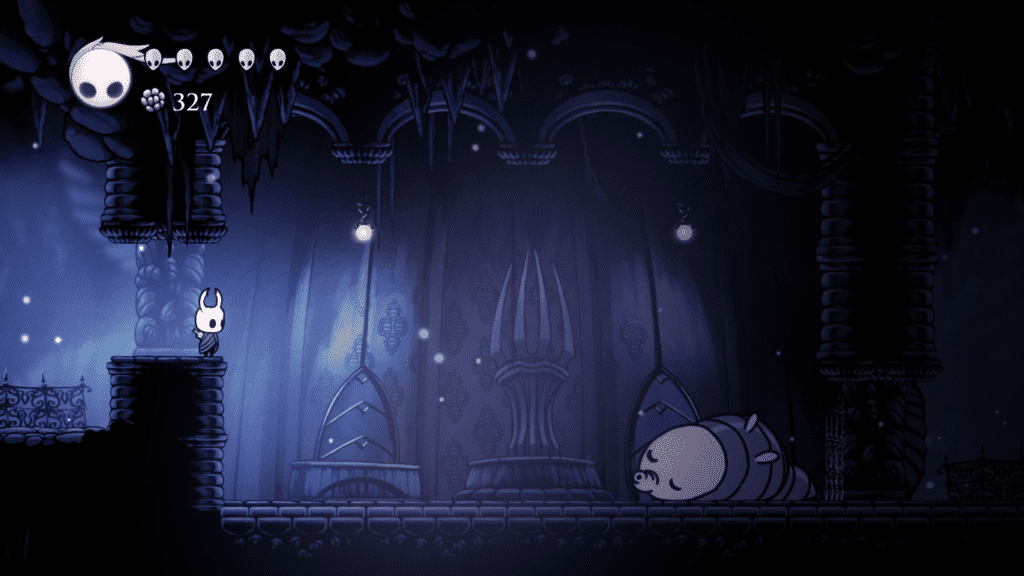
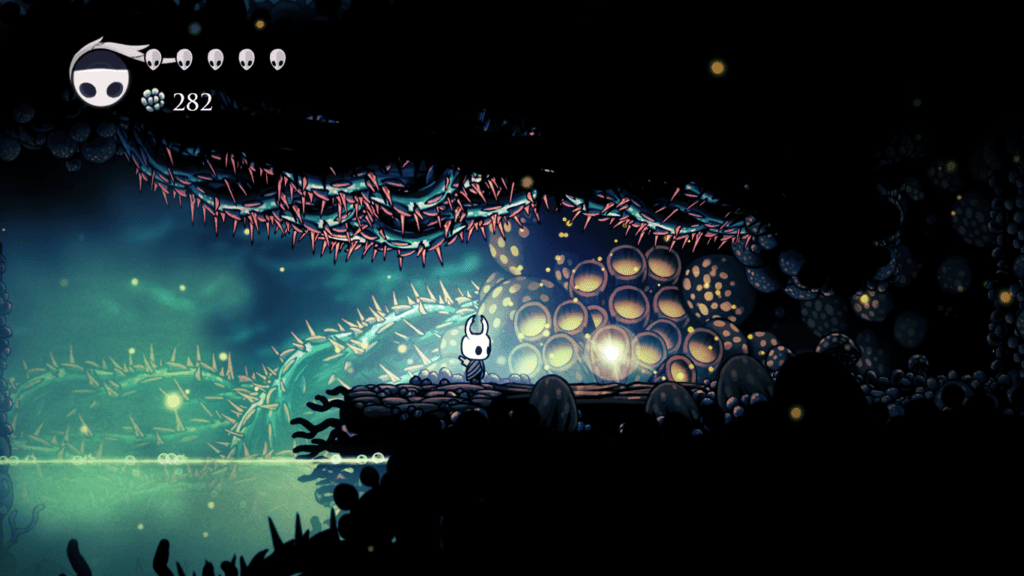
Always Pogo Jump When You Can
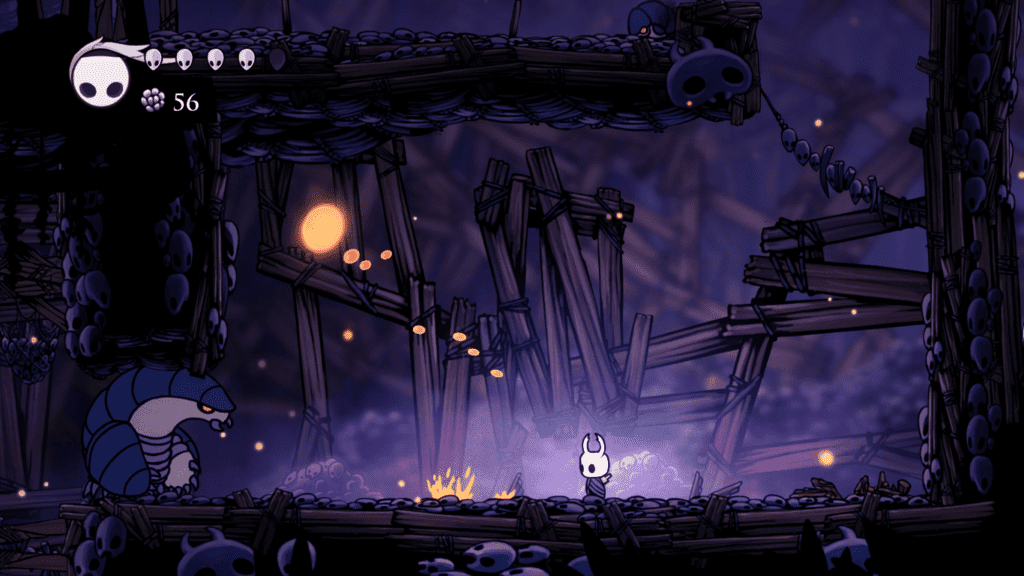
The section pictured has multiple places where you can Pogo jump to get through the area faster. You can bounce off these scary-looking worms with Pogo Jumps to complete this section without stopping.
The False Knight

The first boss in the game has a cheeky little time skip that’s very easy to pull off. You want to quickly land 13 hits on the boss to knock him over, followed by eight more when he’s down.
After this, the False Knight will regain his composure, and debris will fall from the ceiling. The moment this starts, run to the locked door on the left and keep attacking upwards. After a few hits, the door will burst open, allowing for a quick getaway!
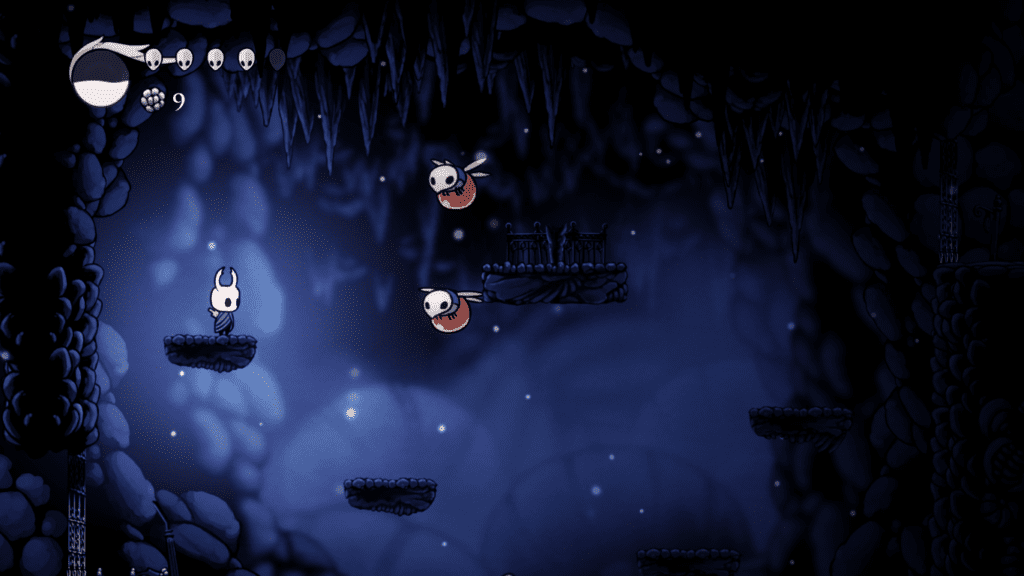
The Baldur Fight
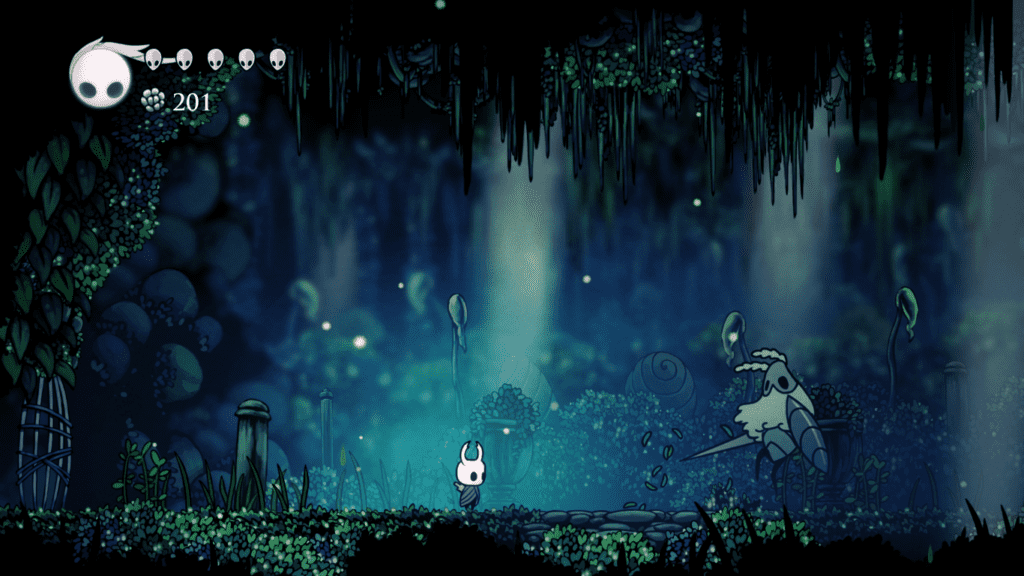
The Baldur (pictured) is easy once you know how. He will die to four fireballs; just make sure he isn’t guarding when you shoot! The Baldur will spit either an enemy or acid balls at you, and it’s completely random. Both are pretty easy to react to, so be ready to attack the enemy he spits out as soon as you can; you can even do this in mid-air.
There is a 2nd Baldur fight shortly after this. If you’ve watched any Hollow Knight speed runs, you may have seen a technique to beat this battle instantly, but sadly, this trick no longer works.
Fireball Skip #1 (Greenpath Skip)
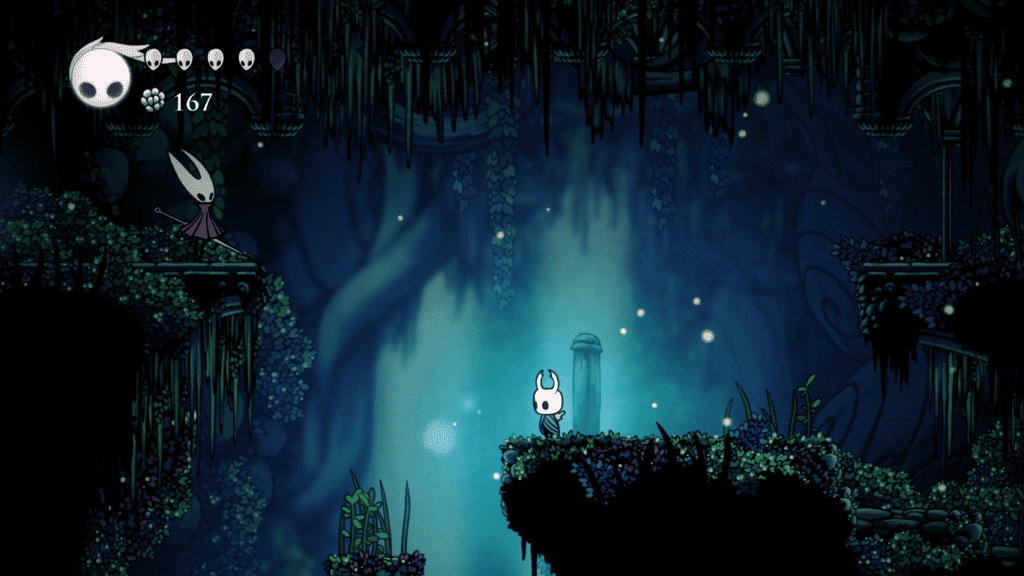
The ledge pictured is a golden opportunity to try out a Fireball Skip. You want to jump toward the platform; at the top of your jump arc, turn right, use your Fireball twice (even three times if you can!) without holding any directions, then press left and hope. If you’ve done it right, congratulations, you’ve just pulled off a flashy bit of speedrunner tech and earned yourself a big time saver!
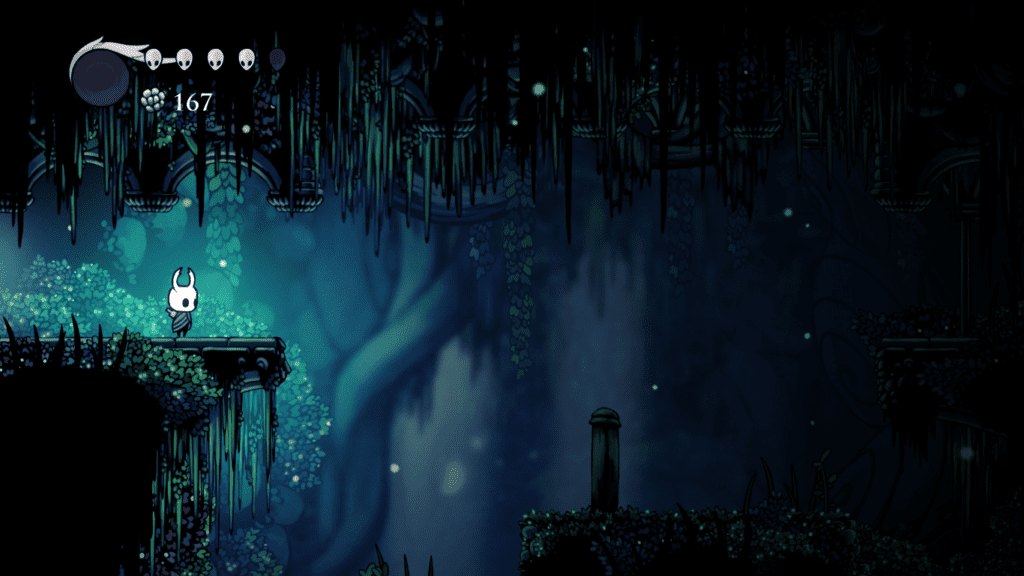
Fireball Skip #2

For this Fireball Skip (pictured), aim to reach the ledge where the birds are sitting. I find this one much harder to get the height on and usually walk around. Still, if you can pull it off, you save several seconds.
The Moss Knight
This is a simple encounter, and your biggest enemy will be overthinking it. The Moss Knight will die to four fireballs, so keep the pressure up and, if you can, enter the fight with a full Soul gauge so you can spam shots right away.
The Giant Buzzer
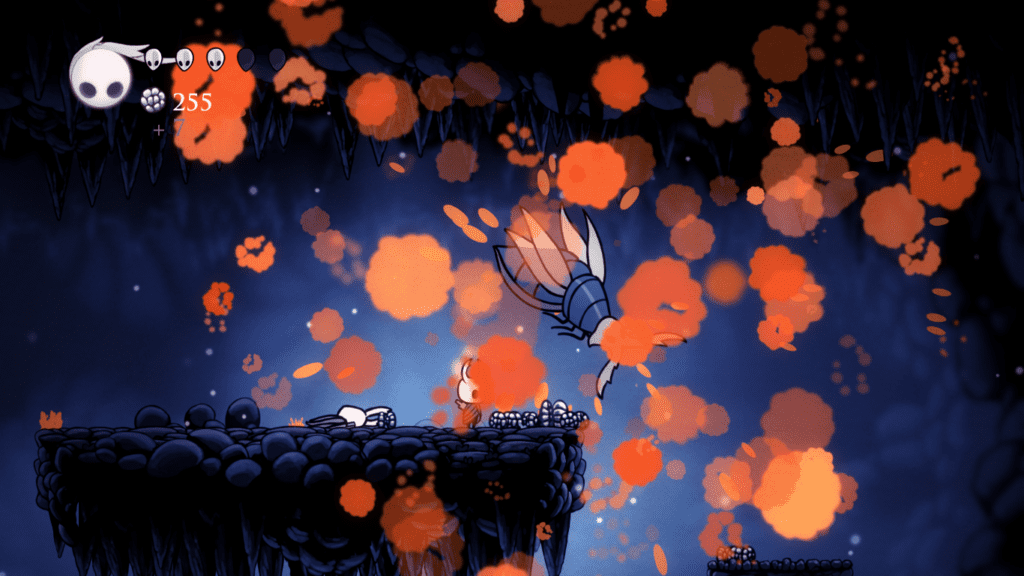
The Giant Buzzer is another simple encounter, but you’ll want to ensure you come into this fight will a full Soul gauge. This creature only takes two regular hits and 3 Fireballs to kill. With this in mind, you can play aggressively!
I like to rush in for a quick hit and 2 Fireballs before the fight starts, and then just a couple more attacks will end the battle. Try not to miss your Fireballs, as the battle will take much longer if the Giant Buzzer hovers out of reach.
Hornet Boss

This is the first boss where you will notice a real difficulty spike. Hornet is nimble, and her movement is a stark contrast to the slow and sluggish enemies you’ve faced up until this point.
There are no tricks to this fight other than to play aggressively, which will only come through practice. Pay attention to Hornet’s movements as although she is fast, all of her attacks are well telegraphed.
Keep an eye on your health gauge, but you’ll want to throw as many fireballs at the Hornet as possible to end the fight quickly.
When the fight is over, take the Mothwing Cloak. Then, pause the game and ‘Quit to Menu’. Reload the save file, and instead of taking you back to where you fought the boss, you’ll respawn on the bench where you got the Fireball power-up earlier. Backtracking is overrated! Another small perk to doing this is you respawn with full health.
Destination: Mantis Claw
The next part of the run is focused on getting the Mantis Claw. This allows you to wall jump and completely changes how you’ll be getting around the map in the future.
Explosion Pogo
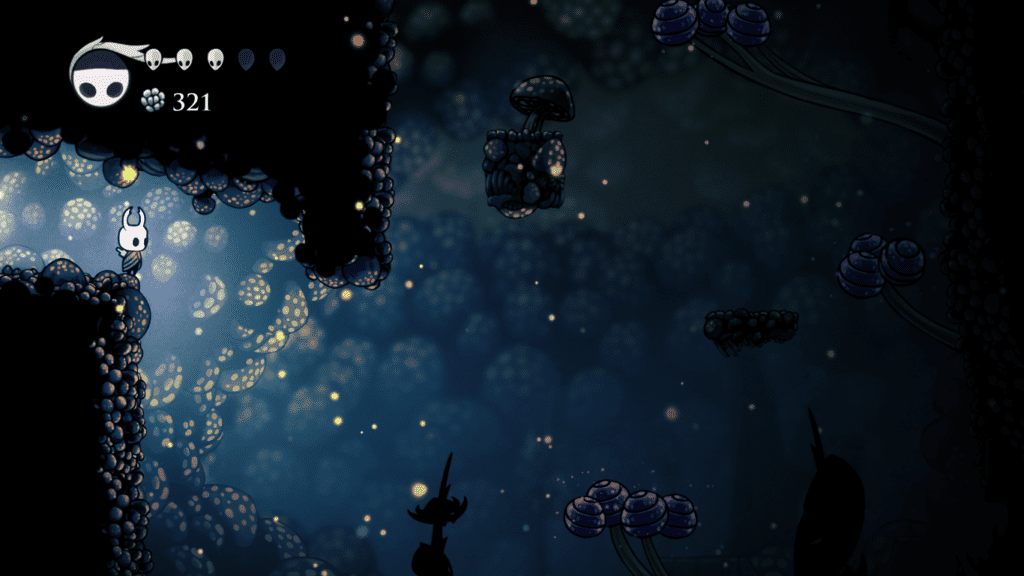
Alright, this is the hardest trick in the entire run, bar none, in my opinion. There are multiple ways to do this, and there is a plethora of documentation and video guides on this one specific jump. The idea is to get an explosive spore to follow you down into a position where you can pogo jump off it and land on the top left ledge (pictured).
It’s possible to do this without any fireballs, but as they freeze your position in mid-air, I find this easier with them. When I’m just under the edge of the overhang, I Fireball once to the right, then dash to the left and let off two more fireballs. This stalls my momentum enough for the explosive spore to end up underneath me for a Pogo jump.
The Explosion Pogo saves a lot of time and skips a journey through the Mantis Village. Don’t get too caught up on this when you start. Just try it and be willing to revisit it in the future.
Mantis Jump
You need to trigger the lever (pictured) to access the Mantis Claw. You can hit the lever, and then Pogo jump off the flying enemy outside the room. This is a minor skip, but it saves you from taking a longer way around. Once you’ve got the Mantis Claw, hit Pause, then ‘Quit to Menu’. Reload your save as you did when you got the Mosswing Cloak.
Tollgate
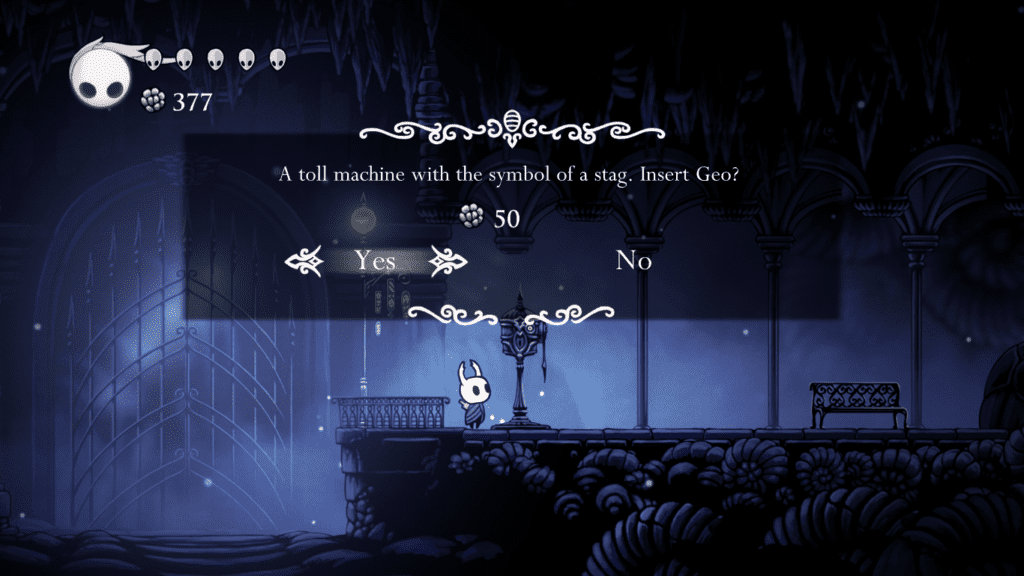
On the way to Gruz Mother, make sure you pay 50 Geo to open this Tollgate. It will be important later.
Gruz Mother
Gruz Mother is another easy encounter and provided you go in with a full Soul gauge, you can burn her down quickly. As soon as the fight starts, spend all the fireballs you have, then get close and attack until you can use your Fireball again. If you’re aggressive and land your hits, Gruz Mother may not even get a single attack off.
You’ll have to wait a few seconds for a few minor enemies to spawn afterwards. If you time a fireball, you can kill most of them in a single hit. After this, rest on the bench on the next screen and enter the shop.
Shop & Sly
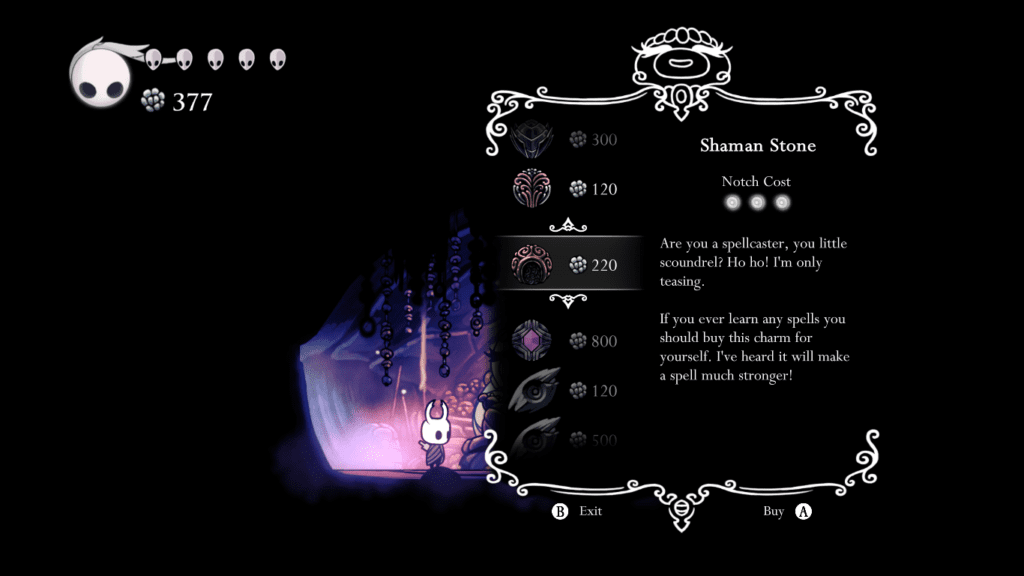
The next couple of events are essential in setting up the next big skip! Quickly skip through the dialogue and buy the Shaman Stone in the shop. Leave the shop and head west but make sure you don’t kill any enemies here. Enter the hut, speak to Sly, then leave and let yourself get defeated by the enemies outside.
Shade Skip
This is the one time in the run where you’ll want to die on purpose, but it sets up a cool skip! From the bench, equip your Shaman Stone. After that, attack your Spirit (hovering over where you died) and get it to follow you to the bench.
You can jump up the East wall, and once you’ve got to the top, jump towards your Spirit and use it for a Pogo jump. If you’ve done all of this correctly, you will end up on this ledge (pictured). Keep heading east, and you’ll reach the Dreamers.
The City
The City is the most complex area in the entire run and will take many attempts to master. Most of this complexity is thanks to all the elevators and how to use them at speed.
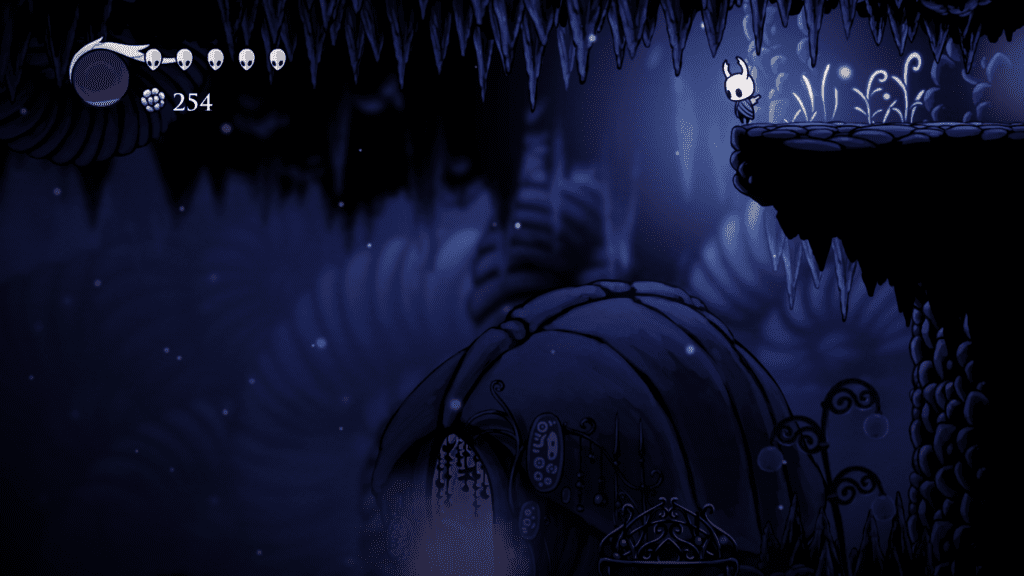
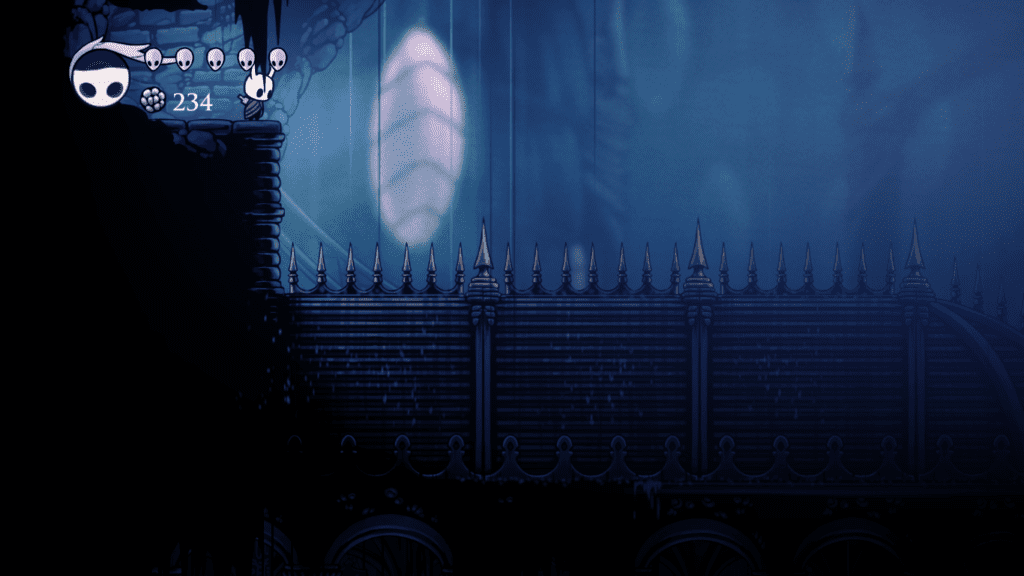
Whilst you’re navigating this labyrinth, make sure you collect the Wanderers Journal and the Hallowseal Nest. The Hallowseal Nest requires you to head outside and Pogo Jump over a roof covered in spikes (pictured).
Get Rich Quick
Inside the house, there are enemies, but there’s also a secret passage in the East wall. If you go through and kill the creature inside (pictured), you’ll leave with a considerable amount of Geo.
Great Shield Zombie
Like every boss battle so far, coming into this one with a full Soul gauge helps! This guy has a lot of health, but you can whittle him down by staying close, landing a few hits on one side, then Pogo jumping over his head and repeating the process. Spend your fireballs when they are ready, as they ignore the boss’s shield.
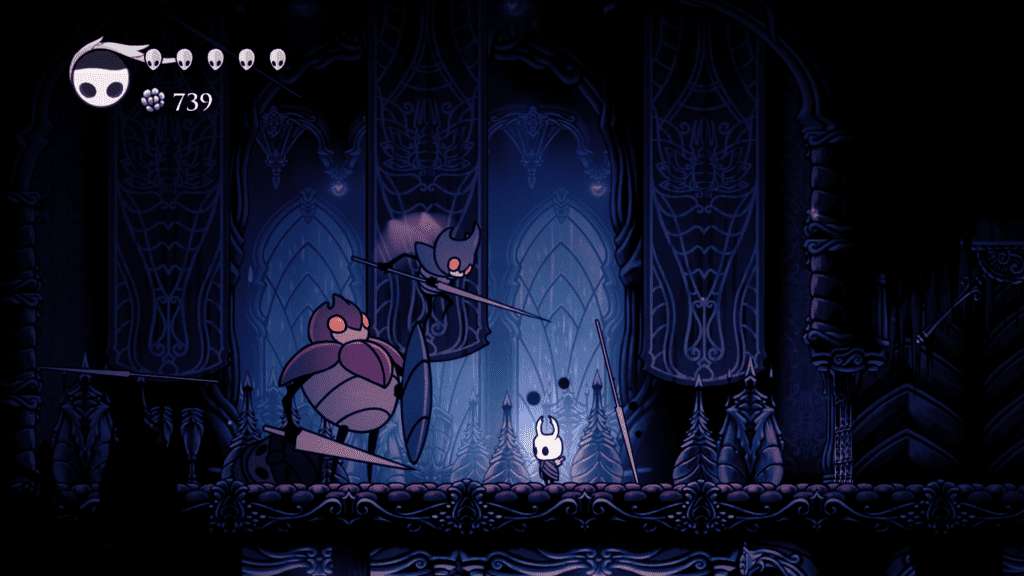
Watcher Knight Fight
Compared to any fight before, this one is much more difficult! This fight rewards aggressive play, but as the battle is so long, make sure you keep track of your health bar! Try to land your attacks and pogo jump over your opponents when they lunge at you.
You’ll fight a few enemies here, but as long as you’re dealing good damage, they’ll rarely be in a position to overwhelm you. Just be aware that these enemies are briefly invulnerable when they enter the fight.
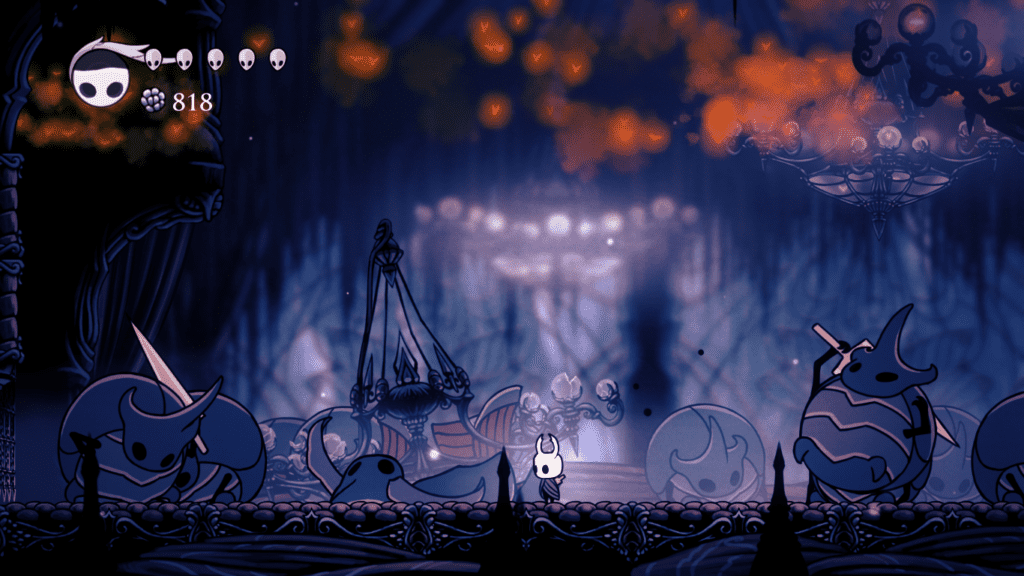
Relic Seeker Lemm
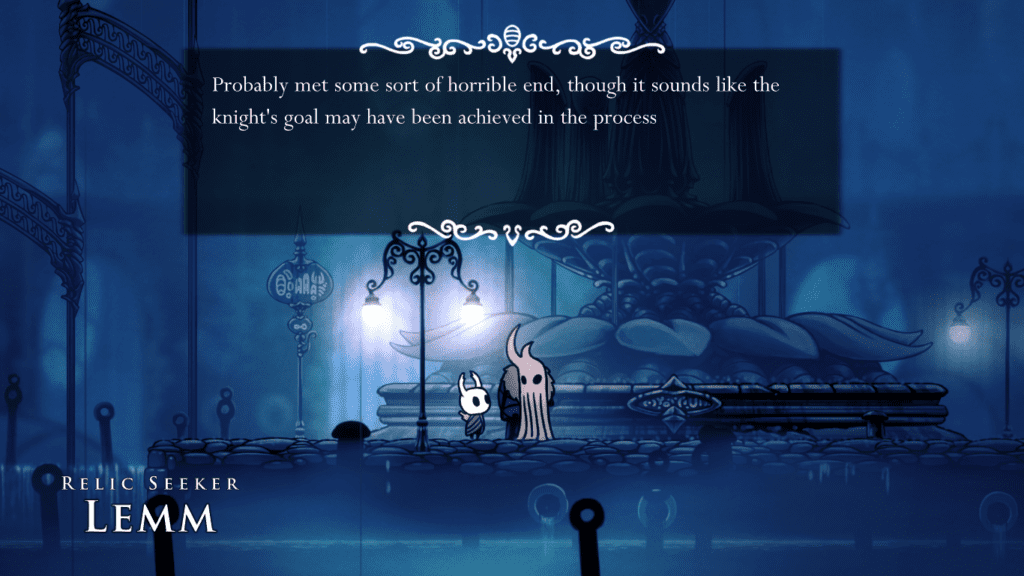
Be sure you speak to Lemm at the fountain and again at his shop just around the corner. You can sell any relics you’ve picked up on your run thus far. After you’ve sold up, head east toward the Last Stag and Fast Travel to Dirtmouth.
Back in Dirtmouth
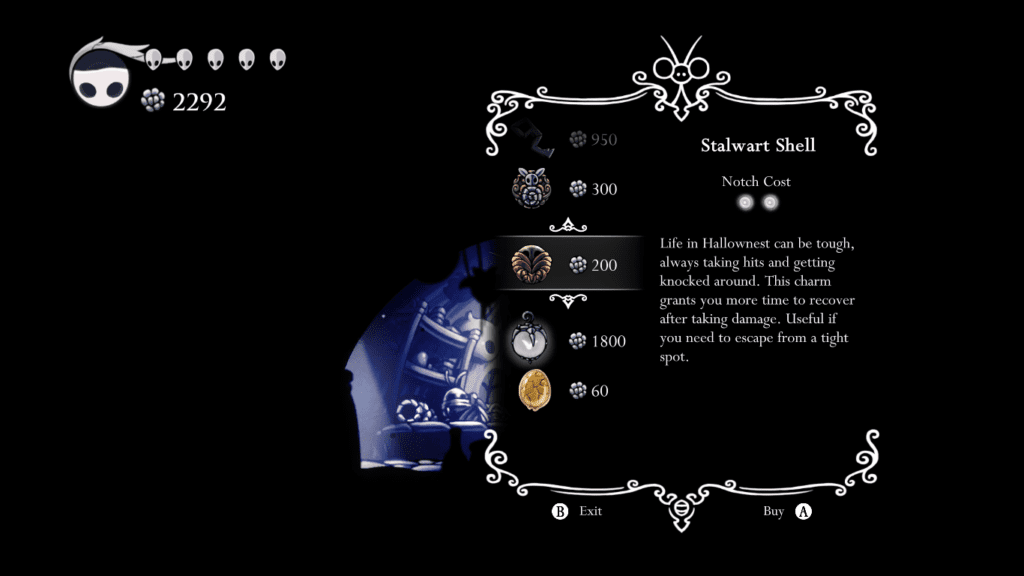
Visit Sly as soon as you arrive in town. You want to purchase the Stalwart Shell (pictured) and the Lumafly Lantern directly underneath. I hope you’ve been saving some Geo as this little spending spree costs 2000!
After emptying your wallet, go outside and sit on the bench. Then, head back down to the Last Stag and fast travel to the Forgotten Crossroads (middle option). Your next destination is Crystal Peak.
Crystal Peak
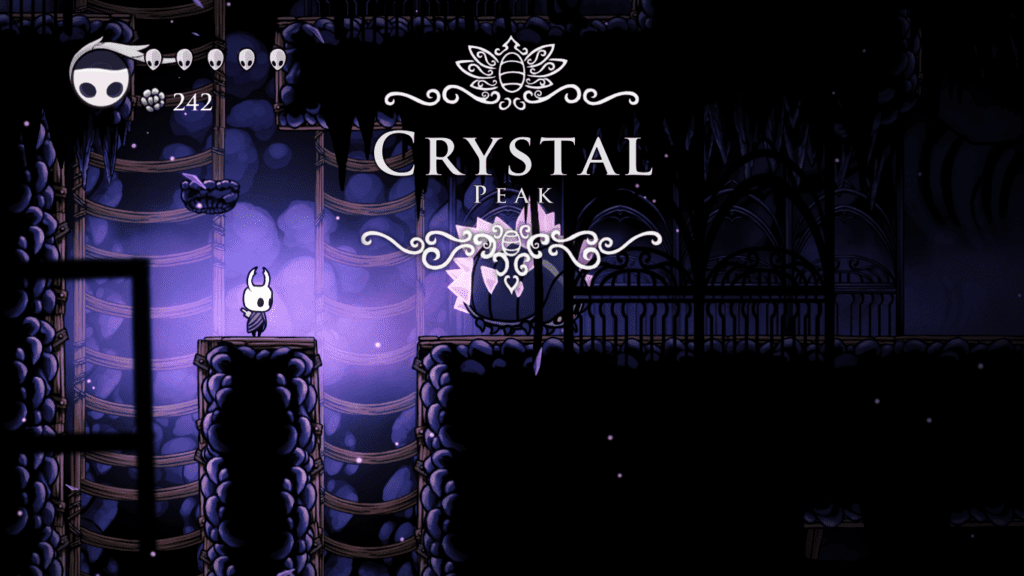
This area is dangerous, but you can use the slower, less aggressive enemies here to your benefit. Many of the obstacles down here require you to wait if you don’t want to take damage.
You can dash through many enemies and their projectiles to get to your destination faster. In speedrunning, this is called Damage Boosting. You can spend health to go more quickly but only if you’re comfortable and only if it won’t cost you your life!
Lazer Gauntlet
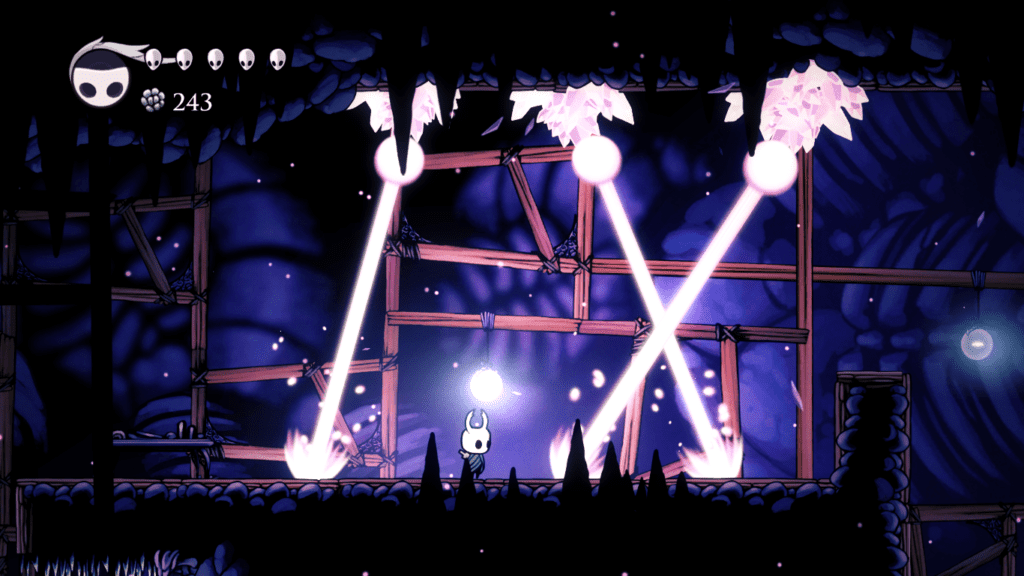
This area is home to another flashy part of the speedrun. There is a short section where a gauntlet of lasers blocks your path. These turn on and off periodically, forcing you to wait for them.
However, their timing isn’t as random as it looks! If you purposely take damage from the 2nd laser (the one in front of me in the picture) and run through the rest of the section as fast as possible, most of the following lasers will be off by the time you get to them.
This strategy isn’t full-proof, and you may have to slow down a little, but it’s a good time saver. After this section, you’ll get the Crystal Heart (super-dash). Pause and quit to the menu, then reload your save.
Ledge Launch
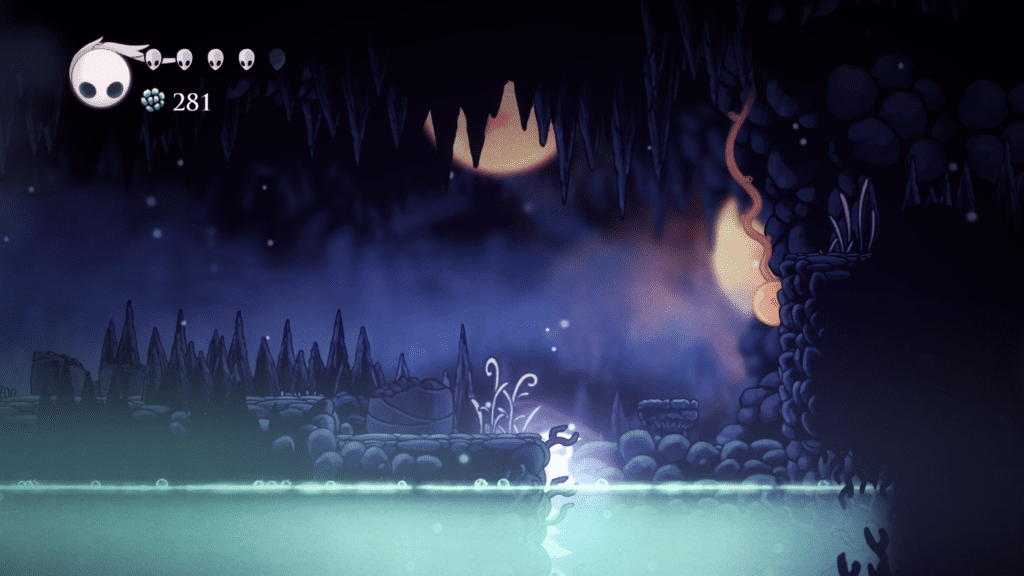
You will want to launch off the ledge next to the acid (pictured) but getting here is harder than it looks. Aim for the edge, and the moment you’re about to hit it, rapidly press the super-dash. There isn’t much room, but if you’ve done it right, you will grab the wall and be able to dash through the hidden passage opposite and into Fog Canyon.
Uumuu Fight
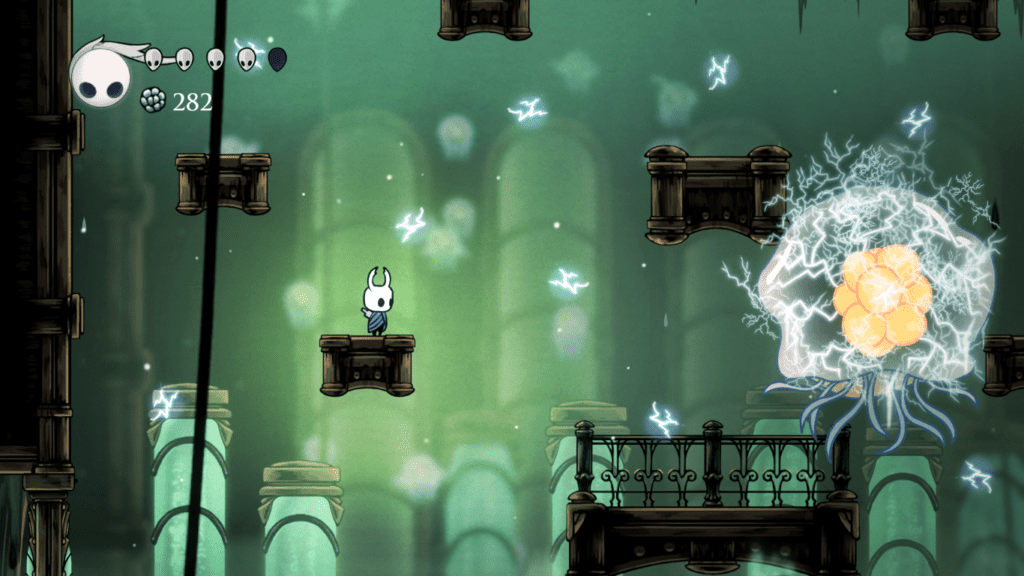
The hardest part of this fight is getting Uumuu in a place where you can deal damage consistently. This boss only has two attacks, and you’ll need to be careful of both. The only way to make the boss vulnerable is to wait for Quirrel to attack.
When Quirrel attacks, you have a short window to land attacks yourself, but ideally, you want this to happen over the large platform in the middle. It will be much harder to land any meaningful damage otherwise. The biggest obstacle in this fight is positioning and getting tunnel vision trying to set everything up.
An Optional Pick-up
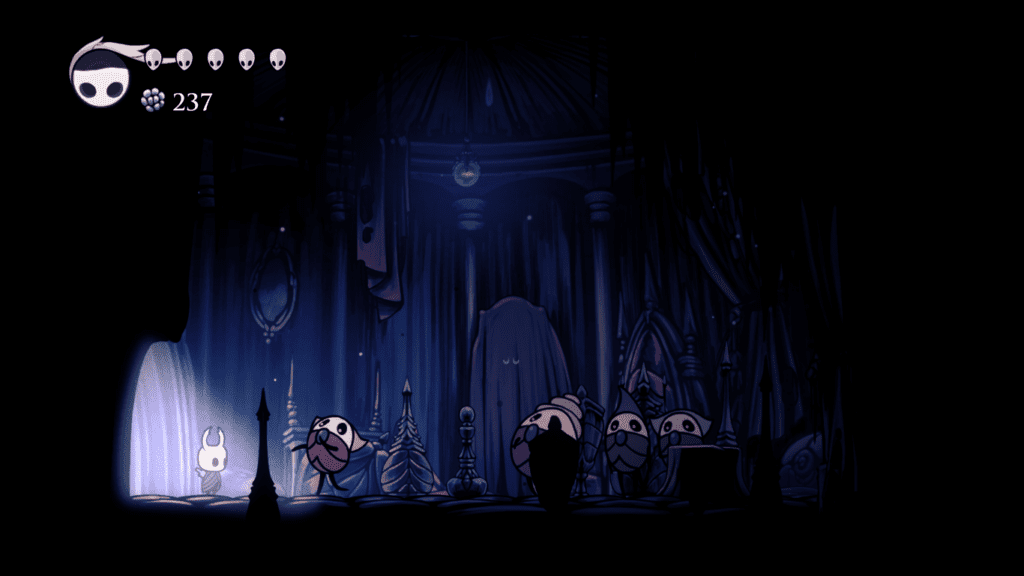
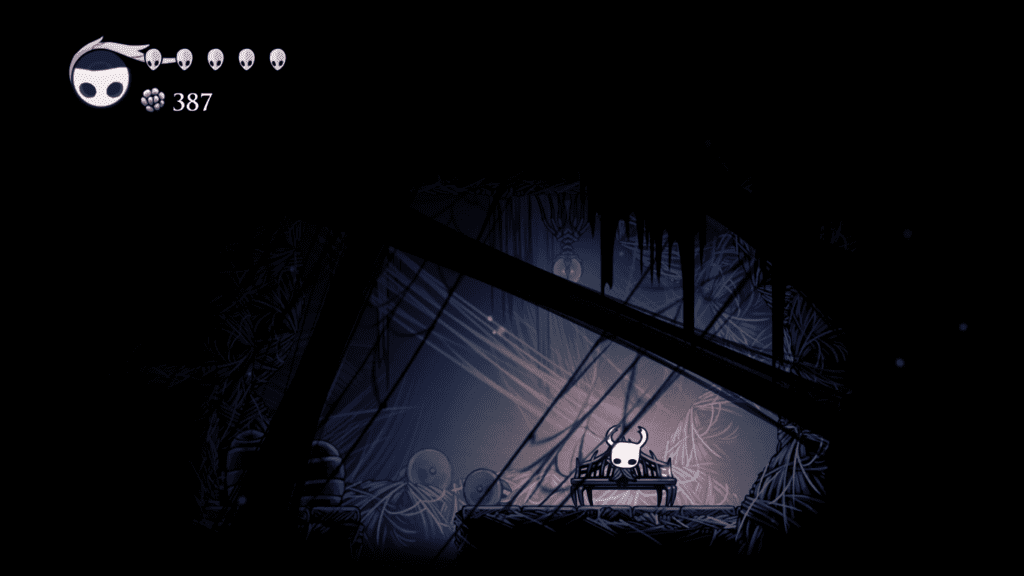
You’re so close to the end of the run now! On the way to the ‘Trick Bench’, you may wish to pick up the Spore Shroom (pictured). This charm can be helpful in the final boss fight as you will emit a damaging spore cloud whenever you focus your Soul.
Slash Spider

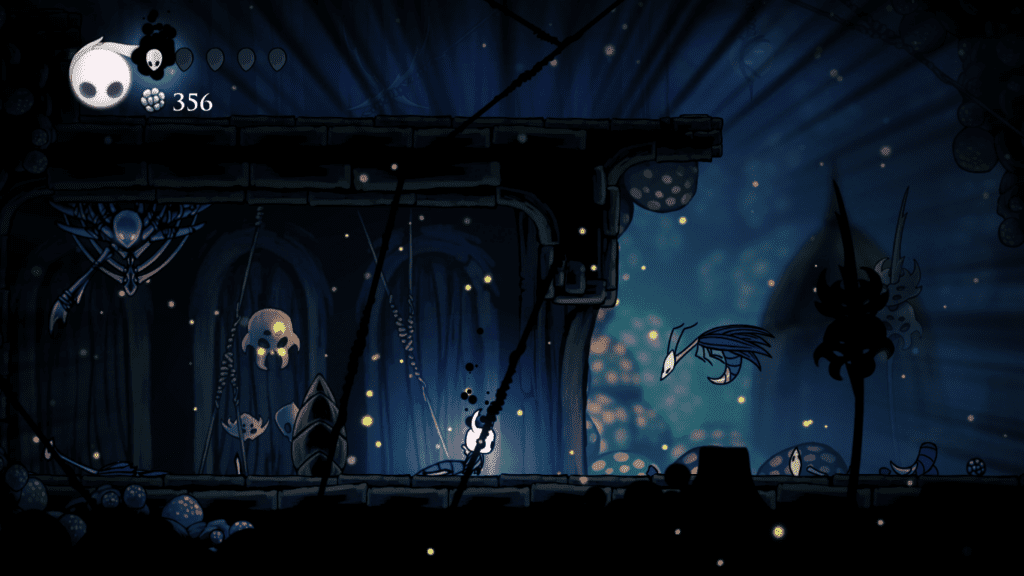
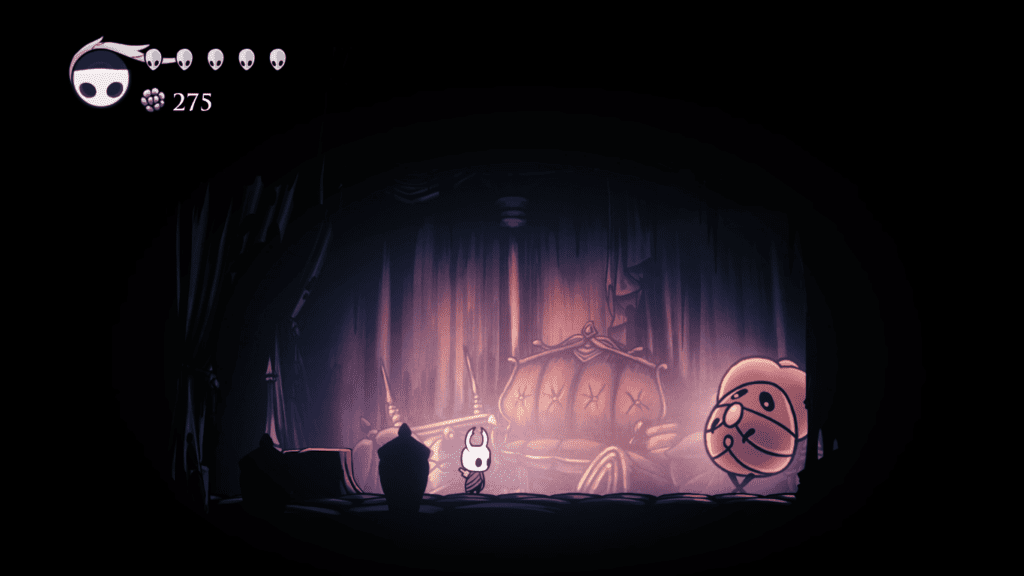
The scary critter pictured is a Slash Spider, and although it’s not a boss, it’s honestly more challenging than most encounters in the game. There are a few of these in the Beasts Lair, and fortunately, most of them can just be avoided. Some, like this one, cannot.
The most important thing to remember is even when the Slash Spiders front isn’t open, you can still damage it. Throw fireballs when you approach, and if you’ve got the health to spare, go in for a few slashes and use your Fireball when it’s available.
The Final Bench
If you want to swap to the Spore Shroom and or the Stalwart Shell, there is a bench down here.
Hollow Knight Fight
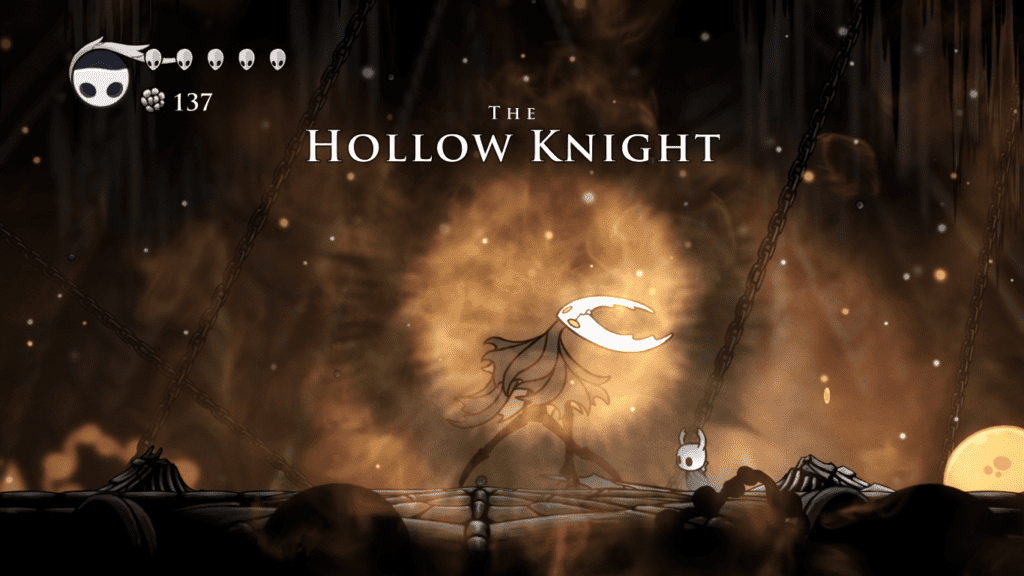
The only thing standing between you and beating your run is this battle!
The Hollow Knight is a formidable enemy, and his speed rivals that of the Hornet from earlier. If you have the Spore Shroom, getting hit and healing to trigger it is a surprisingly effective damage dealer.
You can use the Spore Shroom constantly throughout the fight whilst landing as many regular attacks as possible. Don’t forget to throw fireballs when you can but keeping your health up should be your number one priority.
It will take time to learn the Hollow Knights attacks, but the Spore Shroom has decent range, and you really can keep him at range whilst still doing damage yourself.
Frequently Asked Questions
Question: What is a Good Time for a Hollow Knight Speedrun?
Answer: The best ‘No Major Glitches’ runs clock in at just over 30 mins. A good time to aim for when you’re just starting is anything under an hour.
Question: Is Hollow Knight a Challenging Game to Speedrun?
Answer: There are some tricky parts, but you’ve already done the hard part if you can memorise the route! Speedrunning any game is tough, but following a specific path makes speedrunning Hollow Knight easier than just casually playing it in many ways!
Question: Is there Any Easy Way to Practice Techniques in Hollow Knight?
Answer: Unfortunately, if you play on a console, you will have to practice against obstacles as they happen. If you play on PC, though, you’re in luck.
Hollow Knight has a very active modding scene, and those mods include incredible practice tools. The devs actively support modding too, which is fantastic to see. The most up to date mod tools are available through the official Hollow Knight Discord Server.
Conclusion
Speedrunning Hollow Knight is incredibly rewarding thanks to its mix of platforming, combat, and tricks that enhance the game instead of breaking it. There’s a large, supportive community willing to help beginner runners with this game, and that’s a rarity. If you’d like to try speedrunning, there are far worse choices than Hollow Knight.
Useful Resources:
- The Speedrun.com leader boards along with the list of different categories to run can be found here
- A host of different resources including maps and save files can be found here
- If you wanted to try the down-patched version of the game, instructions on how to do this can be found here. This works on PC only.
Find more speedrun paths below:
Borderlands 2 Speedrun Guide: My Top Secrets
Hades Speedrun Guide – A Guide to Escaping the Underworld Really, Really Fast