

Anthony enjoys deep diving into strategies and explaining them to people whilst they blankly stare back, and is also a big fan of cosplay and creating assets for Cons and events in his spare time.
- Evil Dead Achievements Guide - May 30, 2023
- Just Cause 3 Speedrun Guide – How to Liberate Medici at Breakneck Speed. - May 18, 2023
- Dishonored Speedrun Guide – Corvo’s On The Clock - May 13, 2023
Klonoa: Door to Phantomile is a hidden gem in the PlayStation library and sadly never made enough commercial impact to become well known. That being said, through the years, the Klonoa games have garnered quite the cult following, and each title (yes, including the volleyball spinoff) has survived the test of time.
I love learning Speedrun tricks and have spent an irresponsible amount of time learning how to run dozens of different titles. Klonoa: Door to Phantomile is the game I return to the most. It demands the perfect mix of tight platforming and impressive Speedrun tech. This is my go-to whenever I’m asked to recommend a game to a new runner.
It’s beginner friendly, with dozens of optimizations you can add with practice. If I’ve piqued your interest, let me show you how to Speedrun one of the finest platformers on the PlayStation.
Bottom Line Up Front
Klonoa is a joy to Speedrun, thanks to its low-skill floor and incredibly high-skill ceiling. I enjoy Speedrunning games that have a few flashy tricks sprinkled in, but I always like standard gameplay to be front and center of the experience.
The Klonoa: Door to Phantomile Any% Speedrun strikes this balance perfectly, and because of this, I recommend the game to anyone, regardless of skill level. If you master the Speedrun tricks in this Klonoa Door to Phantomile speedrun guide, you’ll be able to beat the game in under an hour and have solid fundamentals to build upon.
Pick Your Version
Before we dive in, there’s just one technical detail to address. There are several versions of Klonoa: Door to Phantomile, each with subtle differences. You can Speedrun with whatever you have, but these are the differences.
PAL Version (PS1)
This is the European version, and the biggest issue is the game runs at a slower frame rate than the NTSC version. In practice, this translates to completion times roughly 10mins slower! It’s a huge difference. If you’re just learning the Speedrun or plan to do so casually, it’s perfectly fine.
NTSC Version (PS1)
This version of Klonoa runs slightly faster, and you can feel the speed difference immediately. Most Speedrunners play on the NTSC Version as it’s the most accessible and has solid emulation options.
NamCollection JP (PS2)
The fastest version of all is much harder to obtain, and as such, only the top runners on the leaderboards use it. Klonoa: Door To Phantomile was released on the PS2 as part of the NamCollection, exclusively in Japan.
Unfortunately, PS2 Emulation isn’t consistent, and the Namcollection runs rather poorly unless you’re using the real thing. This version will be out of reach for most players unless you have access to a Japanese PS2.
Tricks of the Trade
Speedrunners use several tricks to blitz through Phantomile as fast as possible. A few of these are common in other Speedruns, but some are unique to Klonoa. I’ll save the more intricate ones for the ‘Welcome to Phantomile‘ section of the guide, but here are a few tricks to keep in mind.
Environment Skips
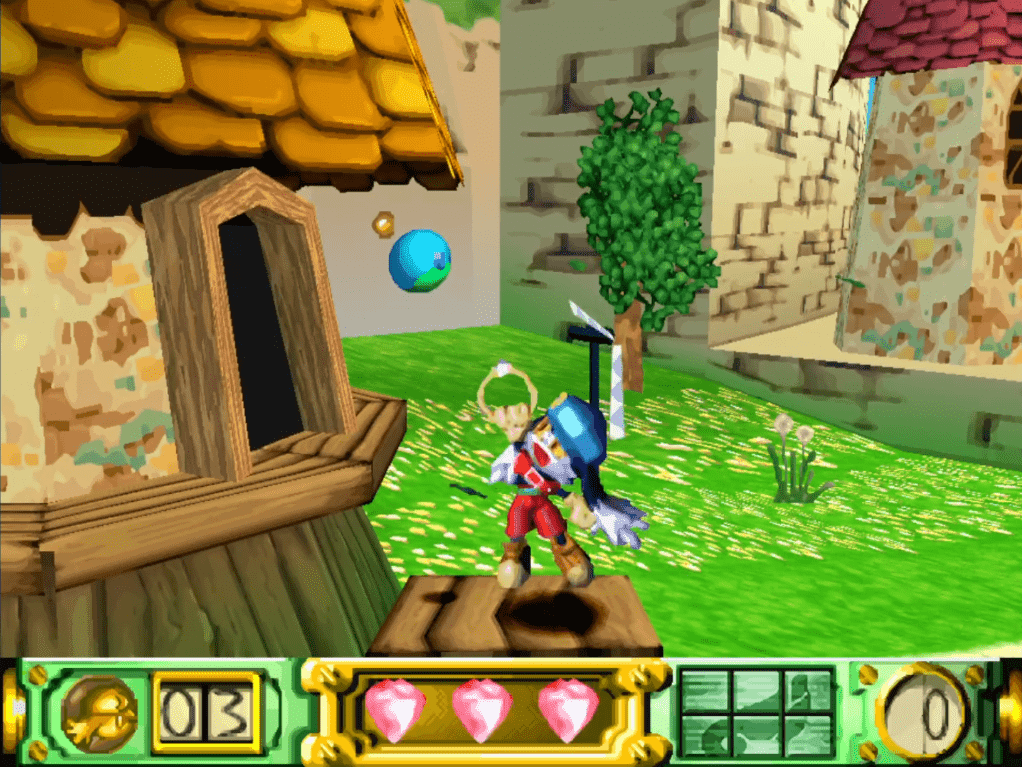
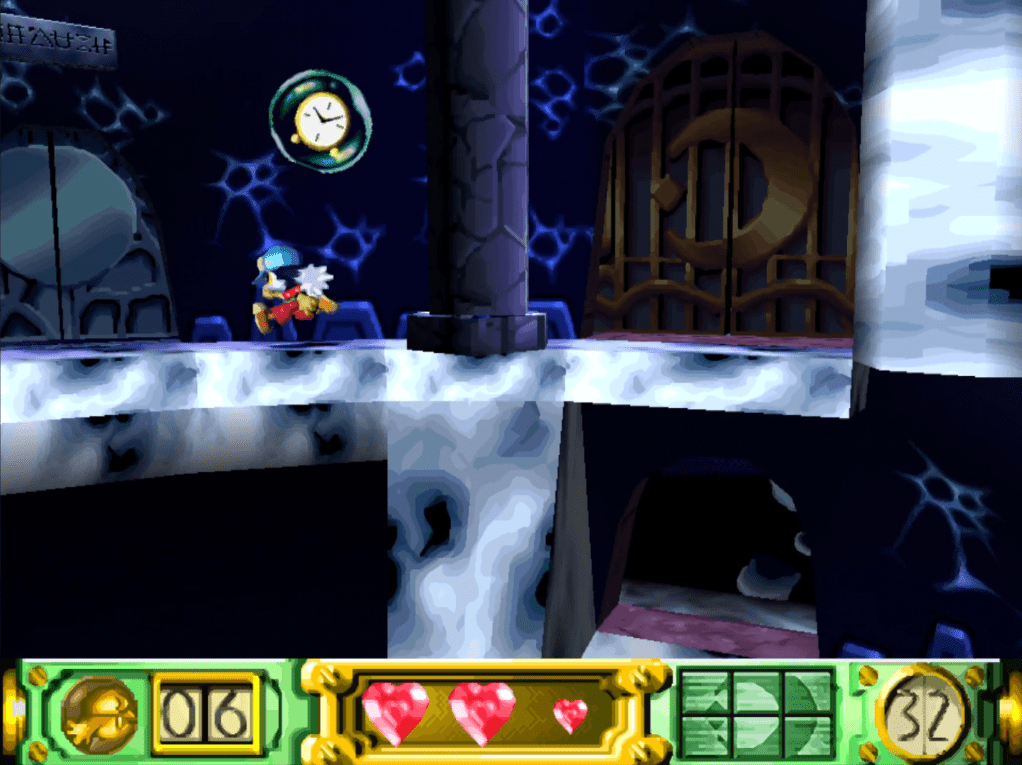
Klonoa: Door to Phantomile is a 2.5D Platformer, meaning the environments are 3D, but Klonoa only moves left and right on a 2D plain. There are several instances where parts of the environment overlap. You can use these overlaps to reach specific destinations faster, like this ledge at the end of Vision 1-1.

This example barely saves time but should give you an idea of what to look for.
Damage Boosting
Damage Boosting is used in hundreds of Speedruns and is the act of taking damage to clear an obstacle faster. Klonoa is briefly invulnerable after taking damage, so you can purposely get hit to completely skip some enemies.

With practice, you’ll start to view your health as a currency to spend on these Damage Boosts. Don’t jeopardise a run to pull these off, as death will always waste more time, but if you’re confident, Damage-boost wherever you can!
Moo Carrying
Enemies in this game are called Moo’s, and Klonoa can use them to double jump onto higher platforms. With practice, you’ll learn exactly when you’ll need a Moo to clear a jump, but until then, it’s good to carry one with you just in case.
Moo’s will constantly spawn nearby for every jump that needs one, but if you have one already, you don’t have to wait!
Wall Clipping
Wall Clipping enables some of the most broken Speedrun Techniques in Klonoa: Door to Phantomile. Wall Clipping is challenging and will require practice to make it consistent. In the next section, I cover a couple of Clips that shave minutes off the Speedrun, but as this technique has applications elsewhere, here’s how it works:
Whilst standing against a wall, hold Up or Down and briefly tap left or right towards the wall. The Left/Right input can only be pressed for a single frame (in most cases, 1/60 of a second). This is what makes Wall Clipping difficult.
If you press the button too hard, you’ll likely hold it down for more than a frame, and the clip won’t work. On top of that, the technique only works on very specific walls. This is a ‘crash course’ explanation, and the most impactful uses of Wall Clipping are explained in detail in the next section.
Welcome to Phantomile
In this section, I’ll go through each Vision (Klonoa’s fancy name for ‘level’) and explain everything you need to know to beat them quickly. Some of the tricks I cover are tough to execute and will require practice, but I know you can do it! If you can master everything here, you’ll have a solid base to add more advanced tricks to your route.
This guide is for the most popular Speedrun category, Any%. Once you’re starting to get a feel for things and want to time your run, start your timer the moment you have control of Klonoa at the beginning of Vision 1-1.
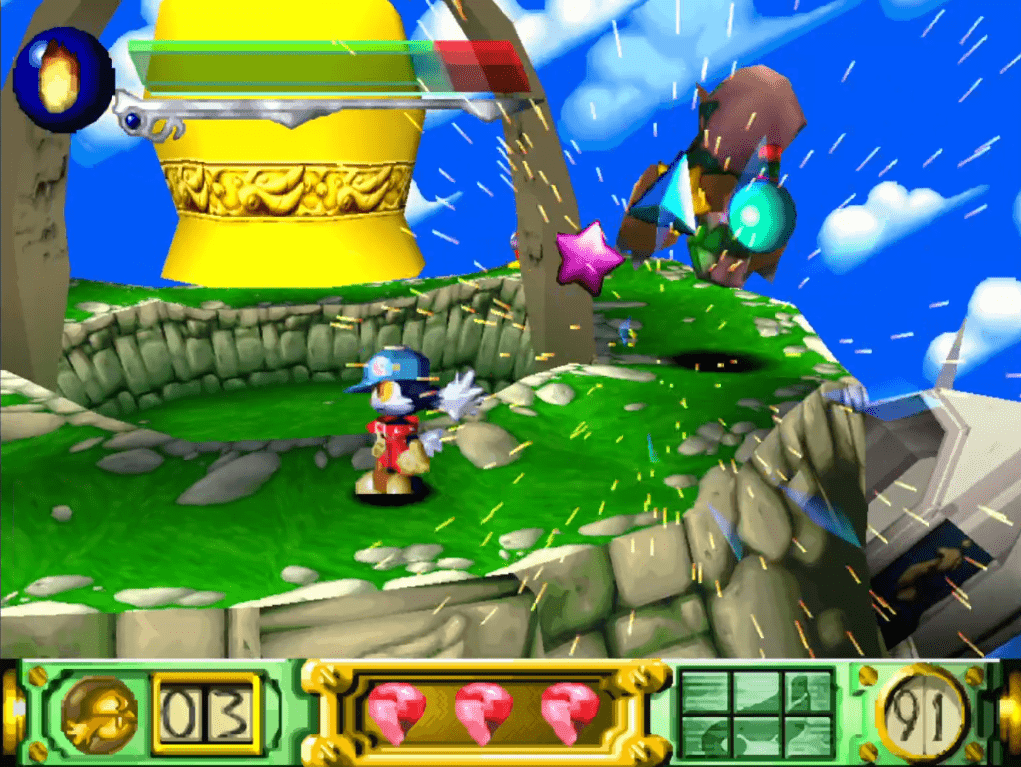
Vision 1-1
Vision 1-1 is a simple stroll where you’ll be gently introduced to the game’s mechanics. If you can grab any Moo’s without slowing down, do so and either throw them at enemies in your way or use them to jump.
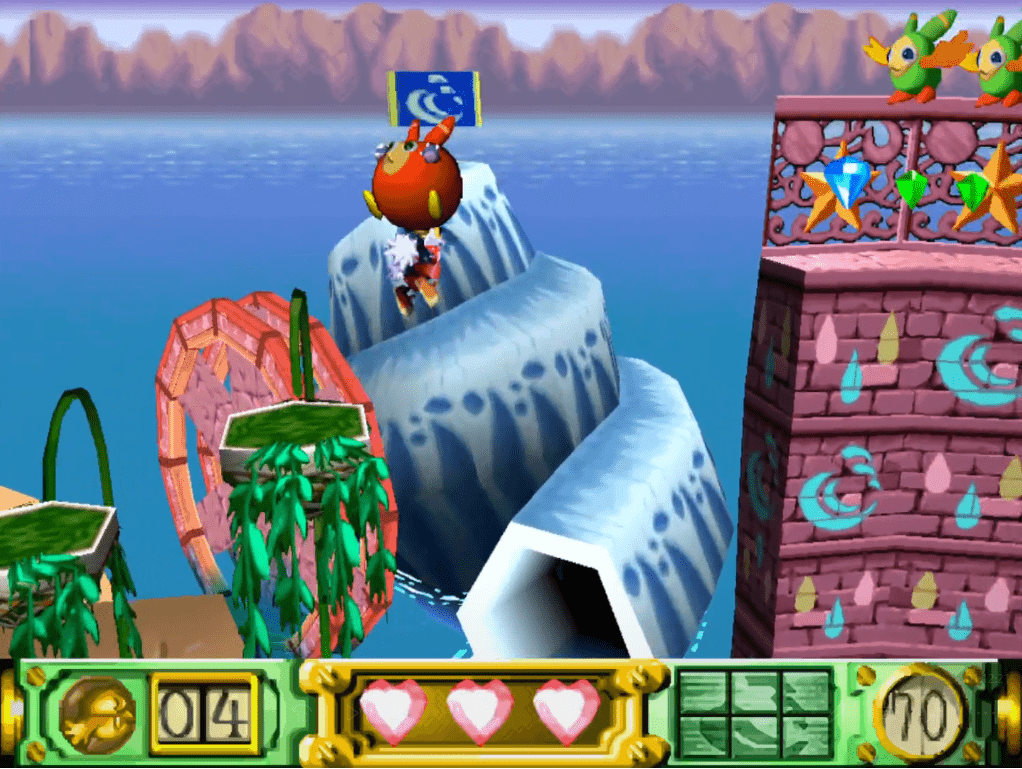
When you get to this area (above) where the route splits, make sure you take the lower path, as the one above takes you around a loop where you can grab some collectables.
Finally, double jump here instead of walking around to save a little time and finish the level.
Vision 1-2
This Vision doesn’t have much in the way of optimizations. Complete the level as usual, and remember to take the top path where the route splits (pictured above).
Boss – Rongo Lango
You can pull off some incredible trickery with Damage Boosting in this fight, but for now, prioritize attacking as fast as you can. As soon as the battle begins, run to the Left, grab your first Moo and throw it at Rongo’s back.
You can attempt to Damage-boost through the boss to get behind him if you see a Moo standing there; just be aware that trying to do so whilst holding a Moo will destroy it. This is a quick and straightforward encounter, even if you’re playing casually.
Vision 2-1
Much like Vision 1-2, 2-1 has very few optimizations. The Vision itself has some nasty jumps across floating leaves, and whereas it is tempting to go for risky jumps, only do so if it’s safe.
There’s a small Environment Skip here towards the end of the Vision, but it’s only a small time-saver if you don’t have a Moo to hand.
Vision 2-2
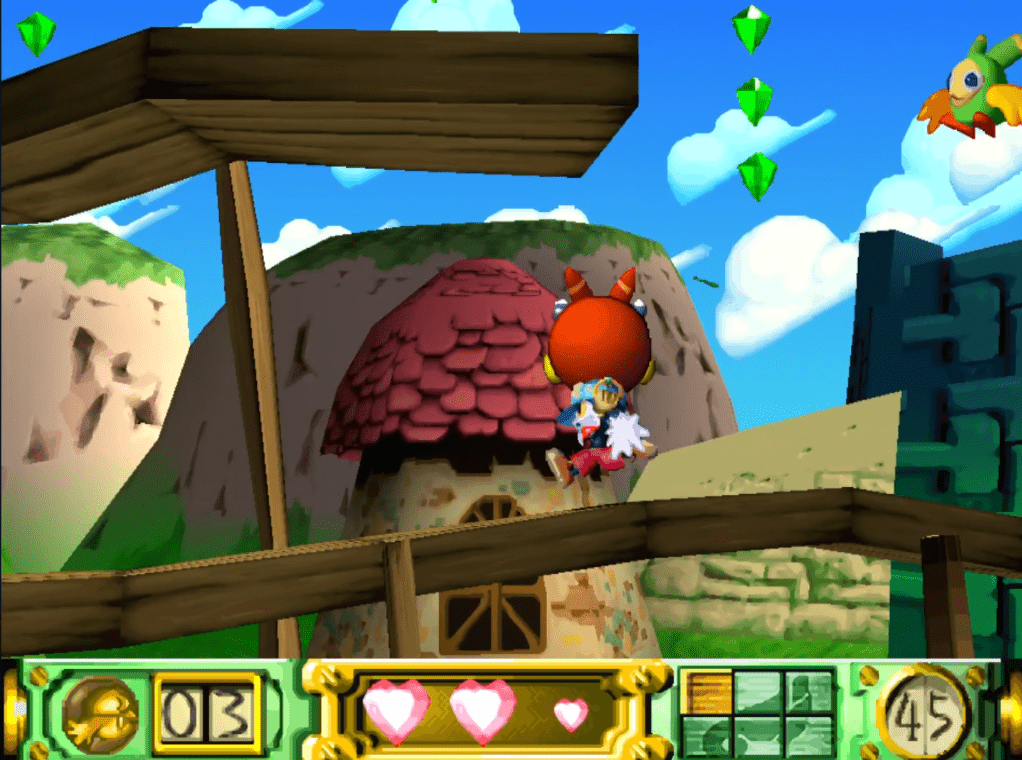
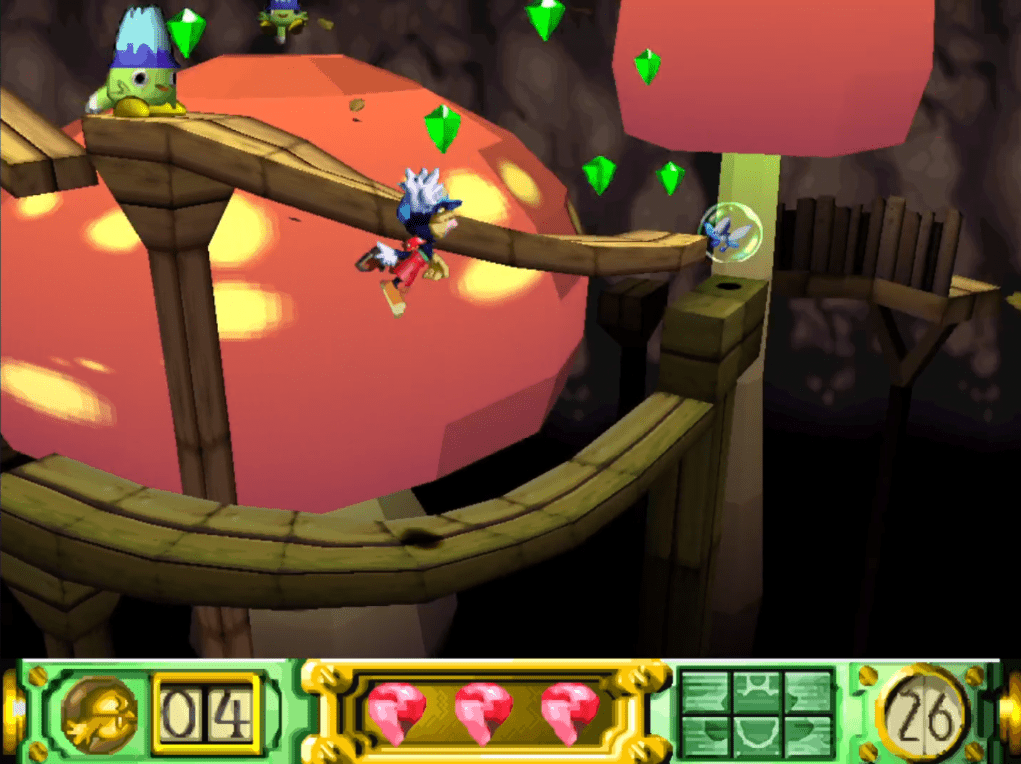
Vision 2-2 is full of minor optimizations that make an incredibly quick stage if you do them right.
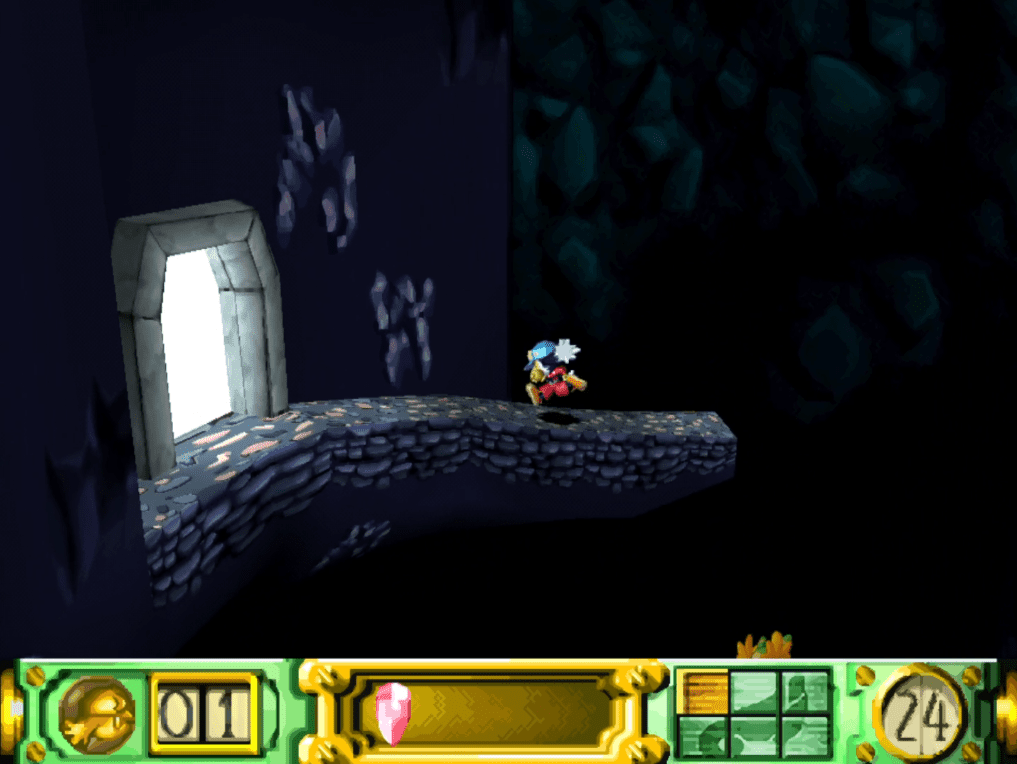
Firstly, there’s an Environment Skip right at the start (pictured above).
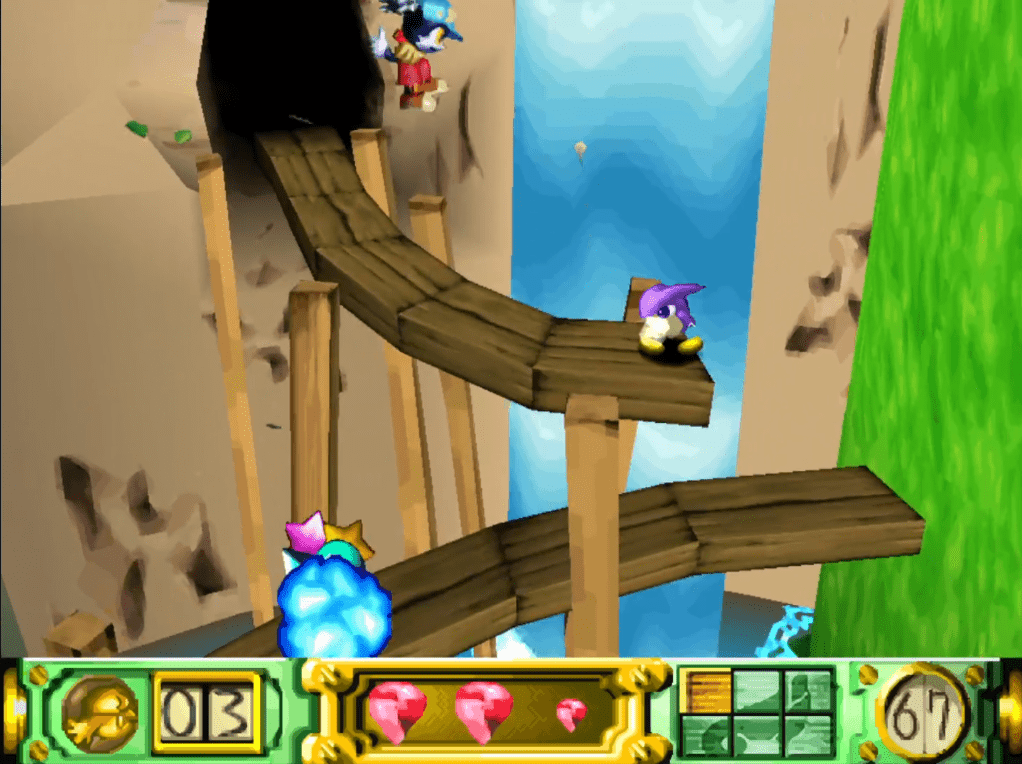
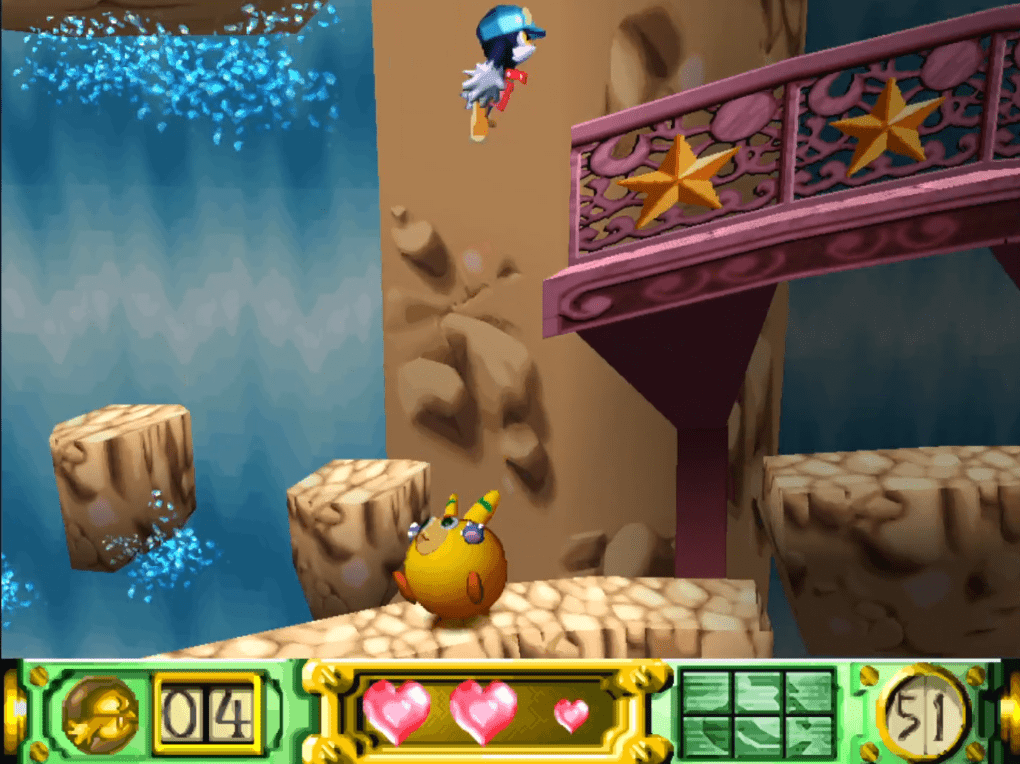
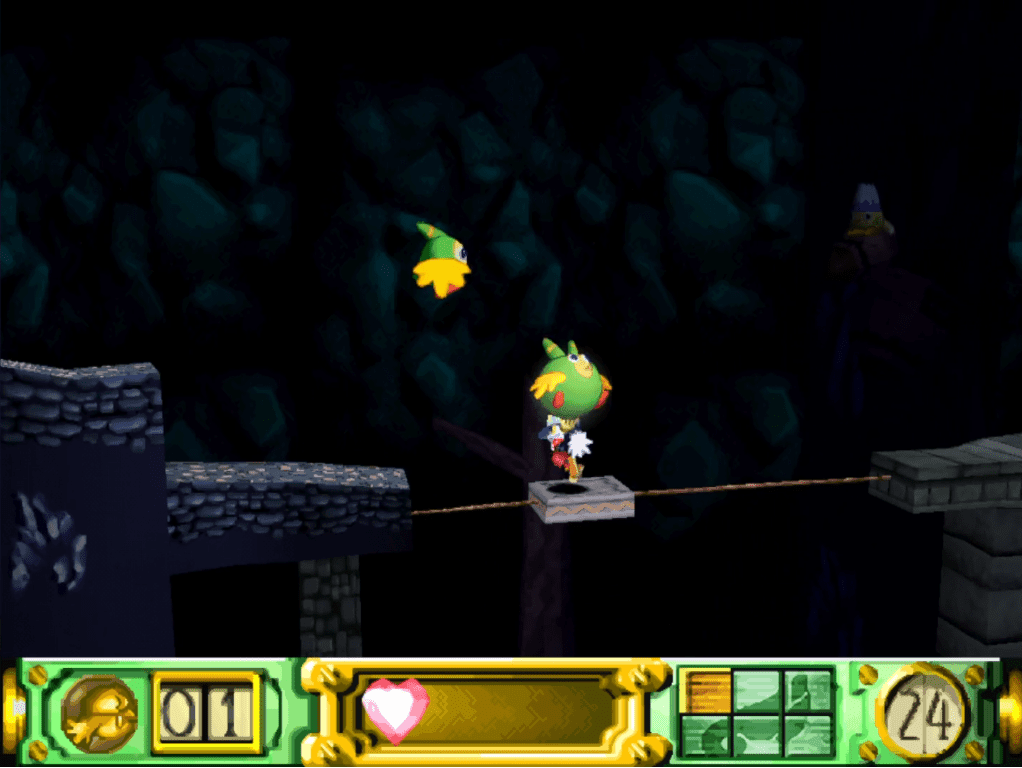
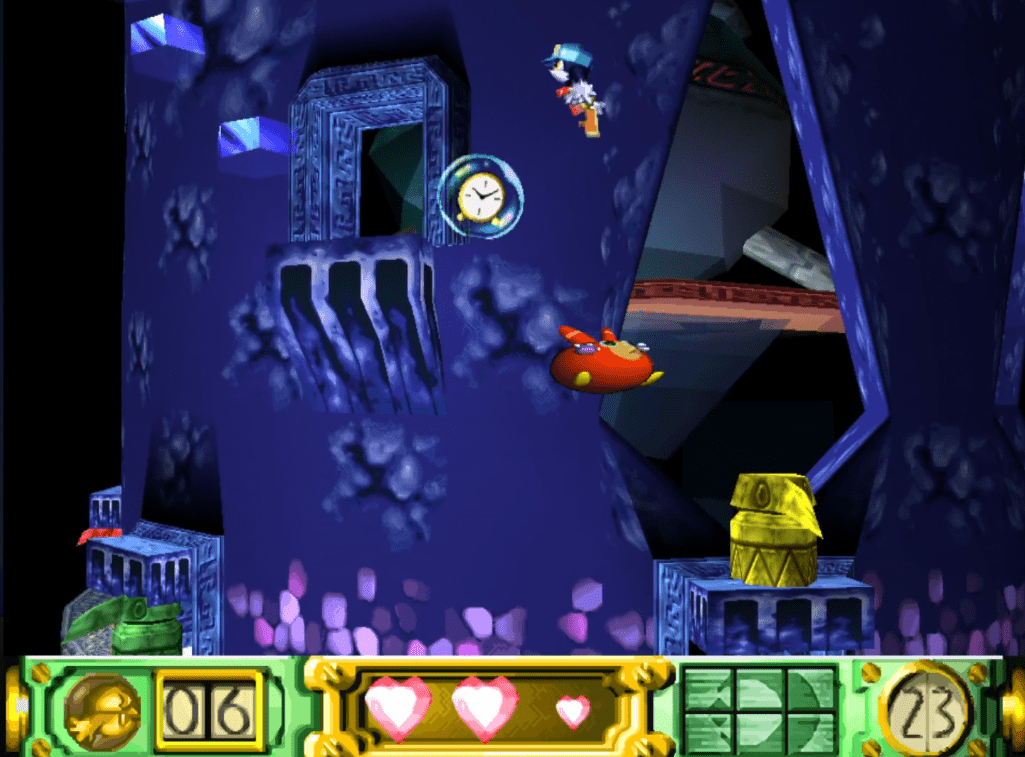
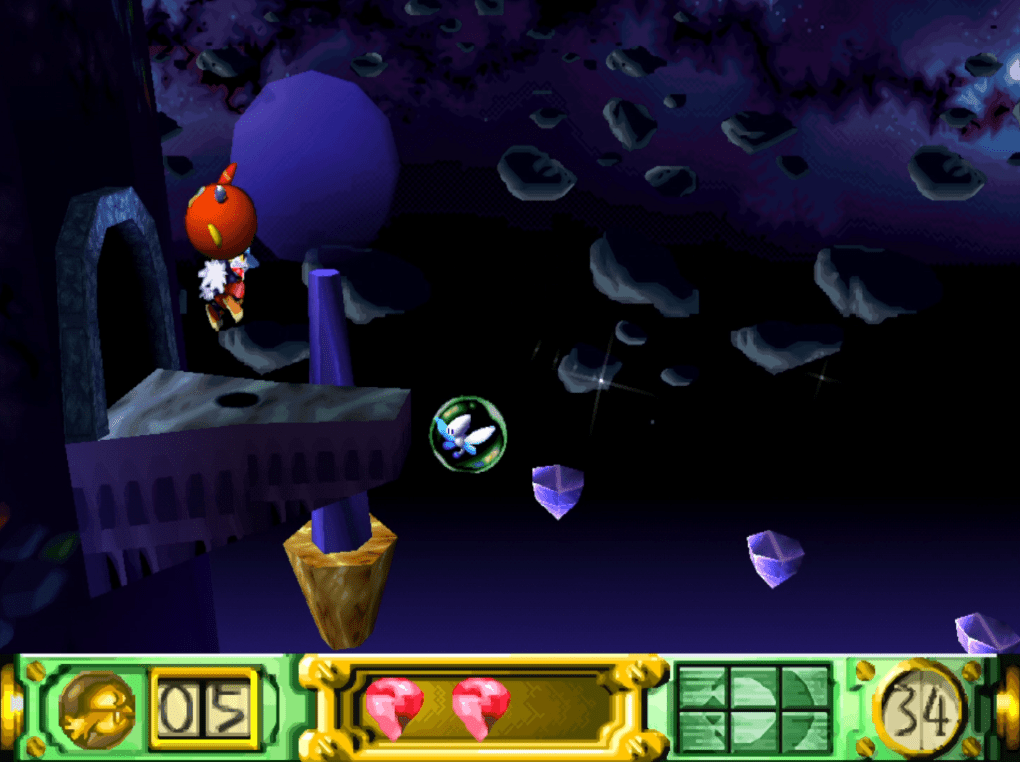
Immediately after that, there’s a sequence of jumps to traverse the waterfall. If you grab this green Moo and double jump, you can enter the door above, skipping the trip around.
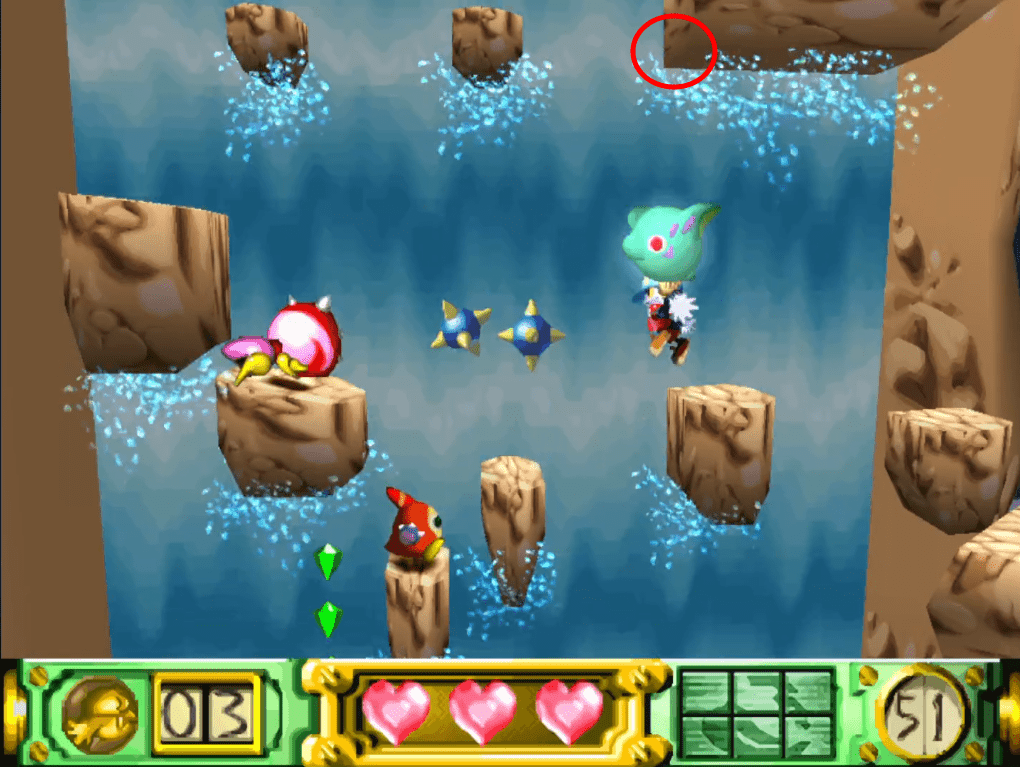
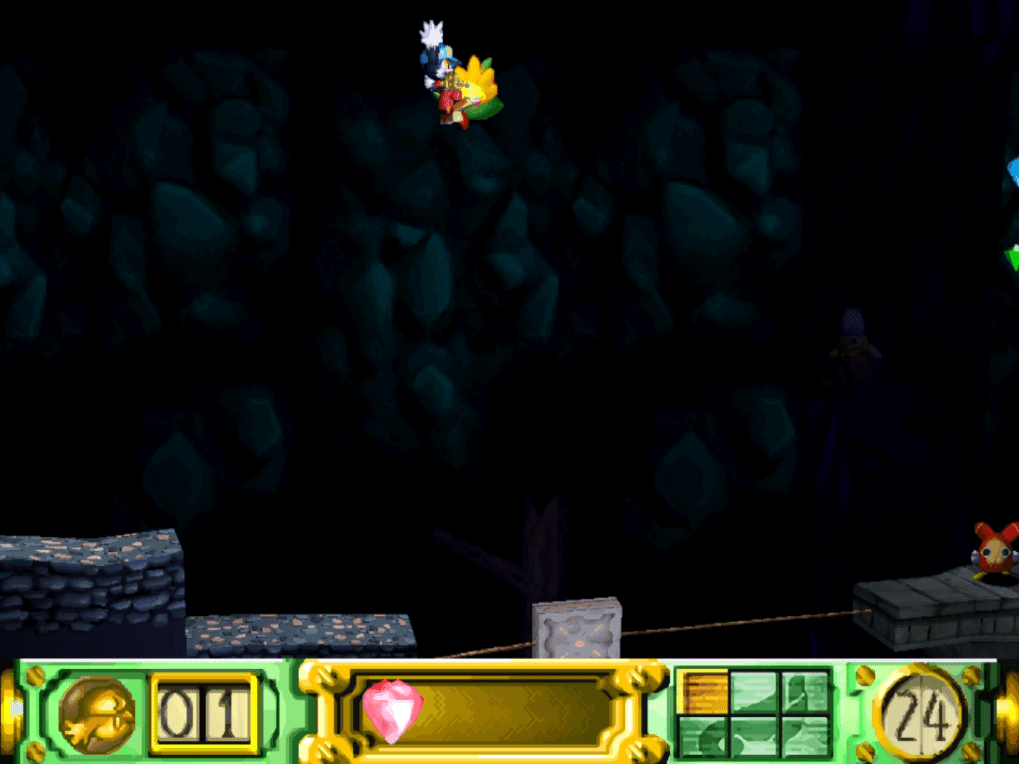
Before you leave the cave, you can grab a Moo to take along with you. You need a Moo to clear this jump (pictured above), but if you already have one in hand, it saves waiting for one to spawn.
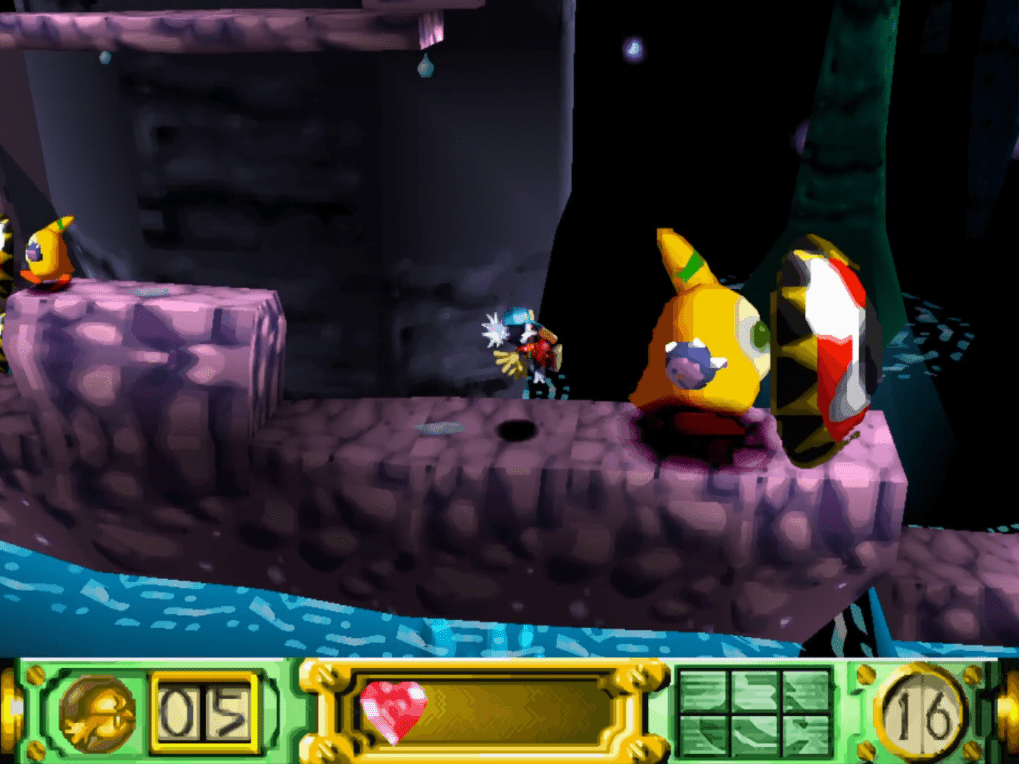
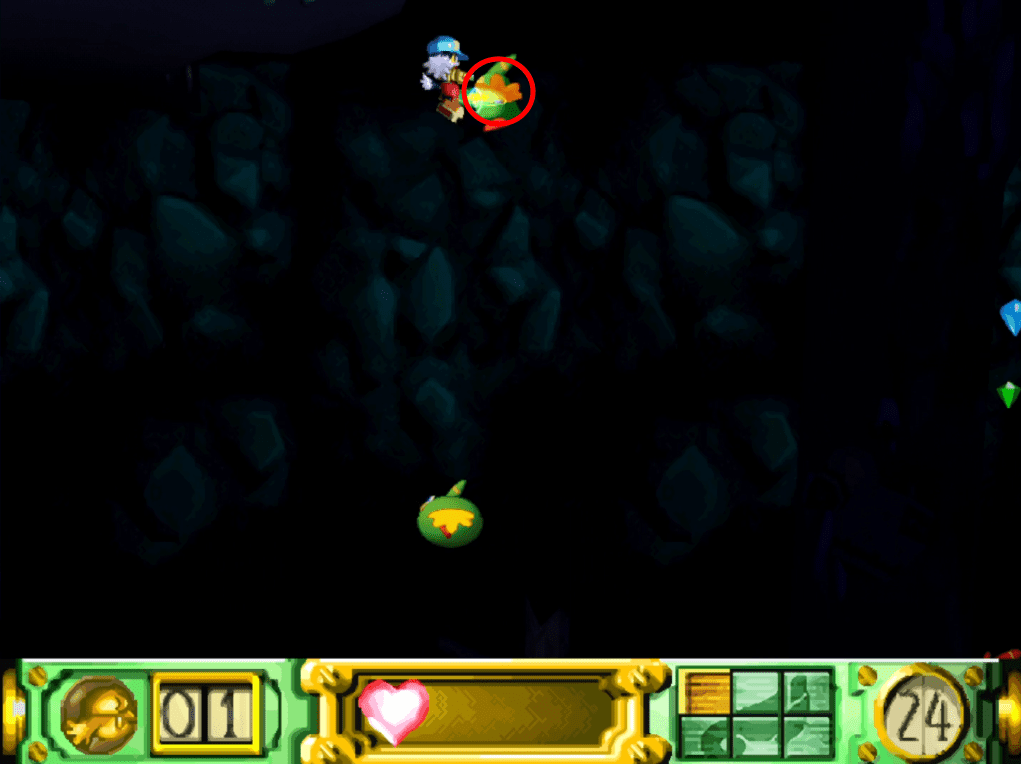
Finally, there’s a Damage-boost opportunity against this giant Moo towards the end of the stage. You can walk straight at the giant Moo to pass through. You’ll usually take 2 hits doing this, but it’s much quicker than dealing with the enemy normally.
Ideally, you’ll want to finish this stage with some extra health as Dark Pamela, the 2nd boss, is up next.
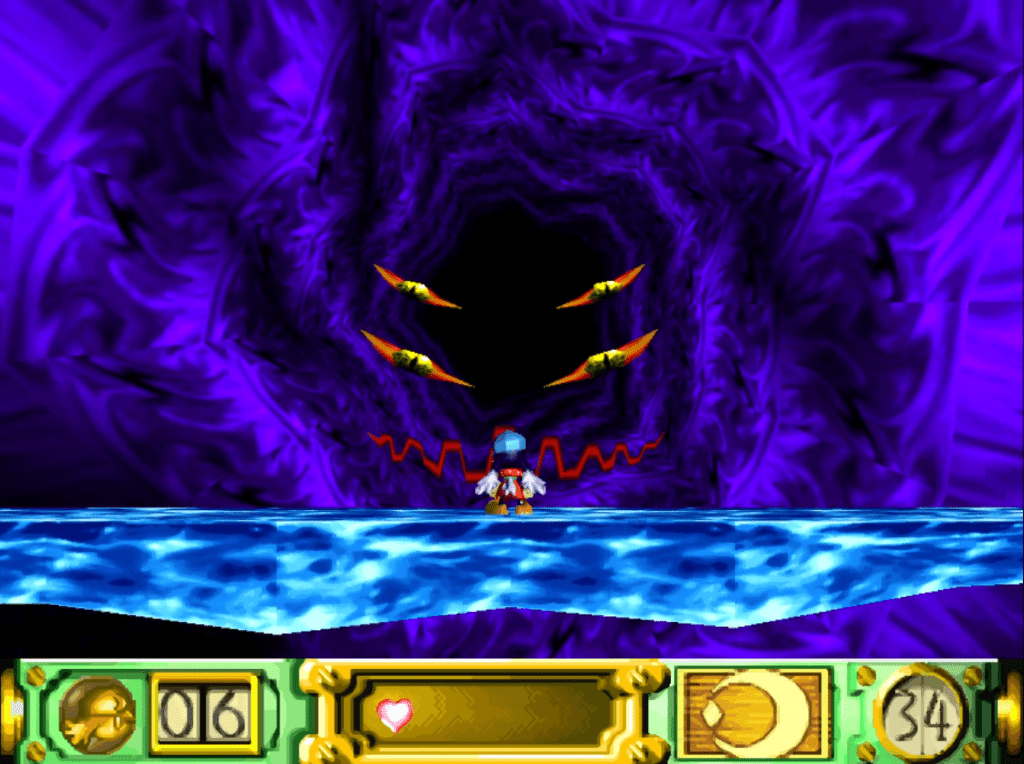
Boss – Dark Pamela
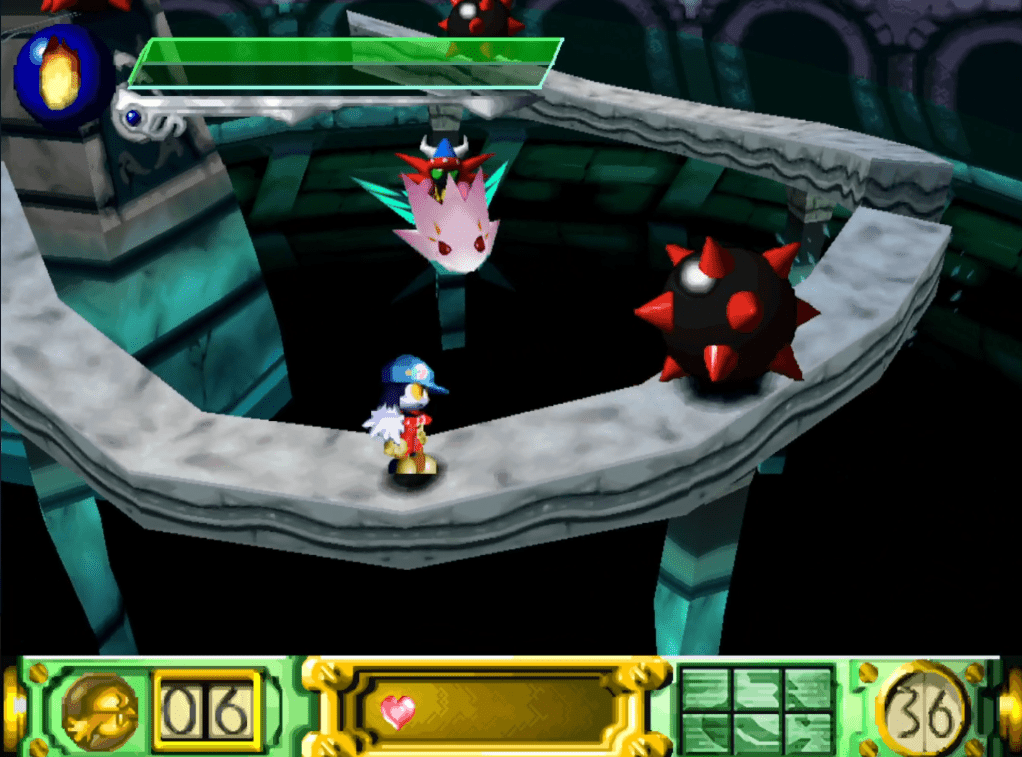
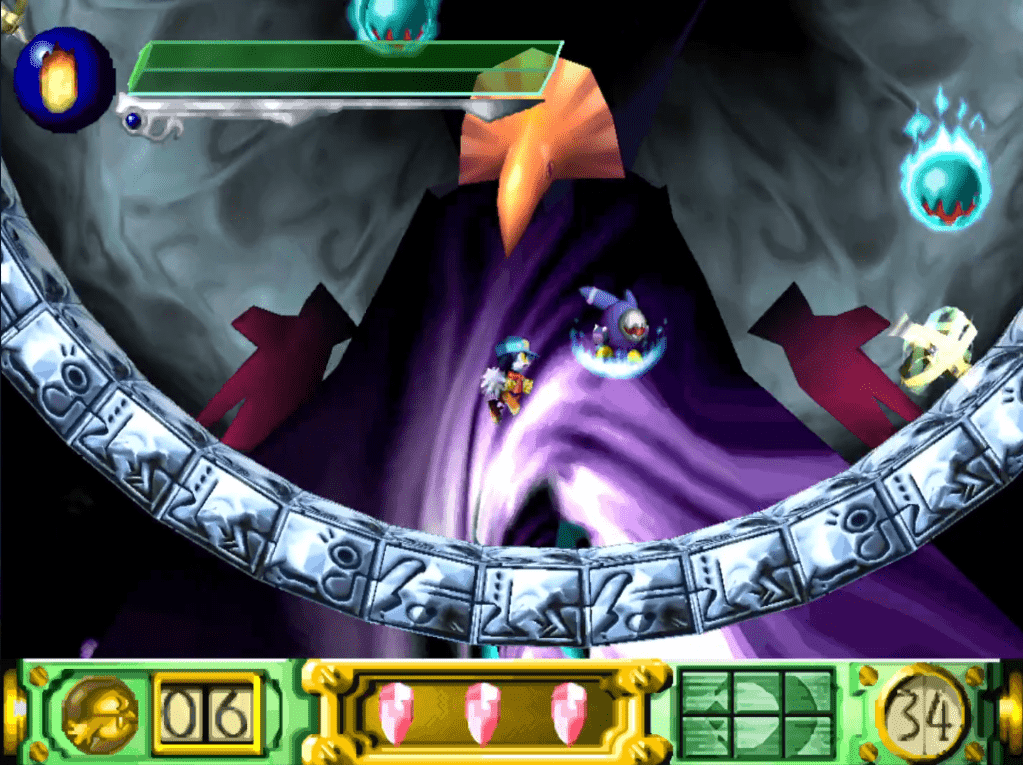
Dark Pamela is a tricky foe, and she’s even tougher if you don’t have much health to spare! Your health will not replenish after Vision 2-2, so keep this in mind. Pamela likes to waste time in this fight, and she will punish risky play.
If you’re feeling flashy, you can grab the King off Pamela’s back when she charges you. This is hard to do as you need to stand to one side when Pamela jumps and try a grab mid-jump. If you catch him, you can throw him at Pamela when she’s in the pool in the center.
The camera is the hardest thing about this fight; it follows the curve of the platform, so throwing the King at Pamela is surprisingly tricky. If you’re more comfortable waiting, you can throw the King when Pamela charges. It’s slower but more consistent.
Vision 3-1
This Vision has a nice optimization towards the end during the ‘on rails’ section. If you bring a Moo through here, you can use it to break the crate in the following area, saving a few seconds.
There is a tricky Wall-Clip in this stage, but it’s not one I recommend learning right away. It doesn’t save much time, and if you screw it up, you’ll fall through the level. Still, it’s definitely one to consider later, and if you want to see it in action, check out Balneor’s video in the ‘Useful Resources‘ section below.
Vision 3-2
Vision 3-2 is the longest level so far but, sadly, has very little in the way of optimizations. There are a few branching paths here, but once you’ve learned the route, you can finish 3-2 with a solid time.
Boss – Gelg Bolm
As with Rongo Lango, you can use some flashy Damage-Boosts to beat Gelg Bolm quickly. As you’re learning the run, I recommend memorizing where the Moo’s spawn and how to accurately hit the boss when he runs at you.
As long as you don’t jump off the edge, Gelg Bolm can be dispatched quickly and shouldn’t give you too many problems.
Vision 4-1
Vision 4-1 is home to my favorite trick in the entire Speedrun. It’s a challenging sequence to pull off, but it skips a good chunk of the Vision and is a real crowd-pleaser! Complete the stage as usual if this is too hard right away. Compared to other tricks, later on, this only saves about a minute, but it is one of the coolest in the Speedrun!
At first glance, there’s nothing significant about this area (pictured above) but what you might not realize is the level exit is right above your head, just out of view. To get up there, these are the steps:
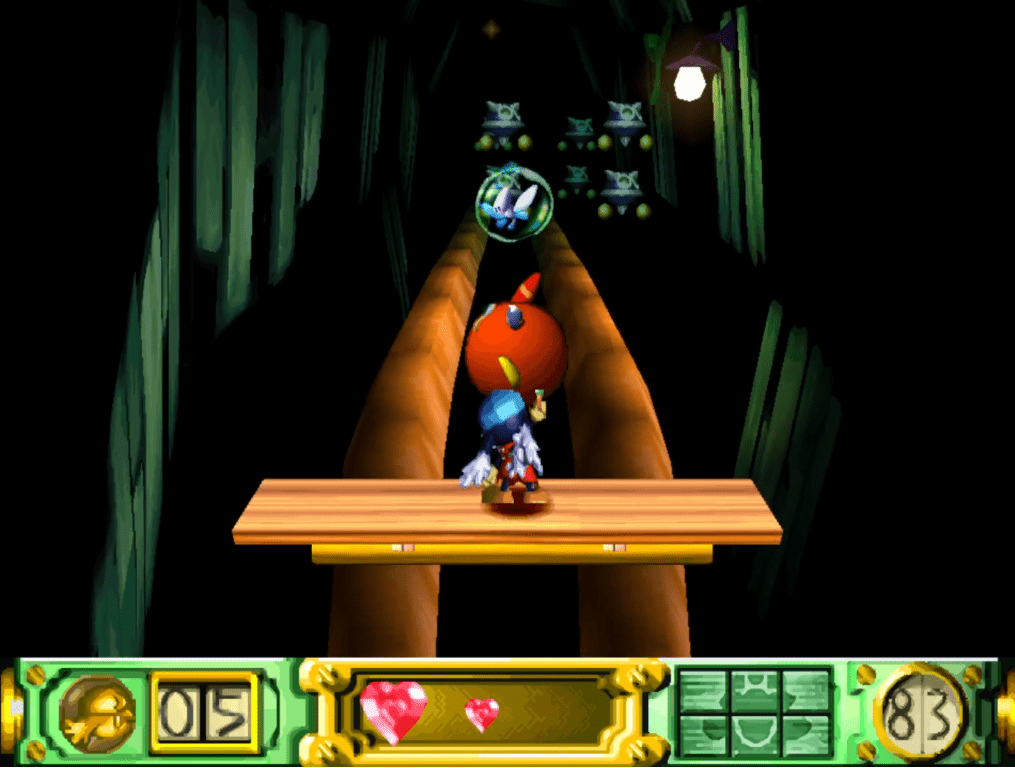
From this platform, grab the Moo on the ground and use it to double jump and grab the Flying Moo.
Whilst airborne, quickly double jump left using the Flying Moo, and grab once more at the apex of your jump. If you’ve done it perfectly, you’ll catch a Flying Moo the moment it spawns in the air.
Briefly land on the platform as I have. You can’t stand here long, so immediately use the Moo for a double jump, grab the Moo to your left mid-air and immediately double jump again.
In the air, face right and hover at the peak of your jump. Another Moo will spawn right in front of you. Grab it and double-jump straight up.
Finally, grab to your right, and you’ll catch one final Flying Moo as it spawns. If you double-jump once more and land on the platform to your right, you’ll be at the end of the stage.
I can’t sugarcoat it. This isn’t easy, but it’s a huge time-saver, and you can learn it in sections. If you’re getting frustrated or your thumbs start to get sore, come back to this later.
Vision 4-2
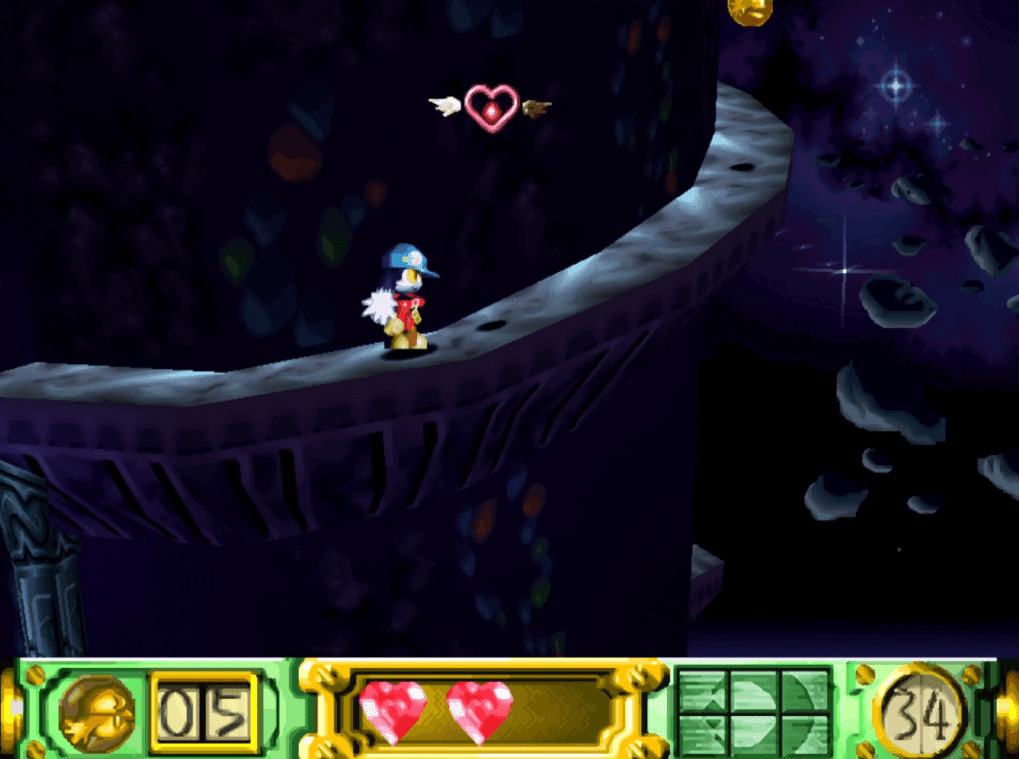
If you’re at your wits end after that trick in 4-1, you can relax, as Vision 4-2 is very straightforward. There are a couple of ‘Continues’ up for grabs, and neither cost much time to go for.
The only optimizations here are ensuring you’re carrying a Moo for a few jumps. Even if you aren’t, Moo’s are plentiful, and you will only lose a little bit of time just grabbing them when needed.
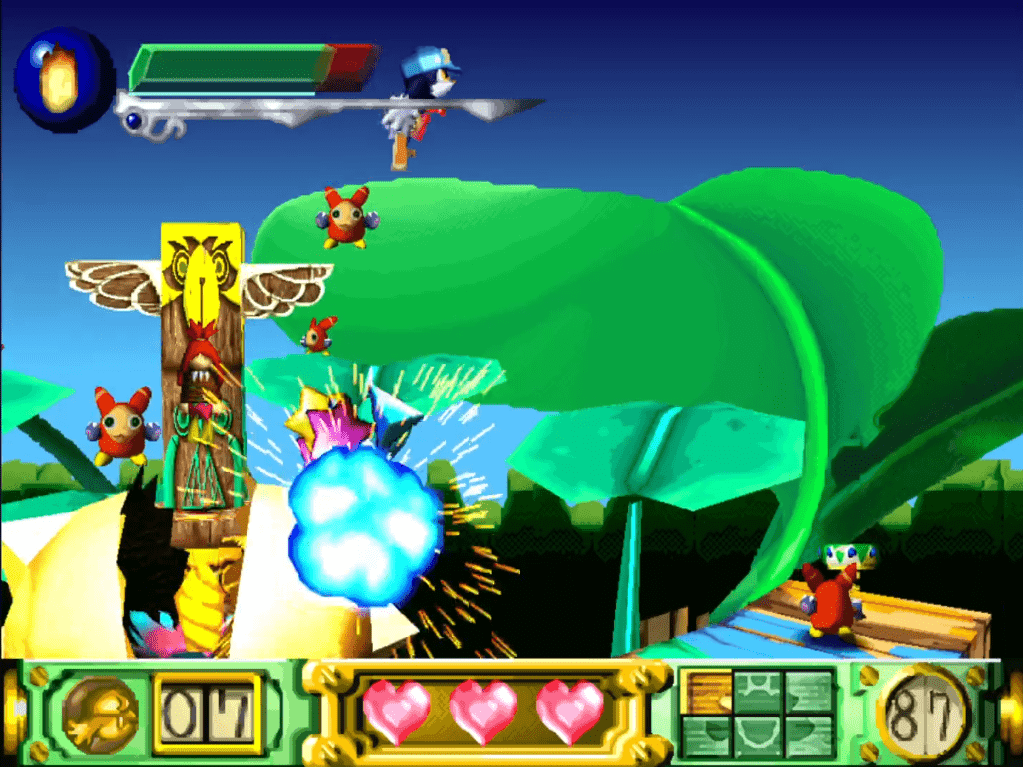
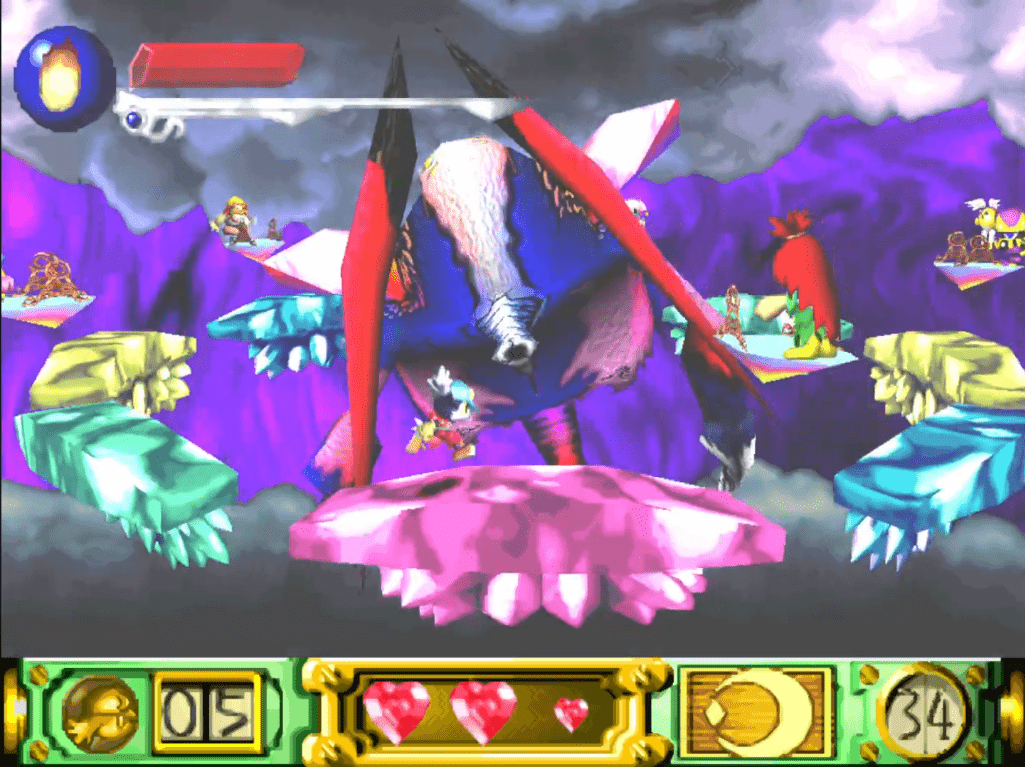
Boss – Palladium
Unfortunately, there aren’t any real tricks to the Palladium fight. The bridge swings, and at the peak of the swing closest to Palladium, you can throw a Moo at the glowing patches on his wings.
There are 8 in total. If you’re accurate, you can hit 2 patches with each throw, meaning you can clear the fight in 4 hits. The following cutscene is skippable by mashing Start.
Vision 5-1
In this stage, you must restore four orbs to their pedestals in the main chamber. You can go for the orbs in any order you wish, but I like to go with Red, Blue, Yellow, and Green.
There’s a nifty trick you can use to get the Green Orb quickly, which is why I recommend saving it until the end. It’s a risky strategy, so to ensure you can have a couple of goes at it, only trigger this checkpoint (pictured above) once you’re hunting down the Green Orb.
Once you reach this checkpoint, trigger the platform and grab the Moo. Double back out of the room and head outside.
From where I am (pictured above), you can see another checkpoint in the background. The idea is to jump off the edge and fling the Moo into that checkpoint. You’ll die in the process, but if you hit it, you’ll respawn there, which puts you right next to the orb and the end of the route.
The only tip I can give you here is to throw the Moo a little later than it looks. This strategy will take practice, but as you’re wasting a Continue each time, you can do the stage normally if needed.

The closing section of the Green route is guarded by a long line of armored Moos. If you have the health to spare, you can Damage-boost through all of them!
Vision 5-2
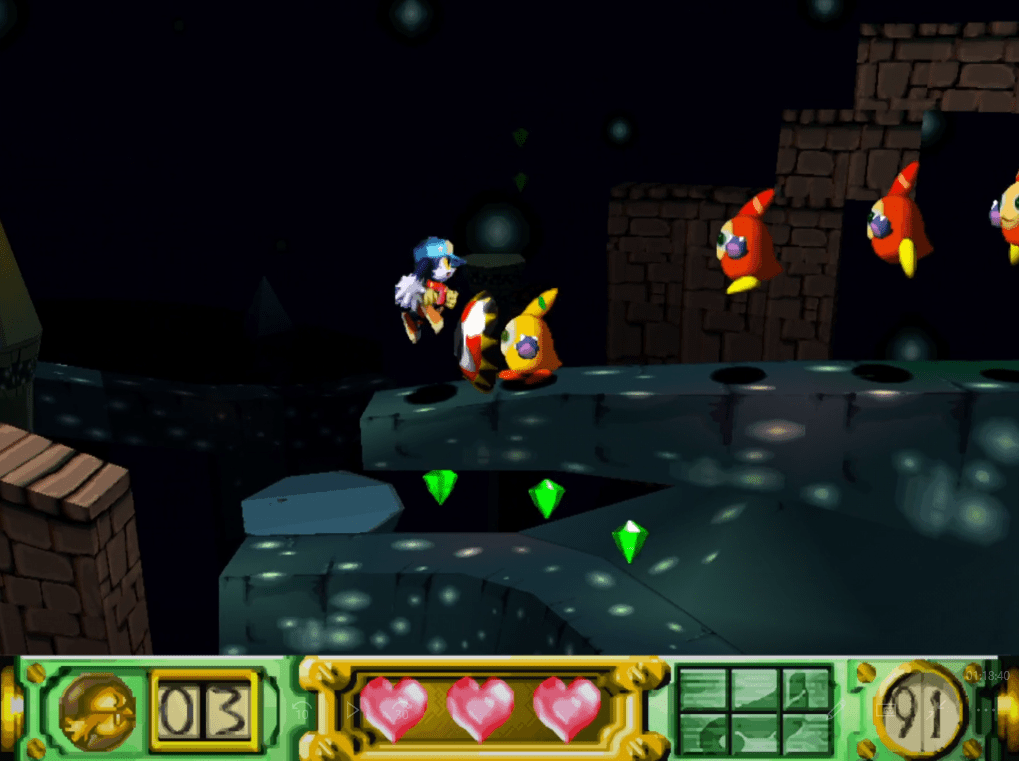
Vision 5-2 has arguably the most complex strategy in the Speedrun. This Vision has a day and night cycle, which affects what Klonoa can interact with.
As a beginner, I recommend getting familiar with the route through the stage before worrying about the timing. There’s only one route, but there are several doors that take you to optional areas.
The day and night cycle is far easier to learn visually, so I’ve linked Trob’s GDQ Speedrun of Klonoa below. If you’ve not seen it before, It’s a real treat.
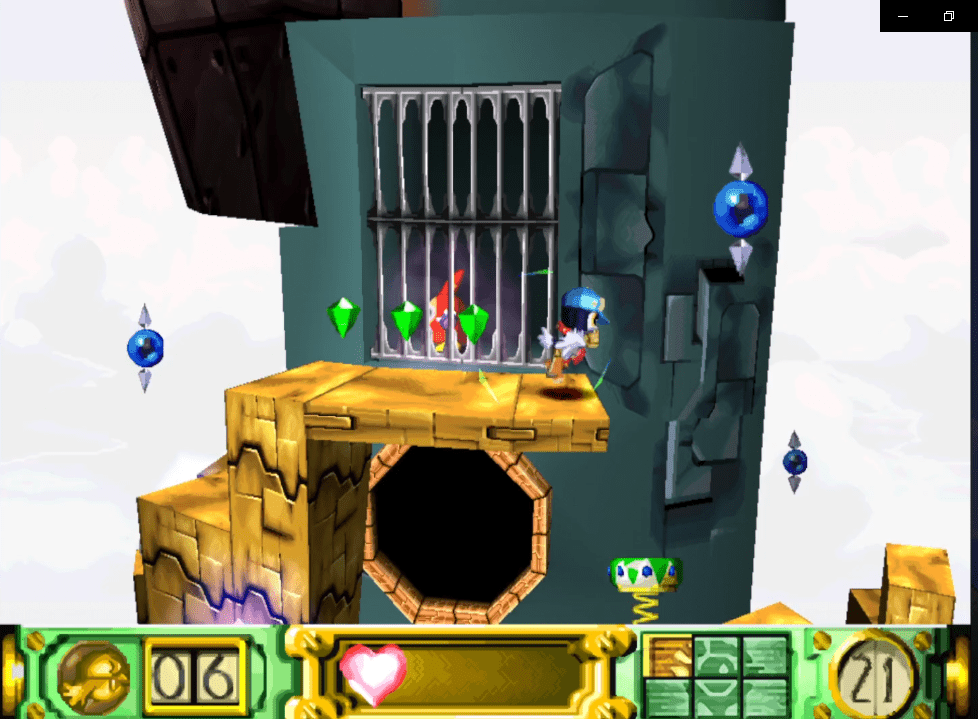
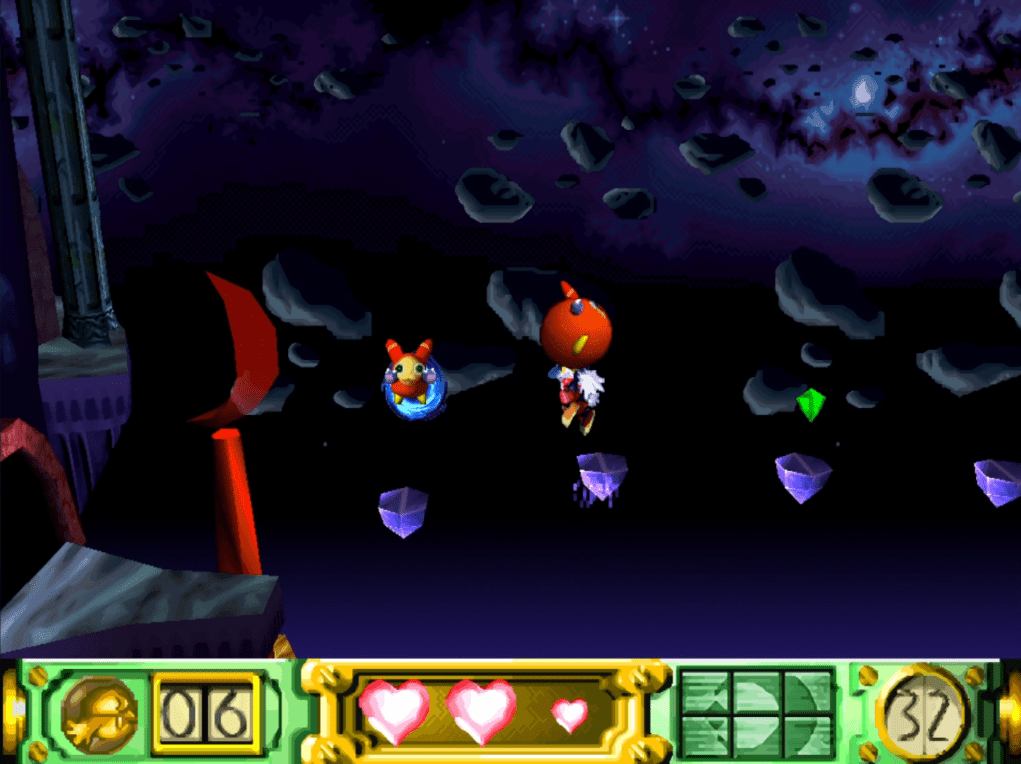
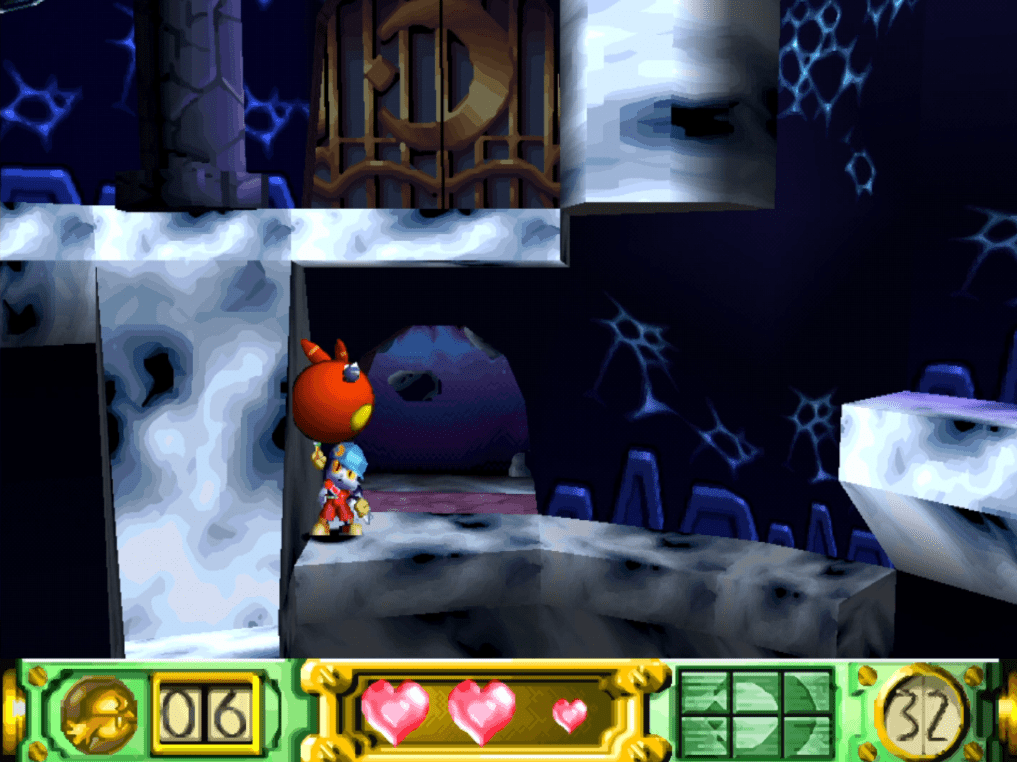
Toward the end of this Vision, you’ll reach this Moo (pictured above) trapped behind these bars. You’re supposed to walk around this area activating switches to release it, but thanks to the camera positioning, you don’t have to.
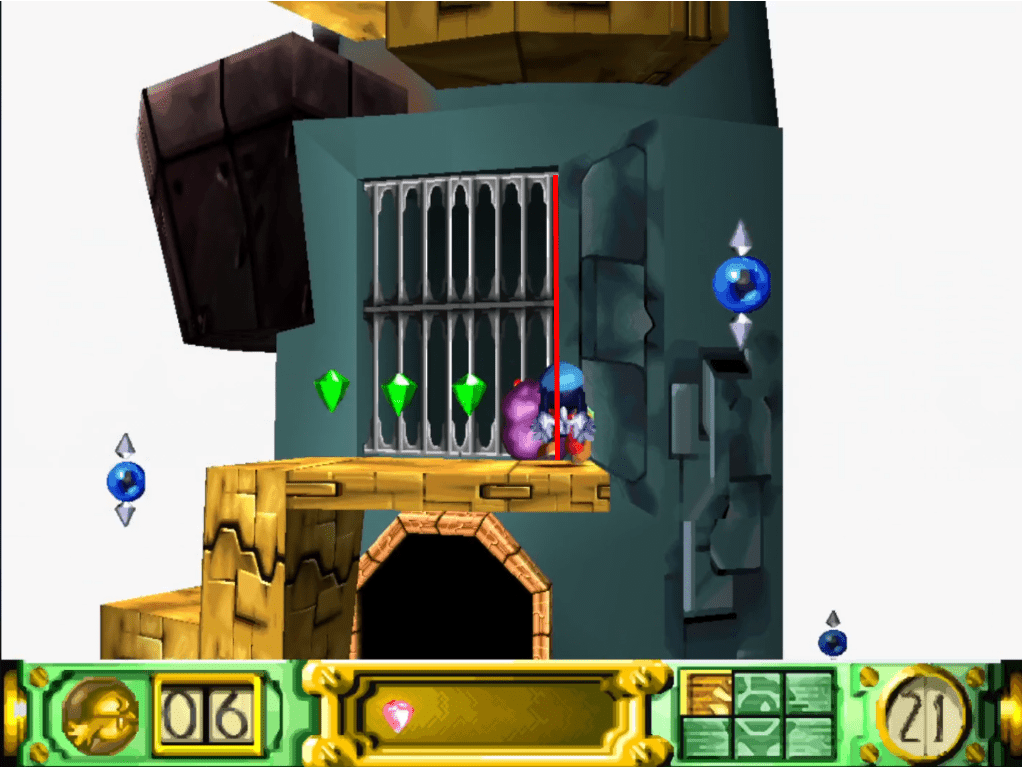
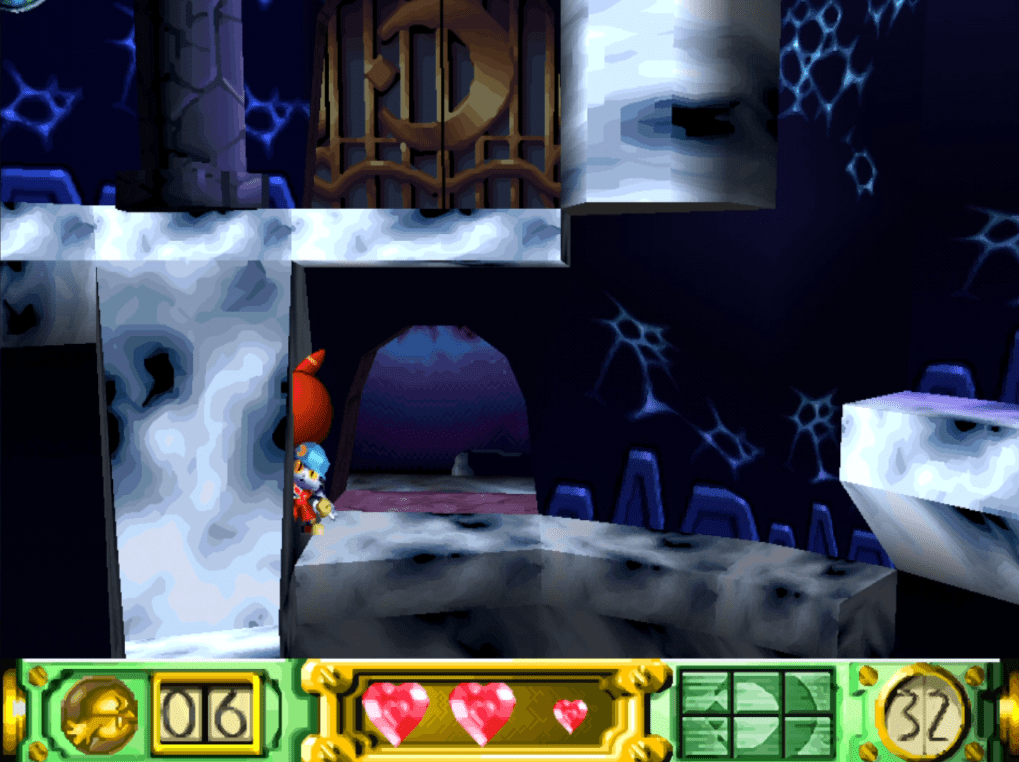
Step out of the door, then jump and stand where I am (pictured above). You can grab through the bars without opening them from here, but the positioning is very precise. Your shots sound slightly different if they hit the walls, so you can use this as a sound cue.
Like most tricks in Klonoa, this one will take a few goes to get consistent and if you need help getting the angle right, quickly exiting the area and coming back helps as it resets the camera position.
Boss – Joka
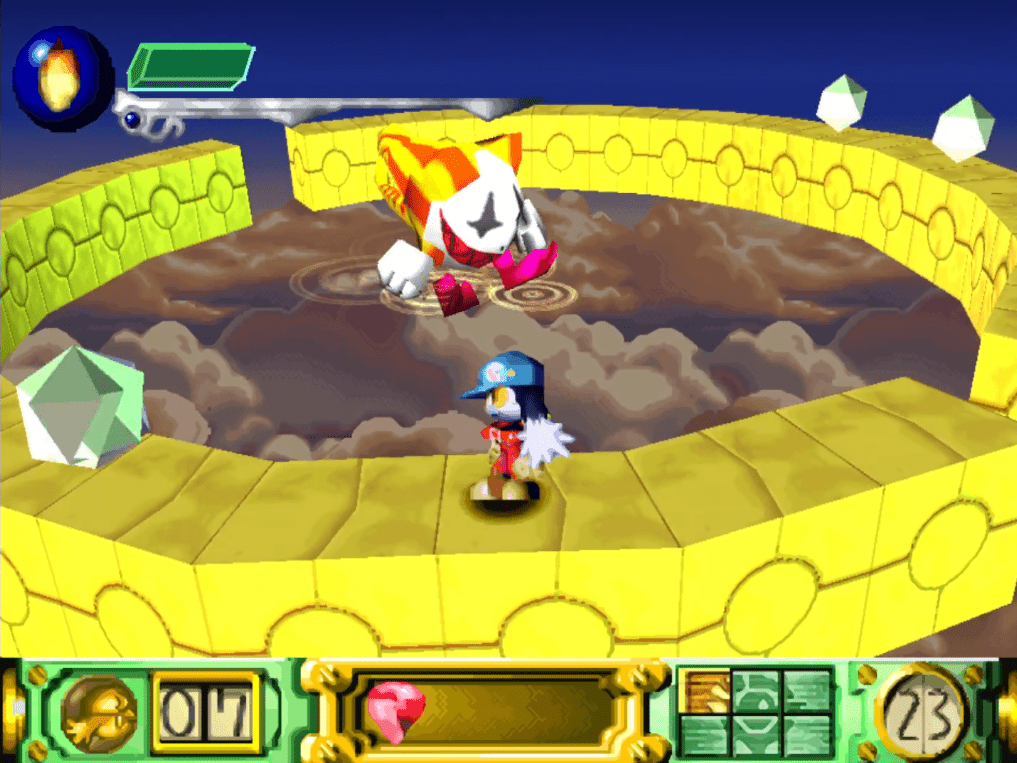
Joka is tough, and a few missteps can get you killed. You want to approach this battle as you usually would for the most part. The only optimisation you can implement is during the colored tile section.
The quickest way to light the tiles is 2 at a time. If you stand right on the crack between 2 panels and quickly jiggle the D-pad left and right, you’ll light the tiles up in no time. Joka is tricky because the fight is long, and you’ll always be jumping over the pits in the arena that will instantly kill you.
If your health falls to dangerous levels, note that health pick-ups sometimes spawn around the arena. They move, so be ready to catch them before they fall off the stage!
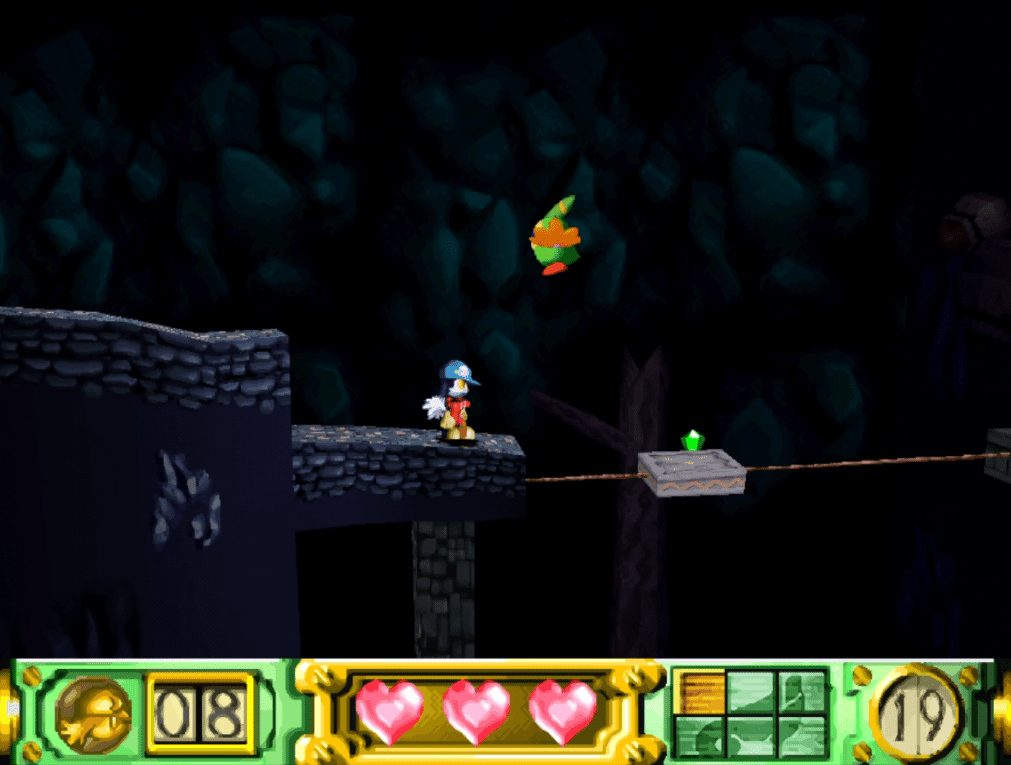
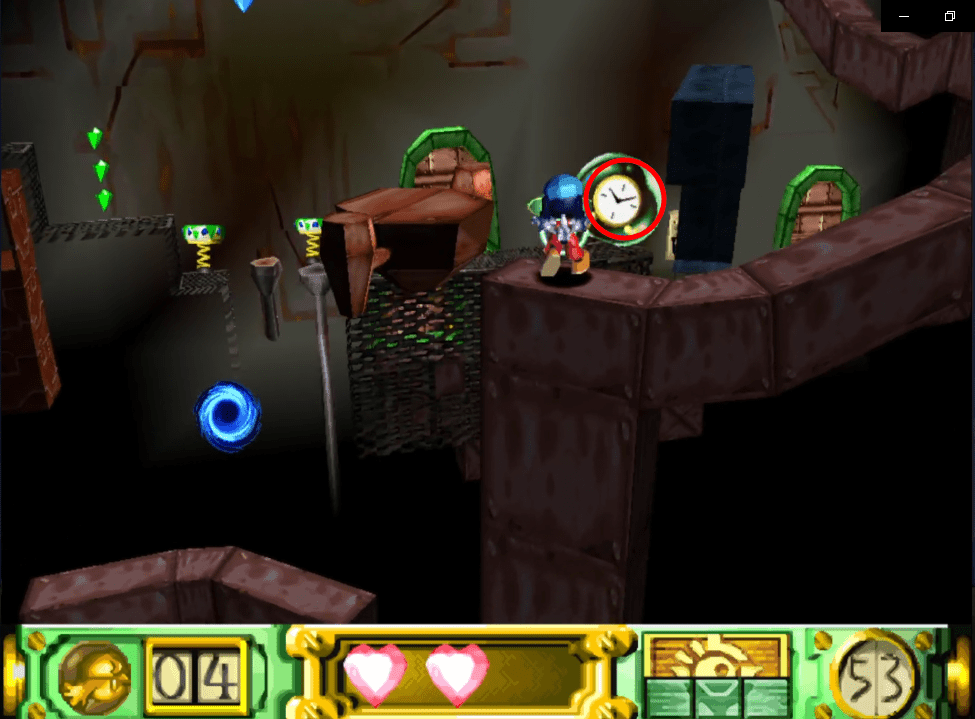
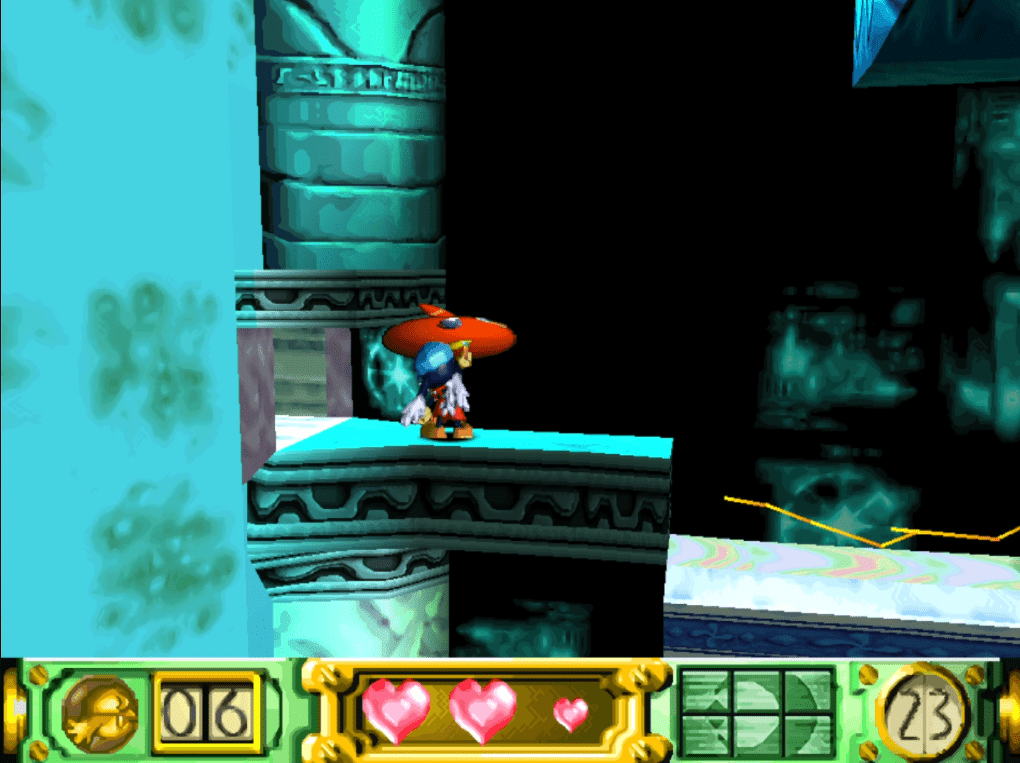
Vision 6-1
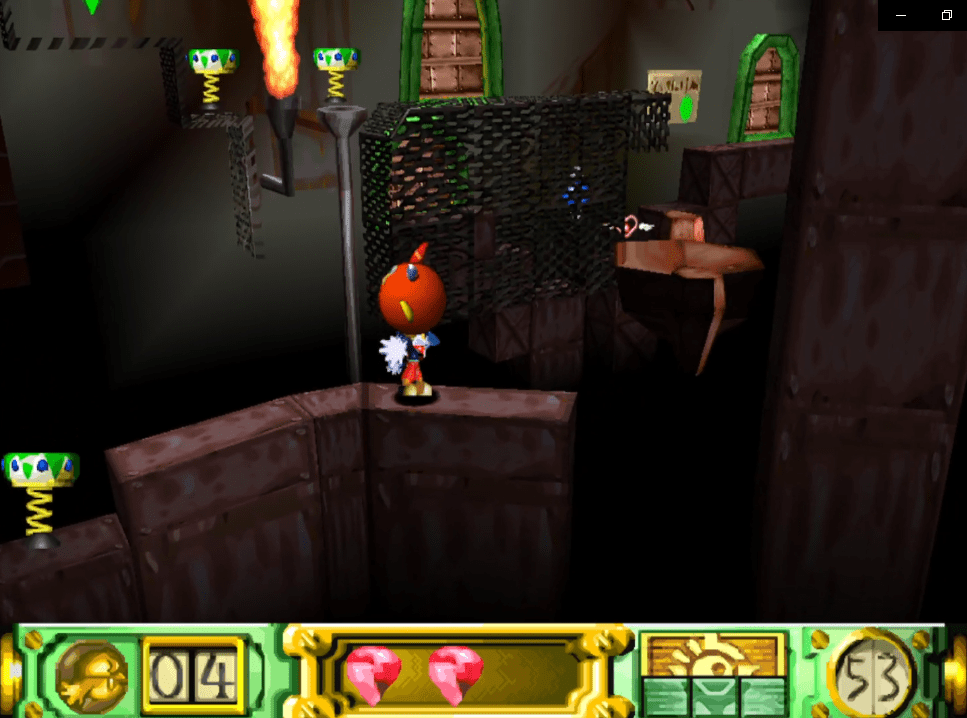
This Vision is one of the longest in the game, but there’s one trick you can pull off right at the start to skip the entire thing! This isn’t easy, but it can be done consistently with practice. When you reach the room with the electric floor and the Moo’s on platforms, grab a Moo, then jump back towards the door you came in from.
Your goal is to bring the Moo through the door, but as the ceiling is low, it won’t fit. Hold Up or Down with the Moo above your head, and lightly tap Left. You need to press Left for precisely one frame or 1/60th of a second, so this will take a few attempts.
You’ll likely need to try this a few times, and you can tell if you’re in the right place, as the camera will slightly ‘jerk’ every time you tap Left. If the camera remains static, walk back to the edge next to the electric floor, jump back to the door and repeat the process.
If you’re close enough to the door frame when doing this, the Moo will squish, allowing you to take it through.
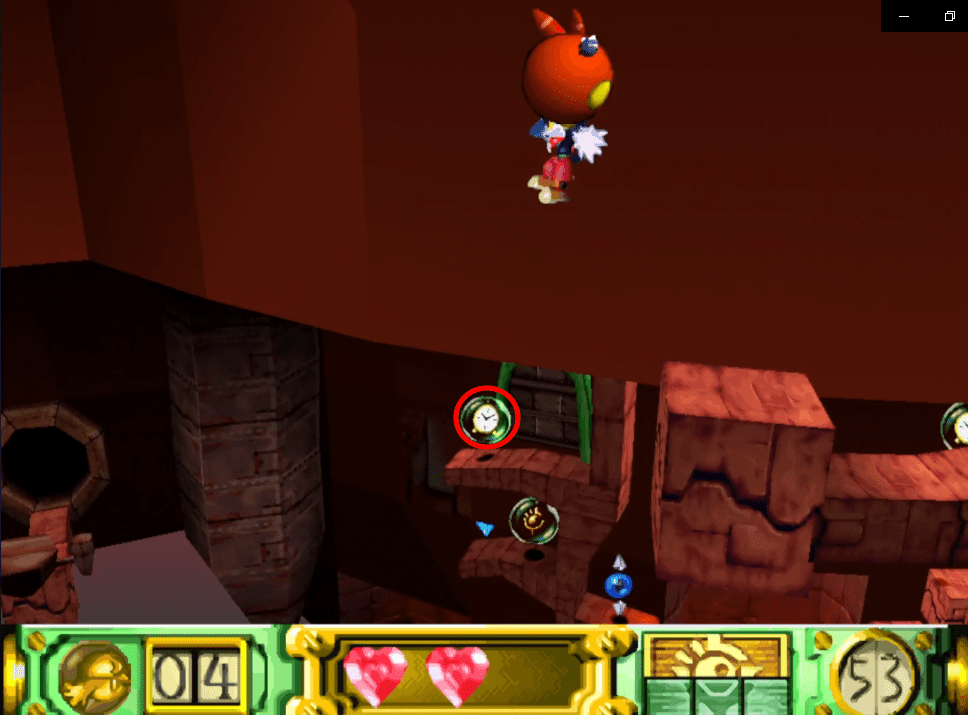
Take it to this area (pictured above) and double-jump onto the higher platforms. This is a huge time-saver. I know it’s frustrating to start, but it’s worth practising. If you’re struggling to visualize the skip, check the video in the Useful Resources section below.
Vision 6-2
There are two tricks in this Vision that skip the vast majority of the stage! This is especially handy as this Vision is well over 8 mins on a standard playthrough.
First of all, there’s a Wall-Clip, and fortunately, because of the curved walls, this is probably the easiest trick like this in the game.
To make this skip work, you need a Moo, so come to where I am (pictured above), jump onto the platforms, and grab one.
With the Moo in hand, retrace your steps through the door and stand beside this wall (pictured above). Jump at the wall to your Left and hold Up or Down whilst landing. This should get you a little closer to the wall than usual.
When you’re in position, still holding Up or Down, you need to press Left for a single frame, much like you did in 6-1. Once Klonoa starts to Clip into the wall, hold left, double jump, and hover.
If you’ve done it correctly, you’ll end up where I am (pictured above), ready for the last big skip of the game.
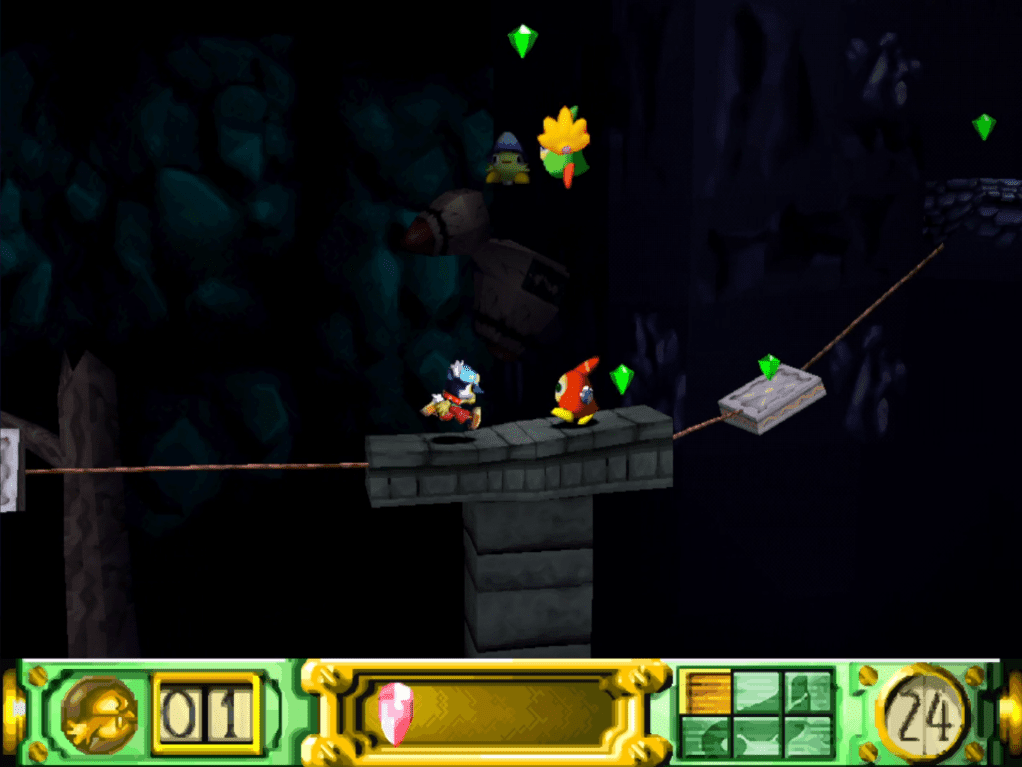
This final skip is a test of timing. Jump across 3 of the platforms, and you’ll be chased by several gold-armored Moos. Let them pass and grab the normal Moo that’s following them.
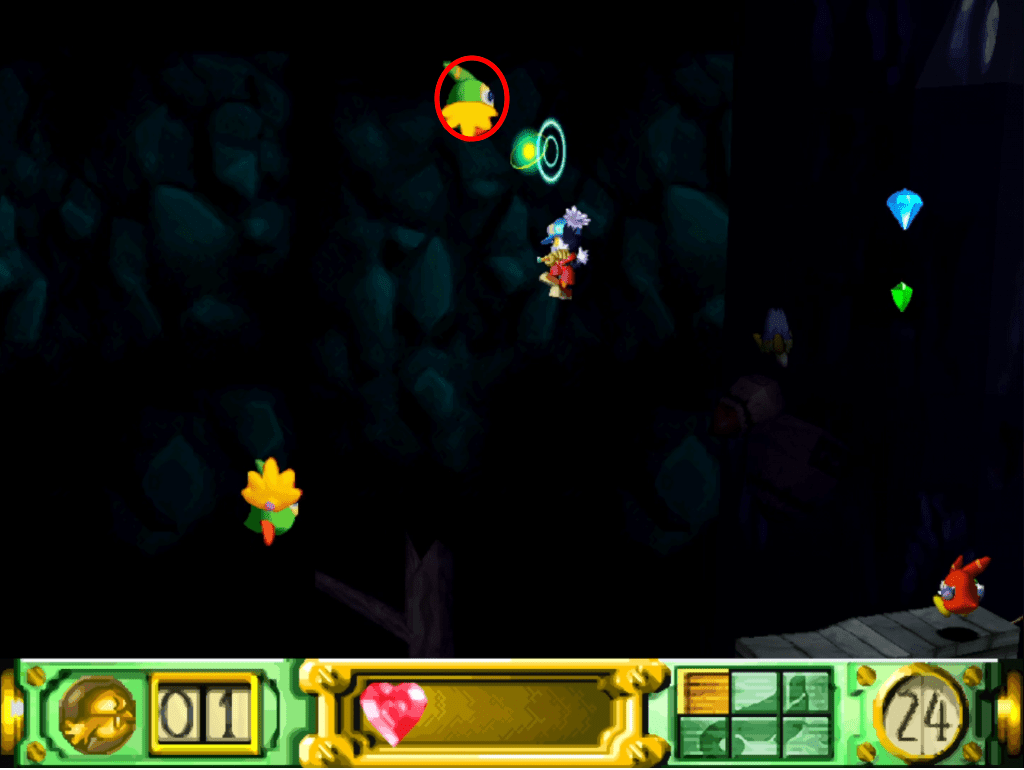
Much like the 4-1 skip, there’s a platform you can’t see right above you, but unlike 4-1, this one is much easier to reach.
Stand where I am (pictured above) and double jump. The moment you’ve done that, grab, and you’re hoping to grab a Moo that spawns off-screen here.
If you land your grab and immediately double jump again, you’ll end up where I am (pictured above). Walk to the right, and finish the stage. The timing for this trick will come with practice, so don’t get disheartened.
The time saved from these tricks alone is enormous, and your time will dramatically improve if you can master them.
Boss – Ghadius
There are a few optimizations to go for in the Ghadius fight. The best thing about them is they don’t really require much thought, so they are worth trying regardless of your skill level.
Ghadius has 3 phases; in each phase, you need to throw the Moo’s he spawns into his coat. It’s a pain to grab the Moo’s in Phase 3, so you want to do as much damage as possible in Phases 1 and 2.
Ideally, you want to quickly throw 7 Moo’s at Ghadius during Phase 1. You don’t want to throw more than this, as you risk skipping Phase 2 altogether. If you throw 7 in Phase 1 and keep the pressure up in Phase 2, it’s possible to defeat Ghadius before he uses his final attack pattern.
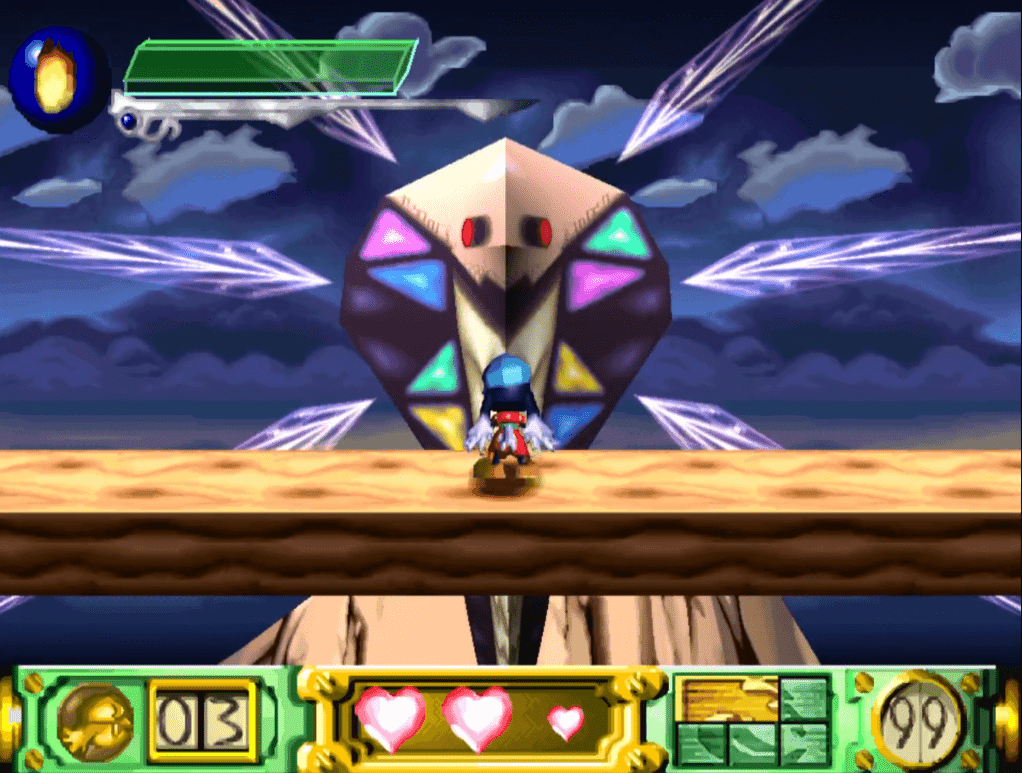
Nahatomb
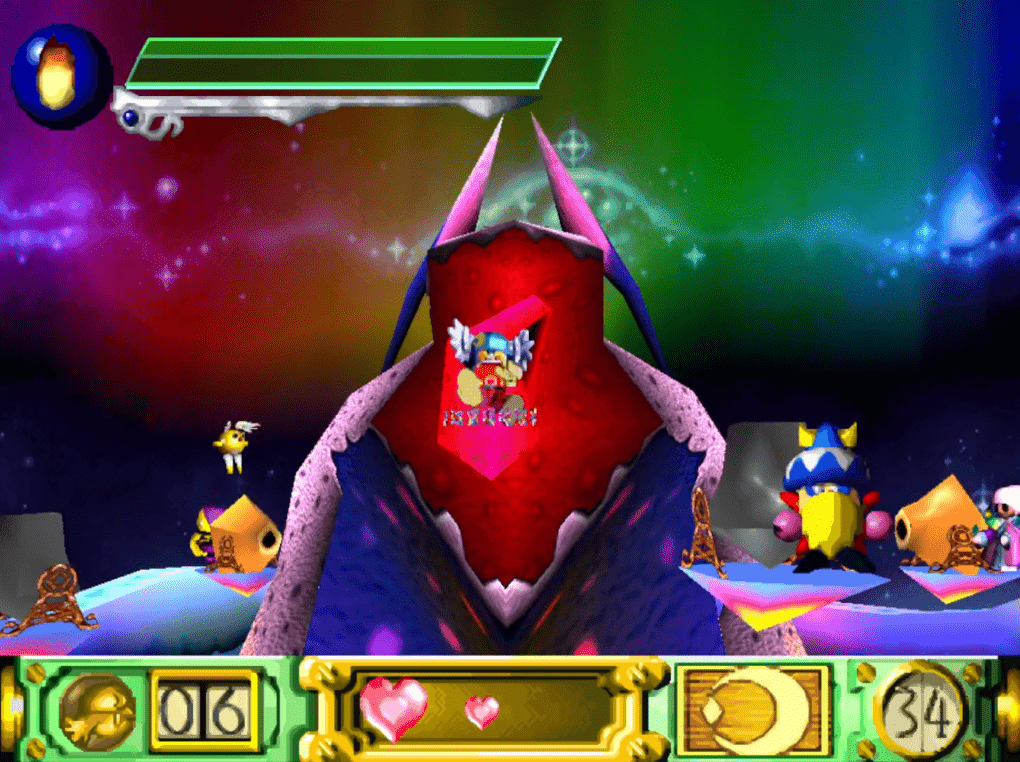
The Nahatomb fight is split into 3 phases. Approach phases 1 and 3 as you usually would. Load the cannons as fast as possible and do your best to avoid getting hit. If Nahatomb swallows you in Phase One, the animation takes 11 seconds. Avoid this by jumping over his tongue.
At the end of Phase One, you’ll be transported onto this floating platform (pictured). For some reason, the scary face in the background just hovers for a while.
It’s faster to walk off either edge when you get here as it resets the Phase and removes the waiting time. If you’ve taken damage in Phase One, this will replenish your health, so walk off the edge immediately and complete Phase Two as usual.
Phase Three again has no real optimizations. Try your best to keep track of the cannons circling below the platforms, land your shots and be ready to check your clock as your timer stops the moment Nahatomb’s health bar reaches zero!
Frequently Asked Questions
Question: Is this Guide Compatible with the Klonoa Reverie Series?
Answer: Unfortunately, no. The Reverie Series contains a beautiful remake of Klonoa: Door to Phantomile, but it’s also subtly different, making most of the tricks in this guide impossible. Wall-Clips don’t work, and even the jump sequence on 4-1 no longer works, thanks to a change in the environment.
Question: Do I Need the NamCollection to Compete at the Highest Level?
Answer: No, you don’t. Speedruns using the NamCollection dominate the highest places on the leaderboards, but at the time of writing, 3rd place belongs to a runner named Amoser, and they Speedrun on a PlayStation emulator.
The NTSC version will suffice until you’re experienced enough to rub shoulders with the best runners in the world.
Question: What’s a Good Time to Aim for in a Klonoa Speedrun?
Answer: If you take advantage of the optimizations and tricks in the guide above, you can beat the entire game in under an hour. In my opinion, anything under an hour is a time you can be proud of, and your first sub-hour Speedrun is one you should celebrate.
Useful Resources
- Balneor, a skilled and respected member of the Klonoa Speedrun community, has a video on his YouTube page showing the button inputs for several Wall-Clips. This Video includes clips I haven’t covered in the guide, as they are very hard to pull off, but I highly recommend watching if you’re struggling.
- A Speedrunner named Trob put on an absolute master class Speedrunning Klonoa at AGDQ2019. I highly recommend watching this run as, on top of the world-class gameplay, the commentators know their stuff and explain many nuances you’ll benefit from as a fledgling runner. You can watch the entire run here